- Navigate to Cloudflare’s official website by clicking on the following link:
https://www.cloudflare.com/
- If you already have a Cloudflare account, simply log in.
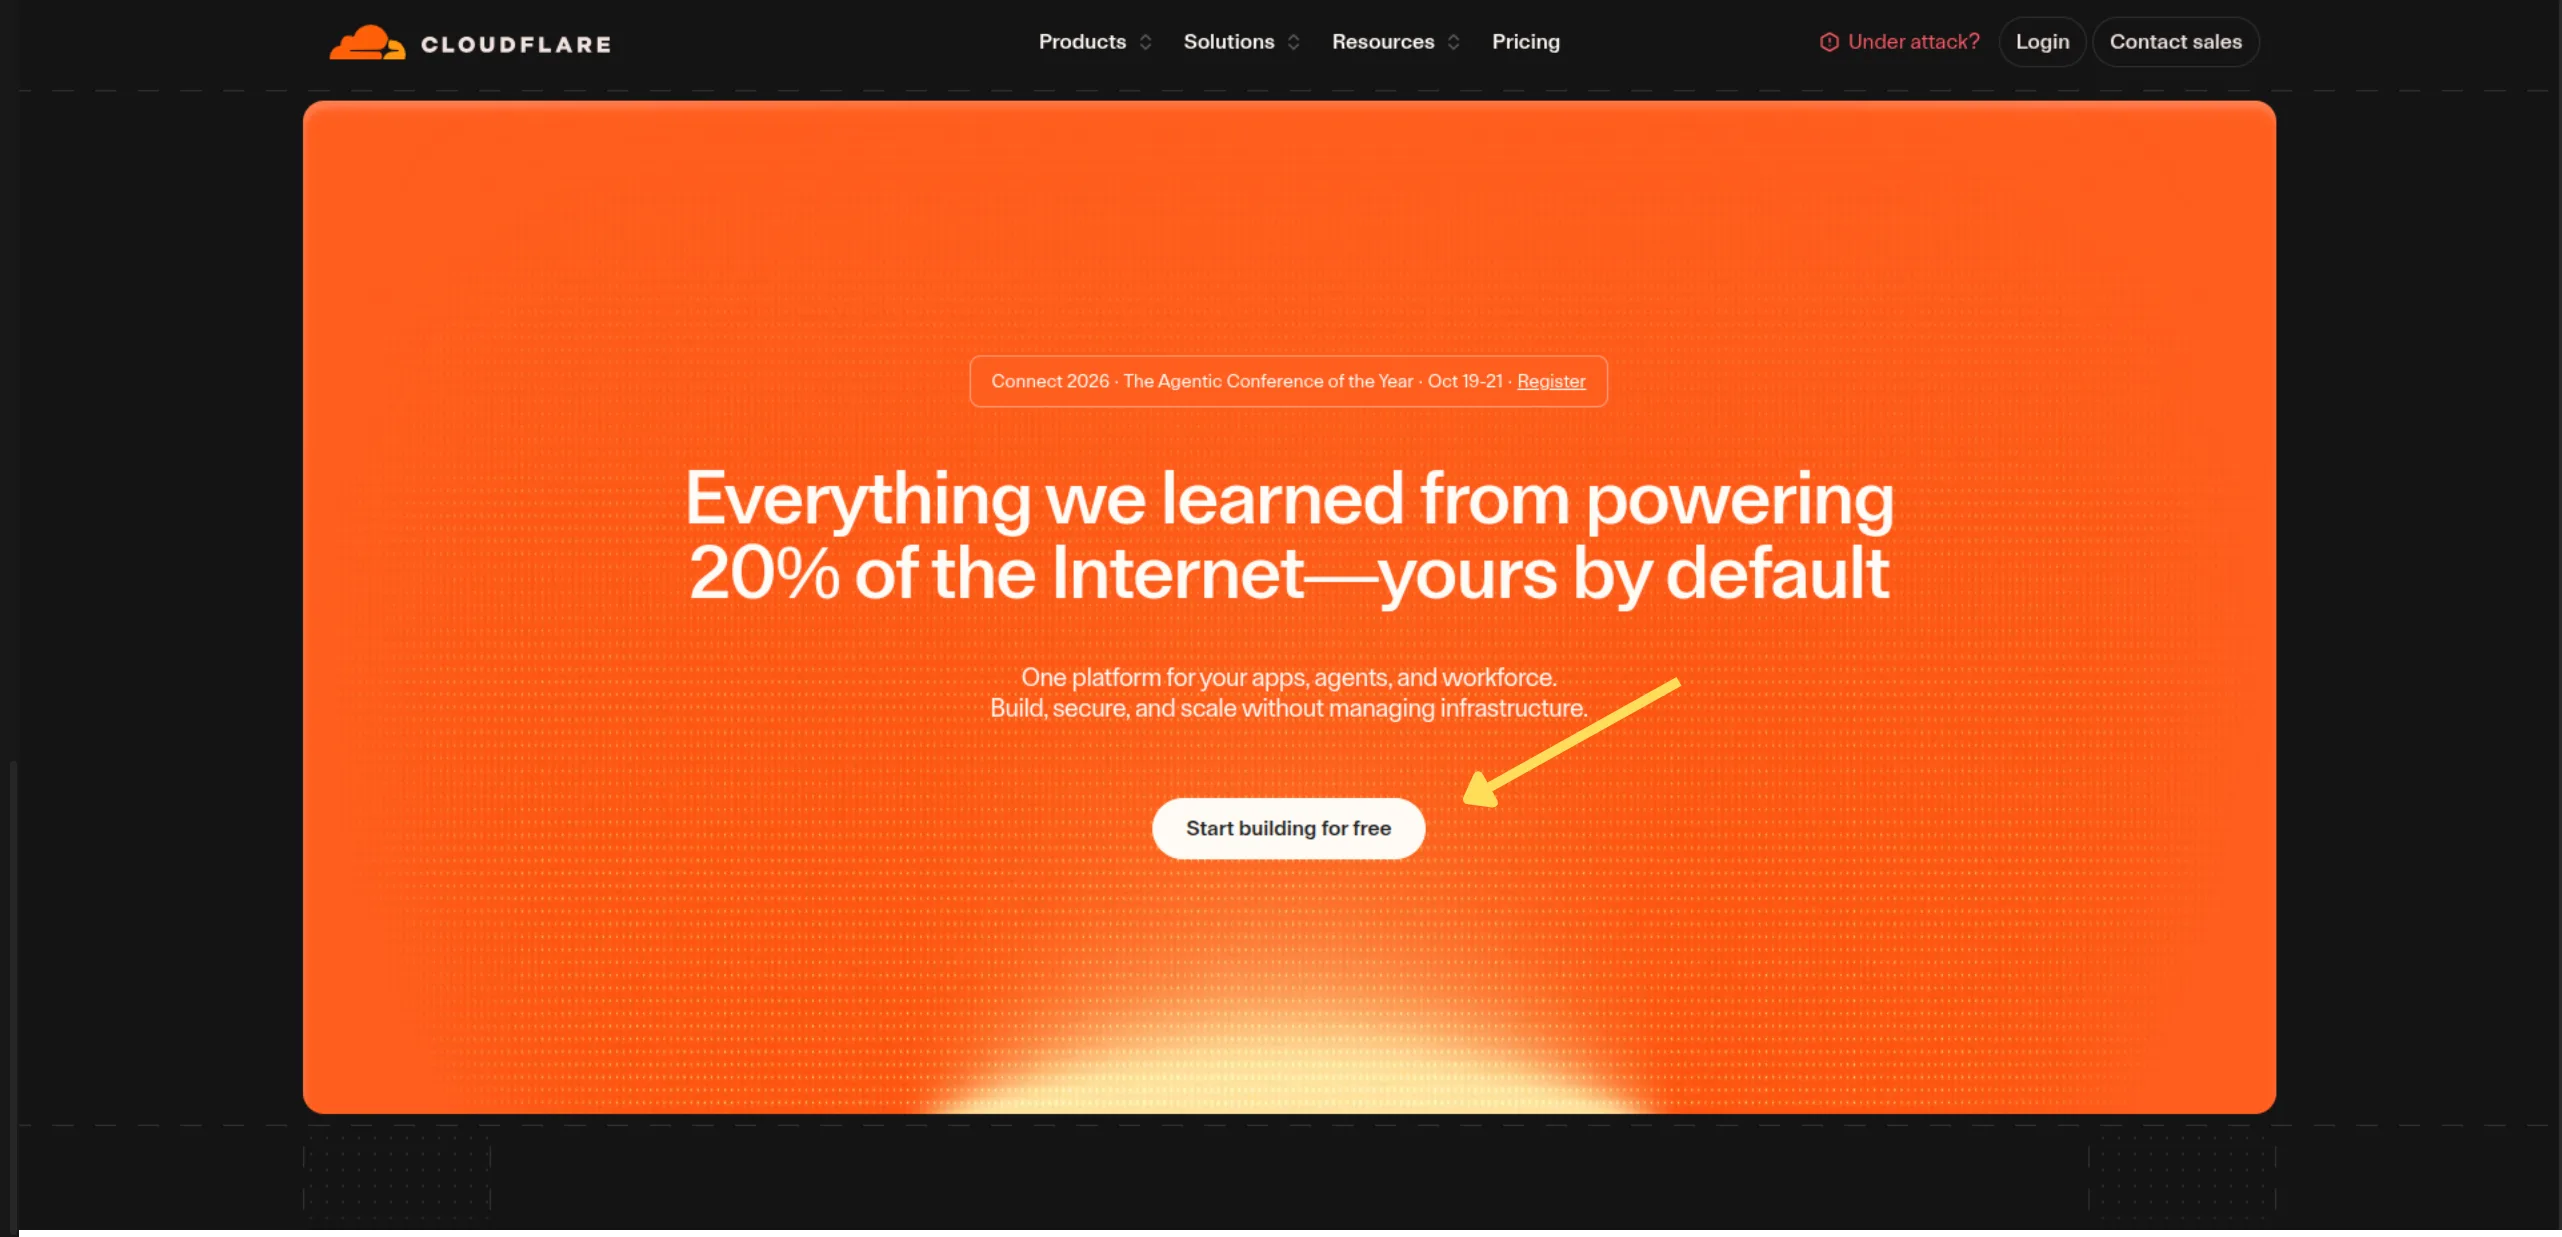
- If you don't have an account, click on "Start for Free" as shown in the image below to create a new account.
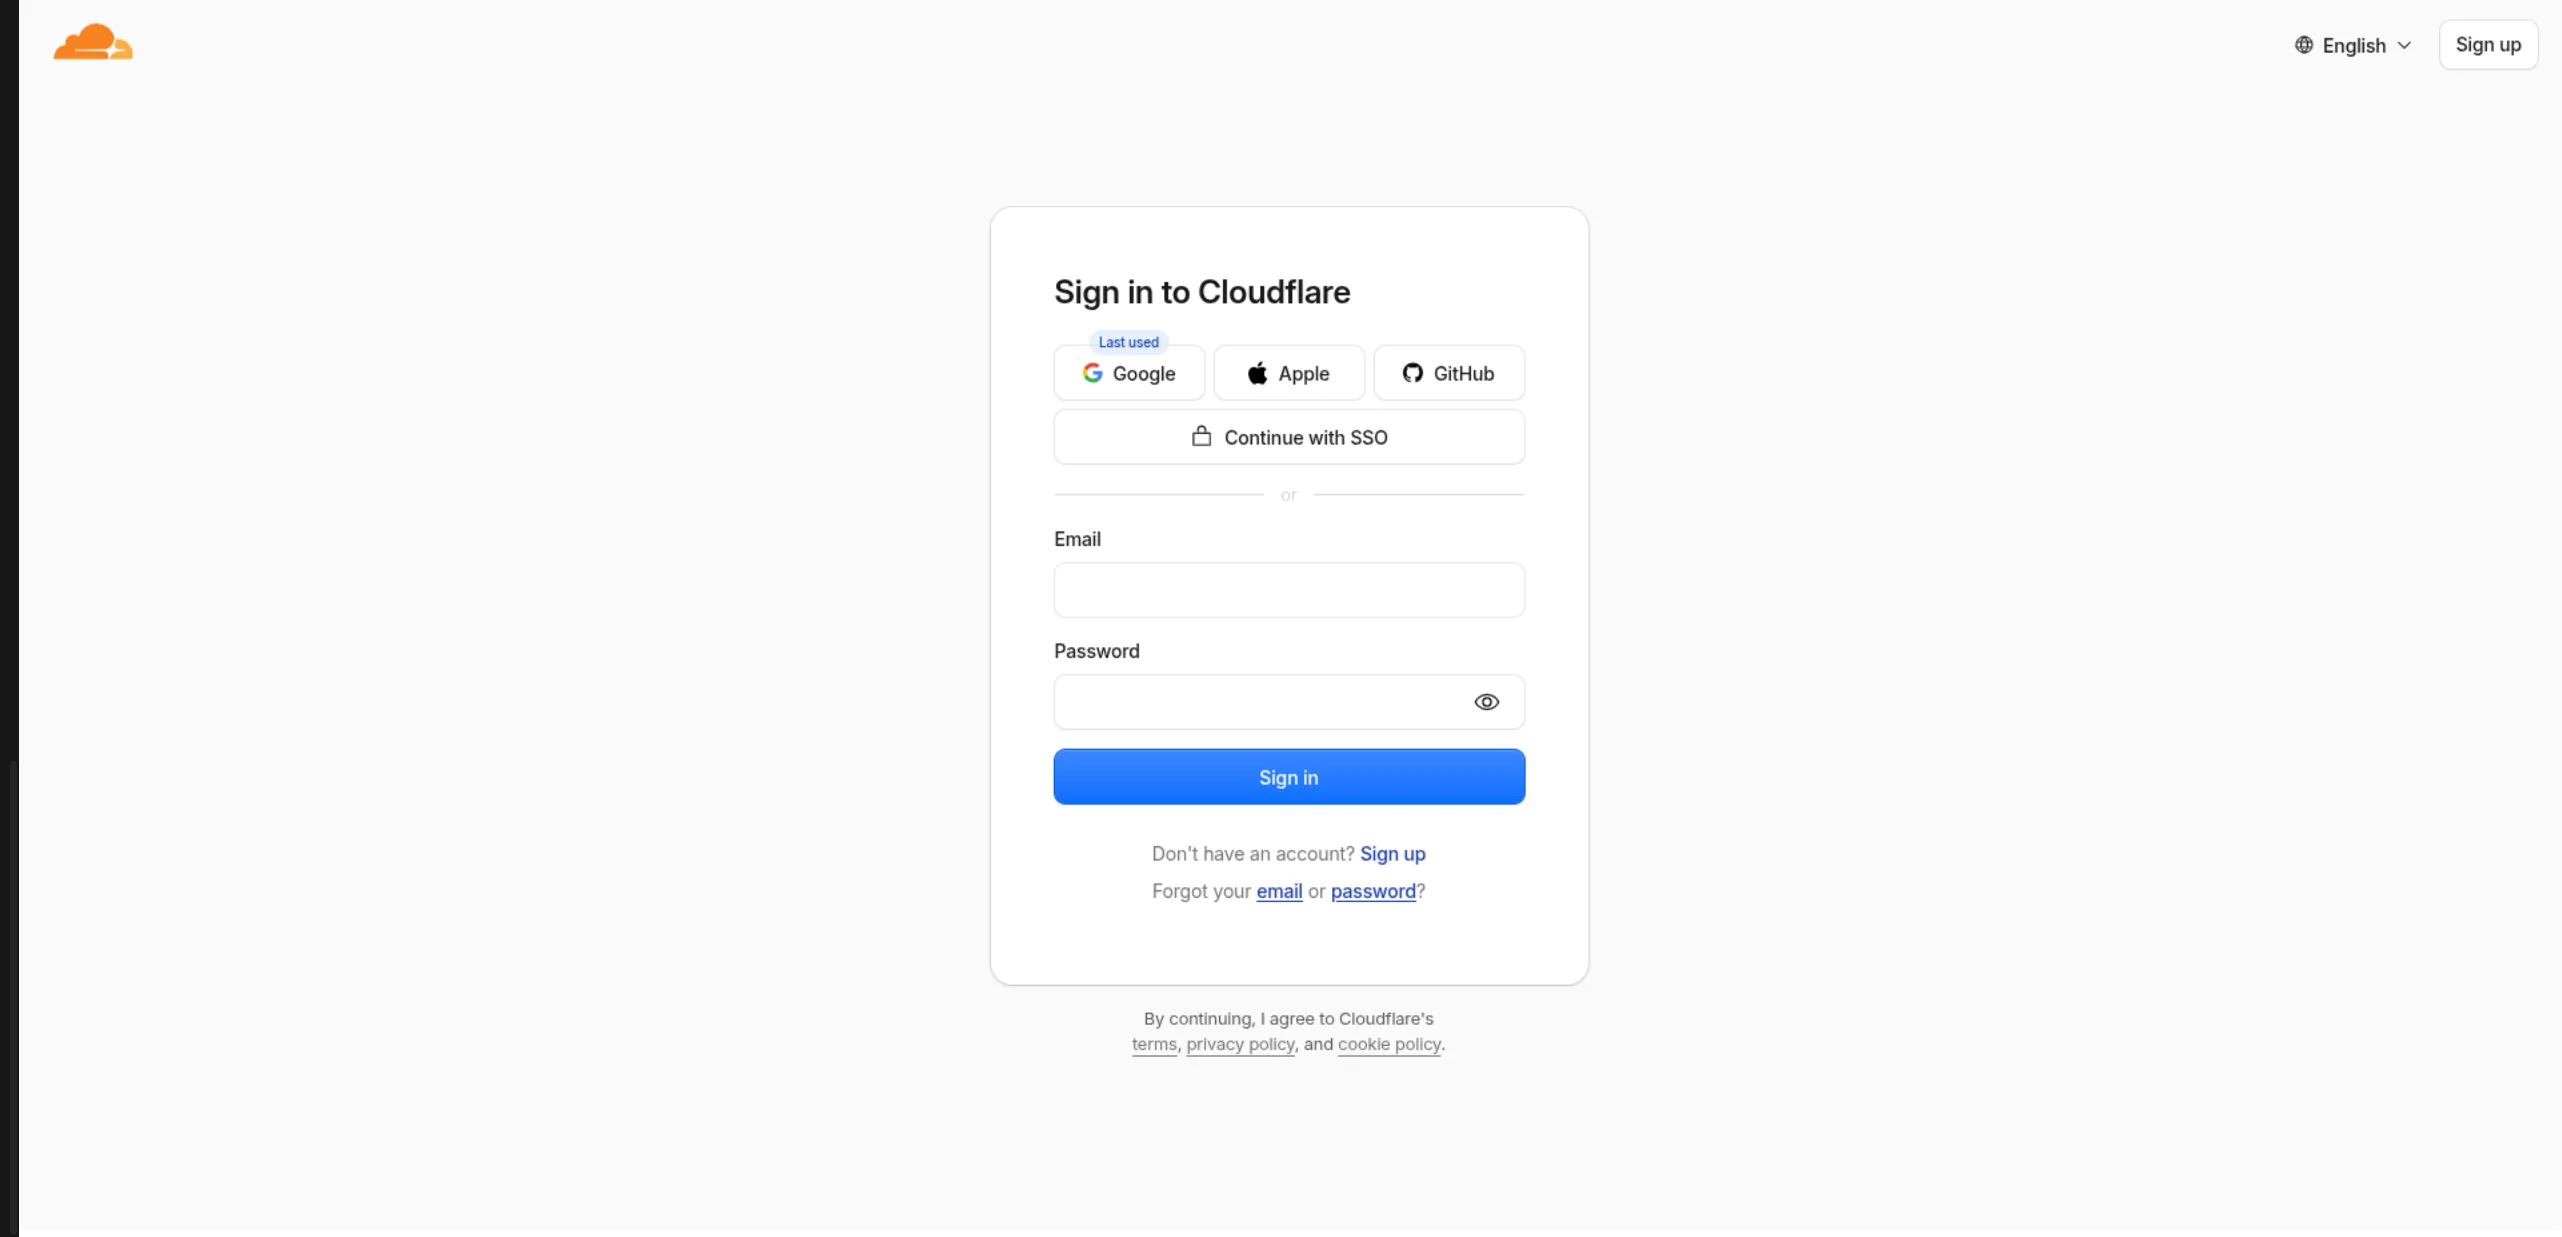
- You can easily sign up for a Cloudflare account using your Google or Apple account for a faster registration process.
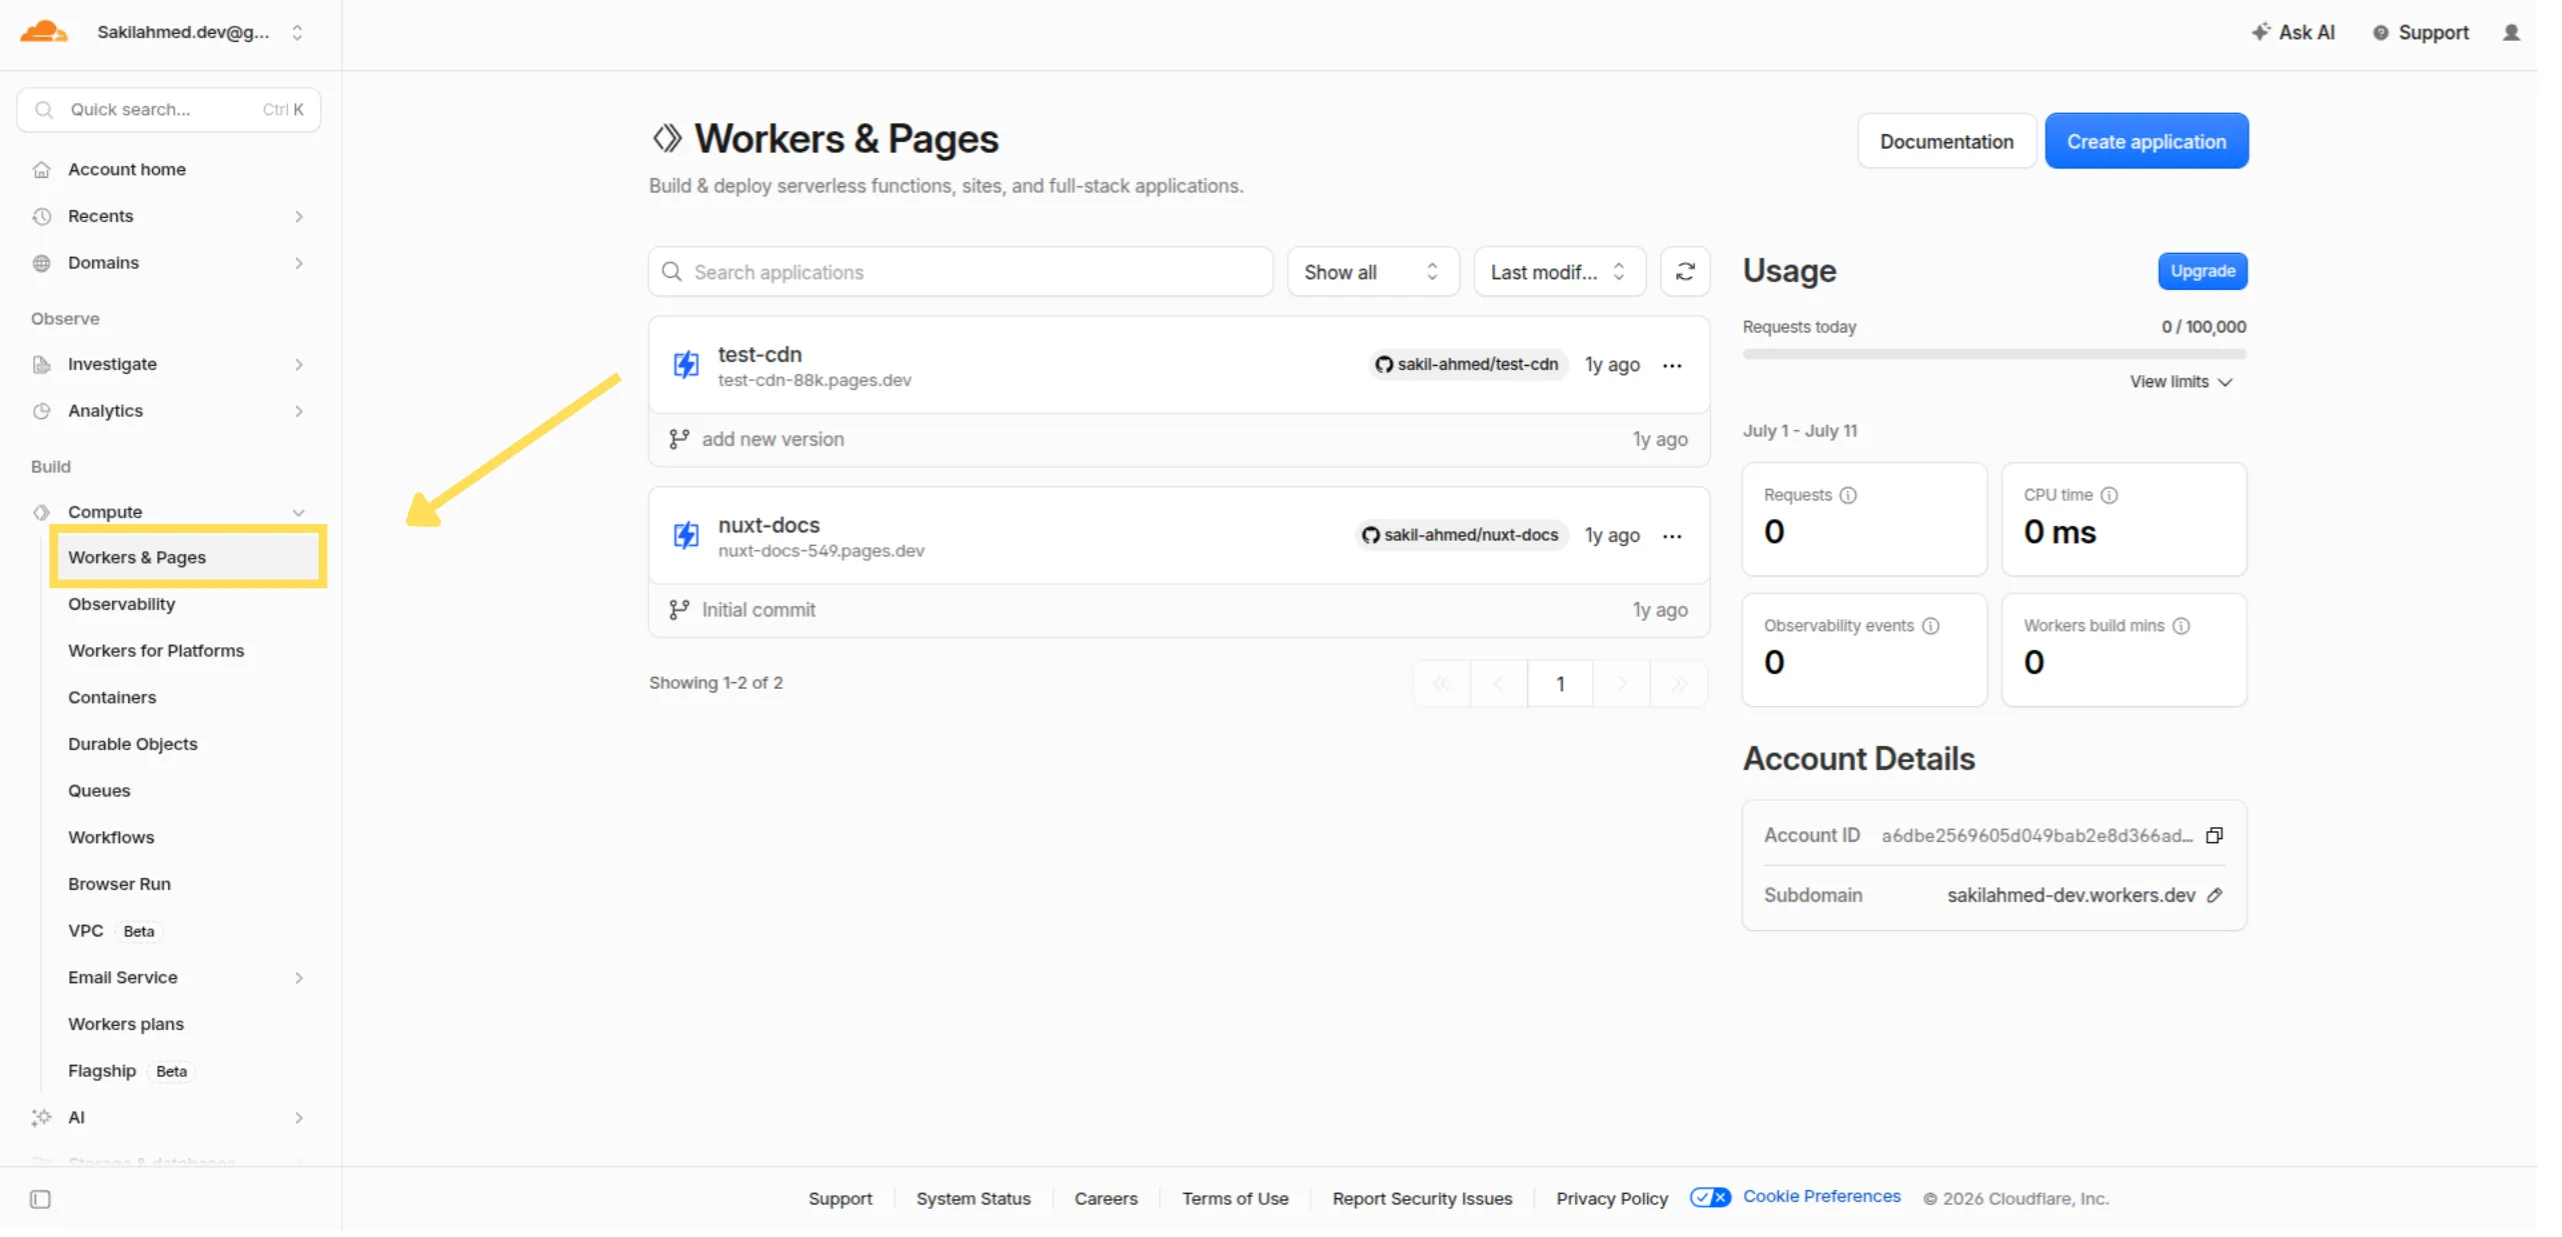
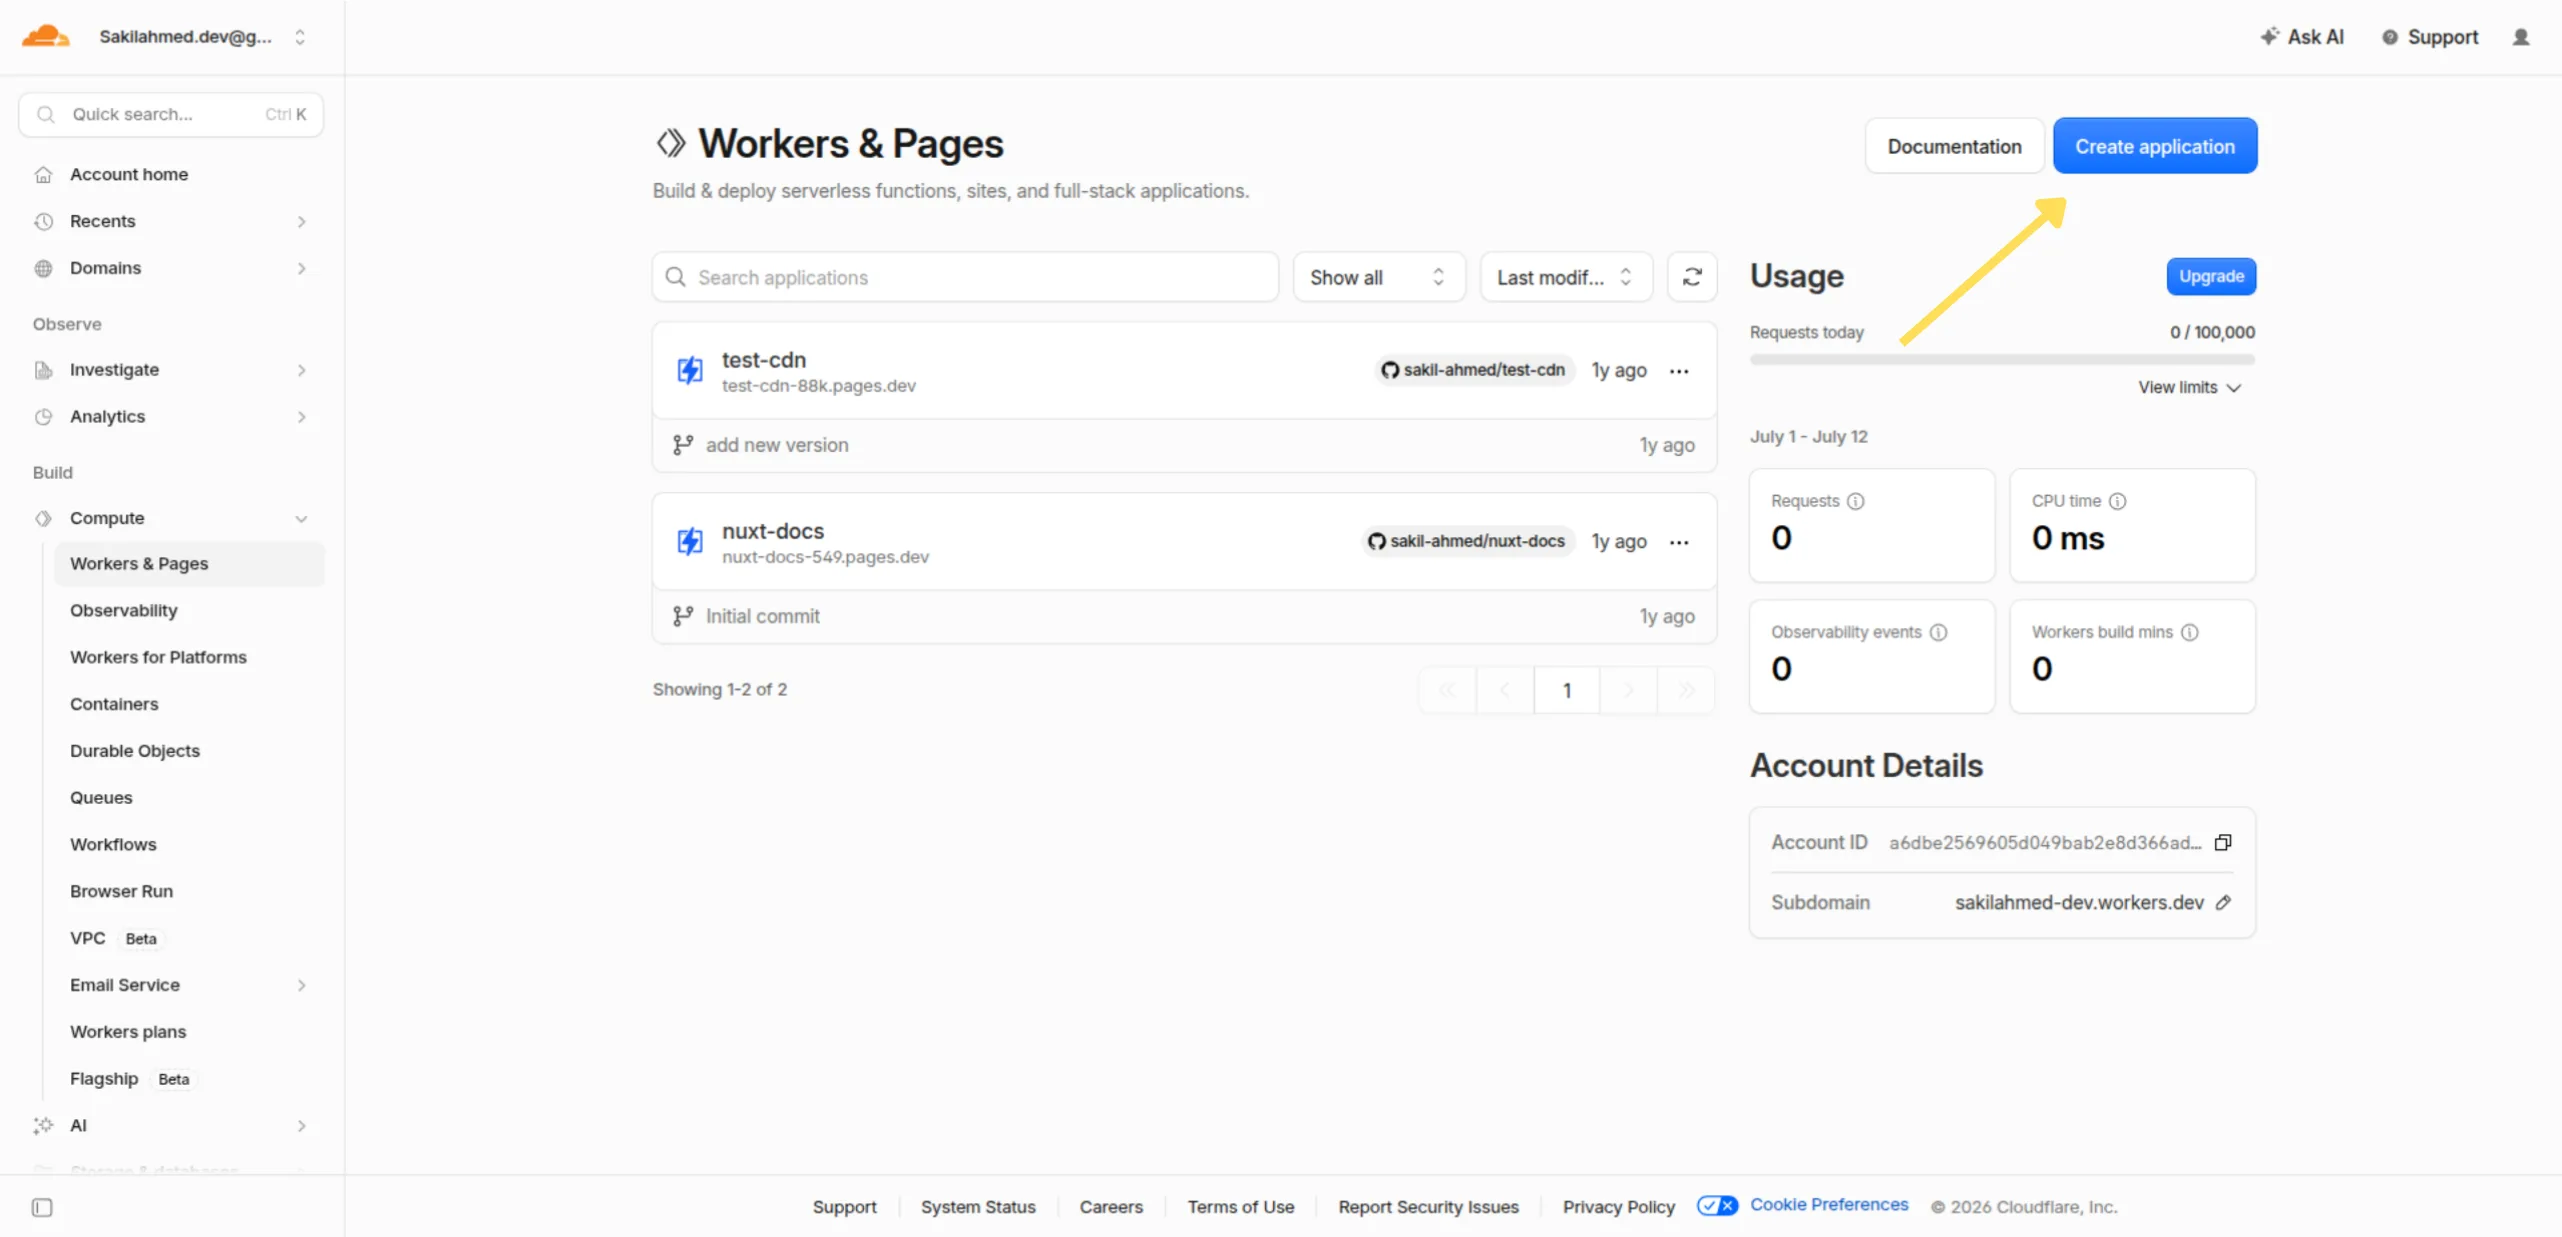
- After a successful login, you will be redirected to the Cloudflare dashboard. In the left sidebar menu, find Compute , click on it to expand the options, and then select Workers & Pages.
- Then, click "Create application" to add a new worker.
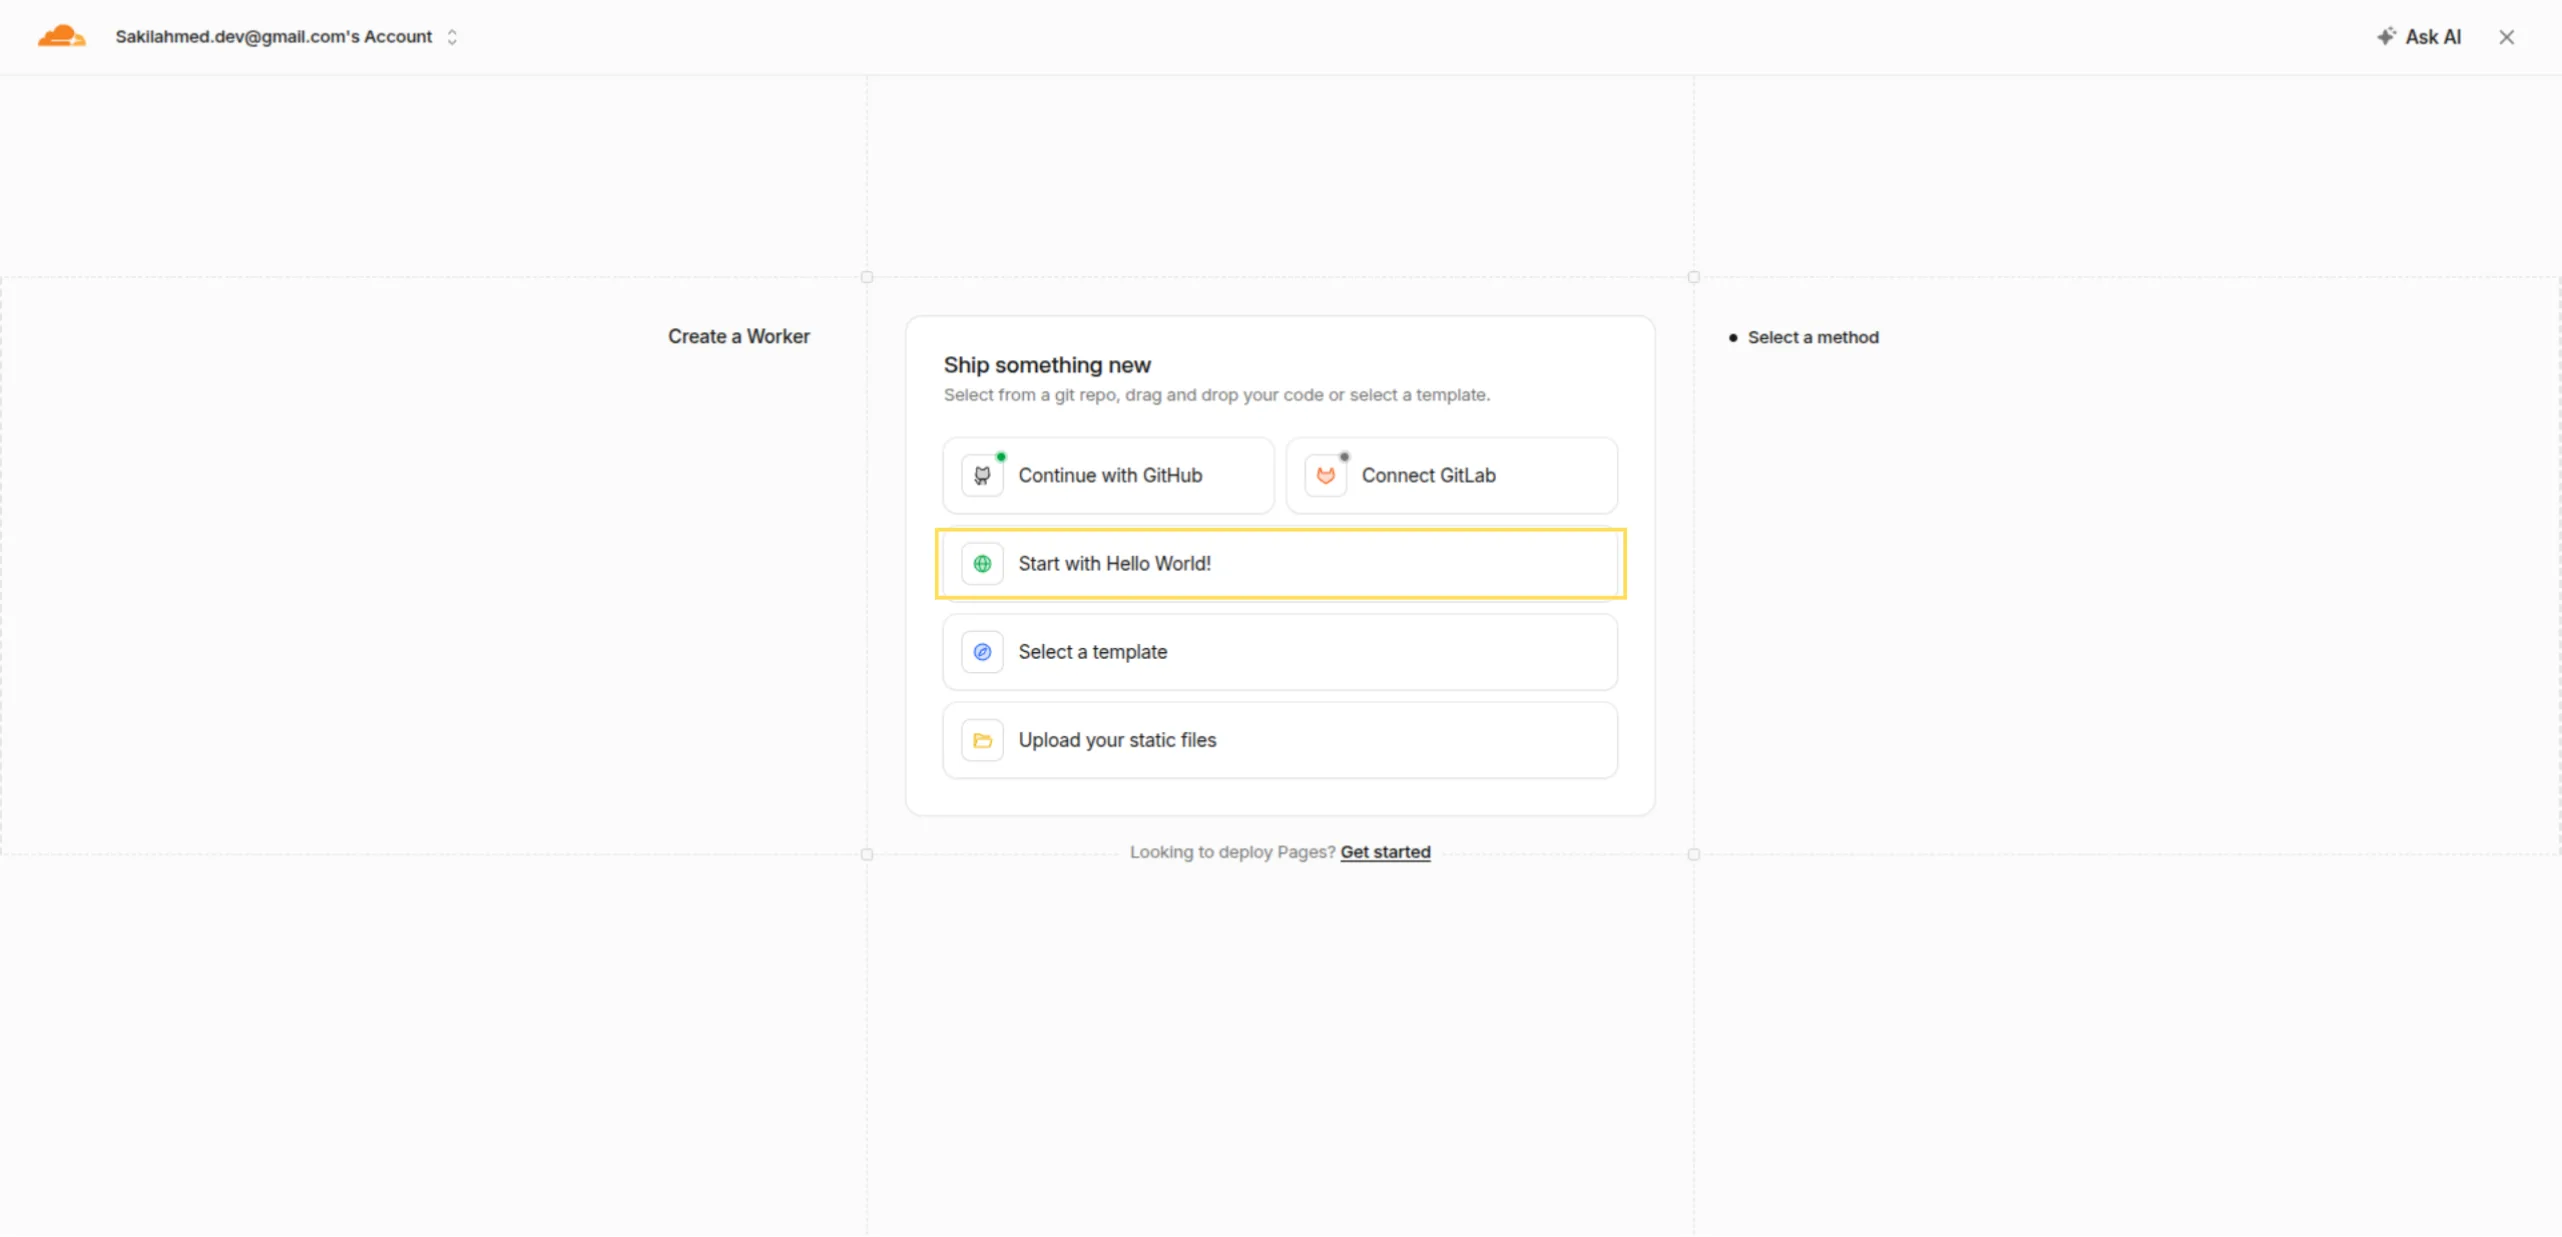
- Then select a method "start with Hello World"
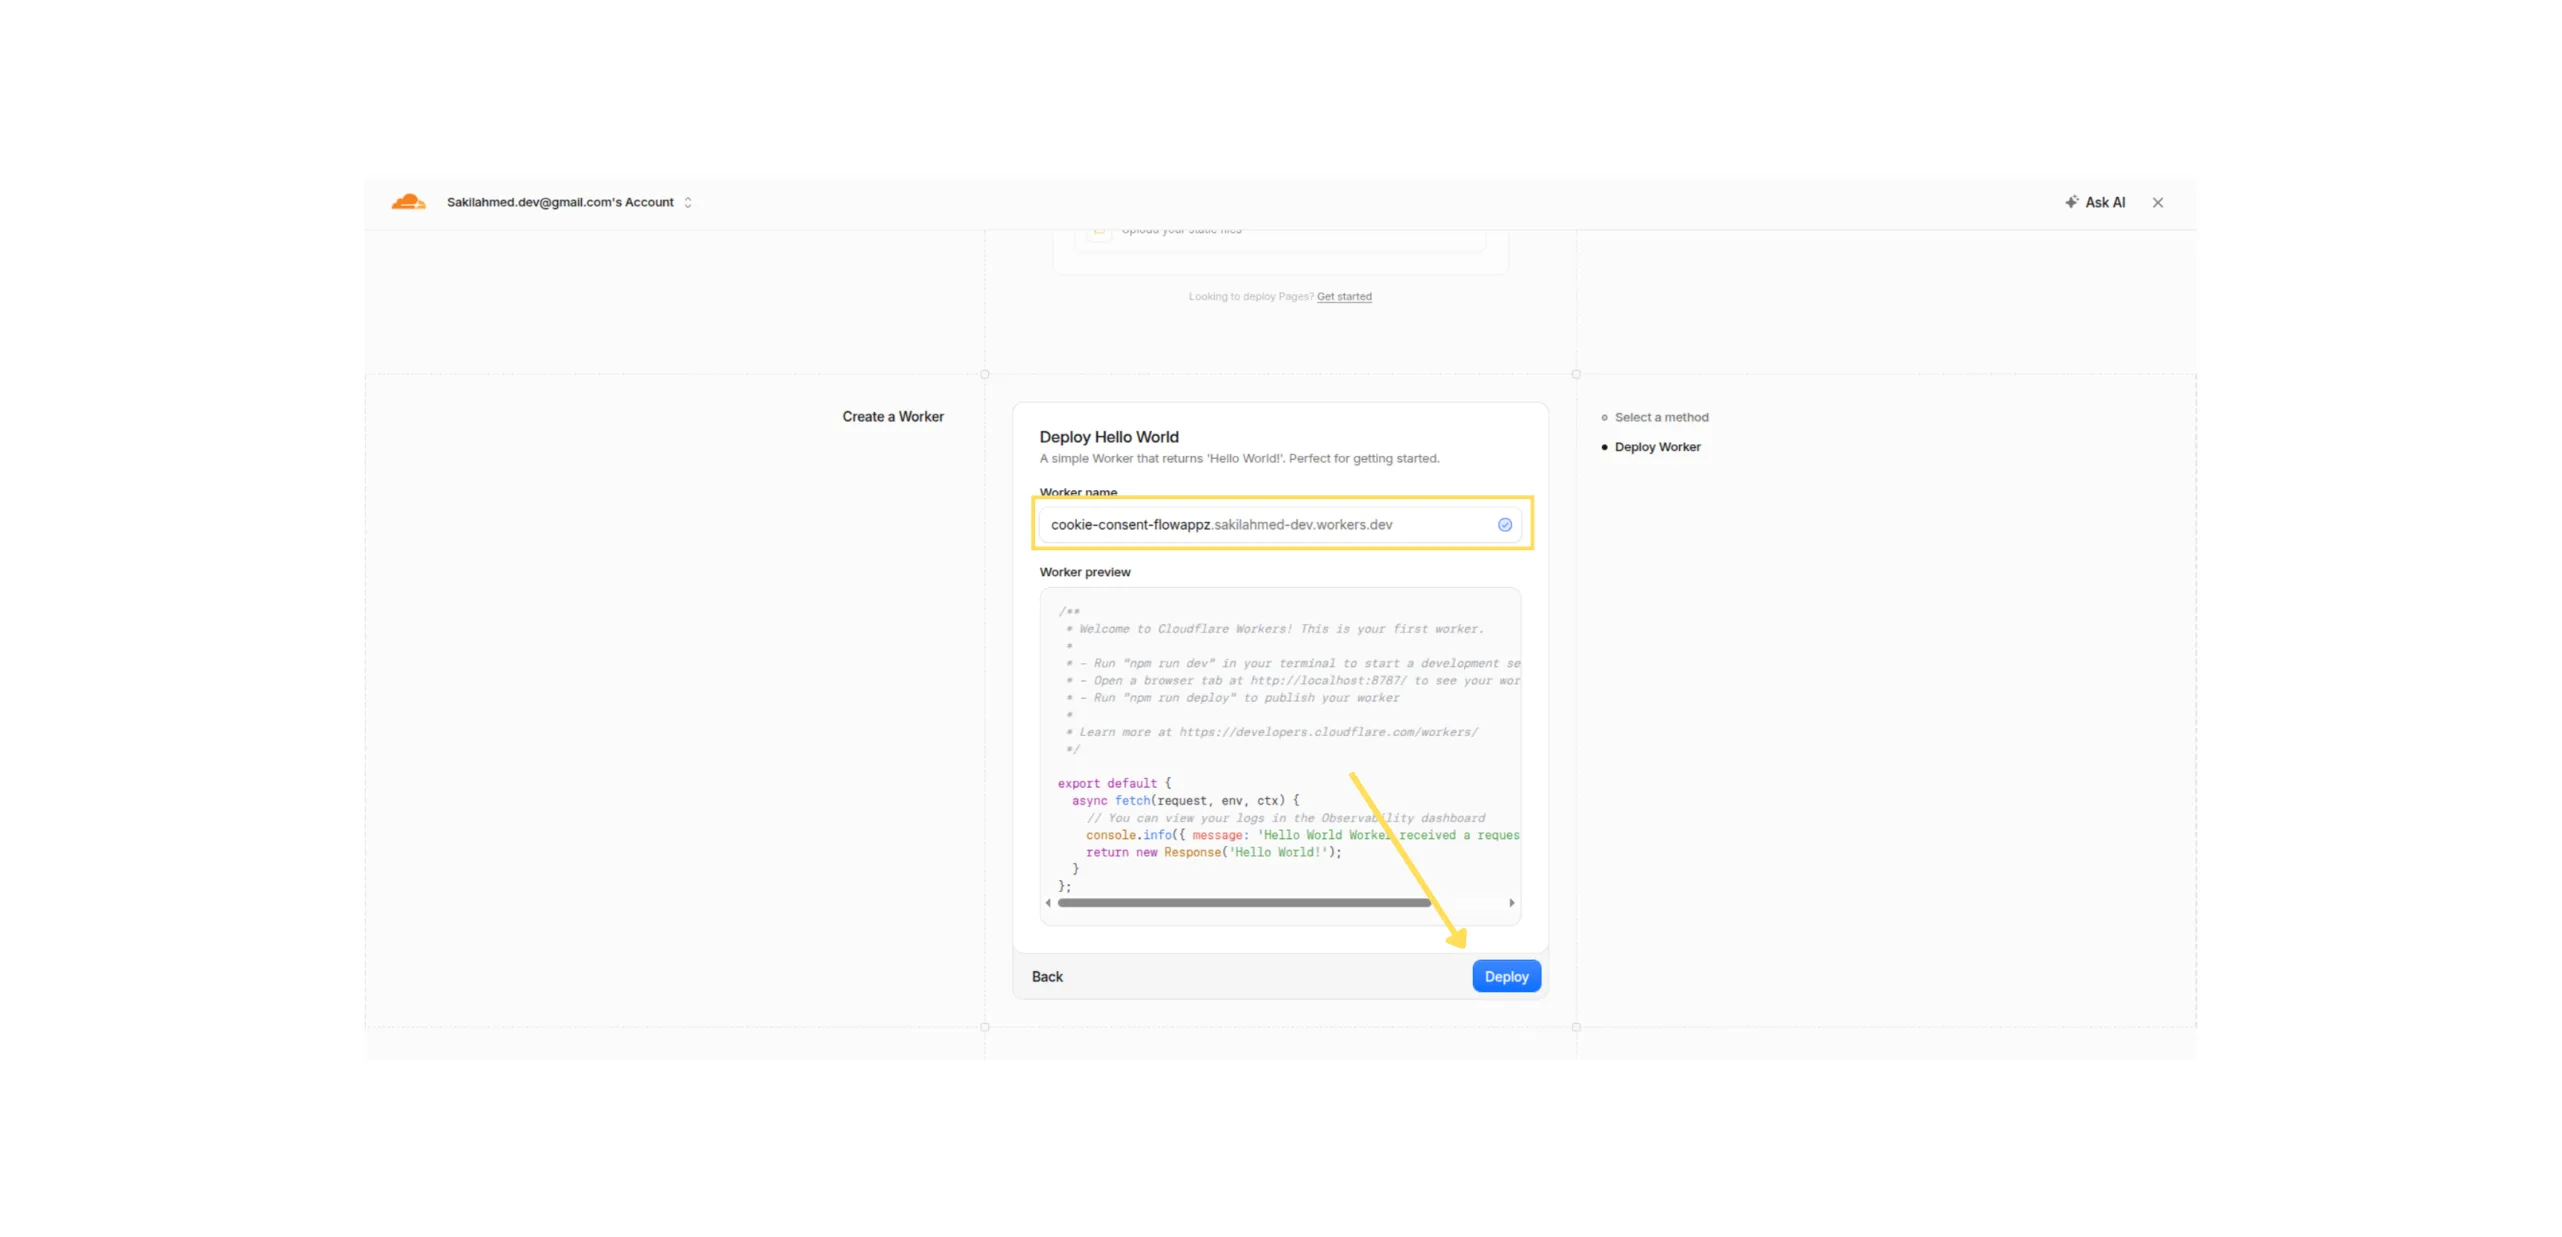
- Give your worker a name and click Deploy. In our example, we have named the worker cookie-consent-flowappz.
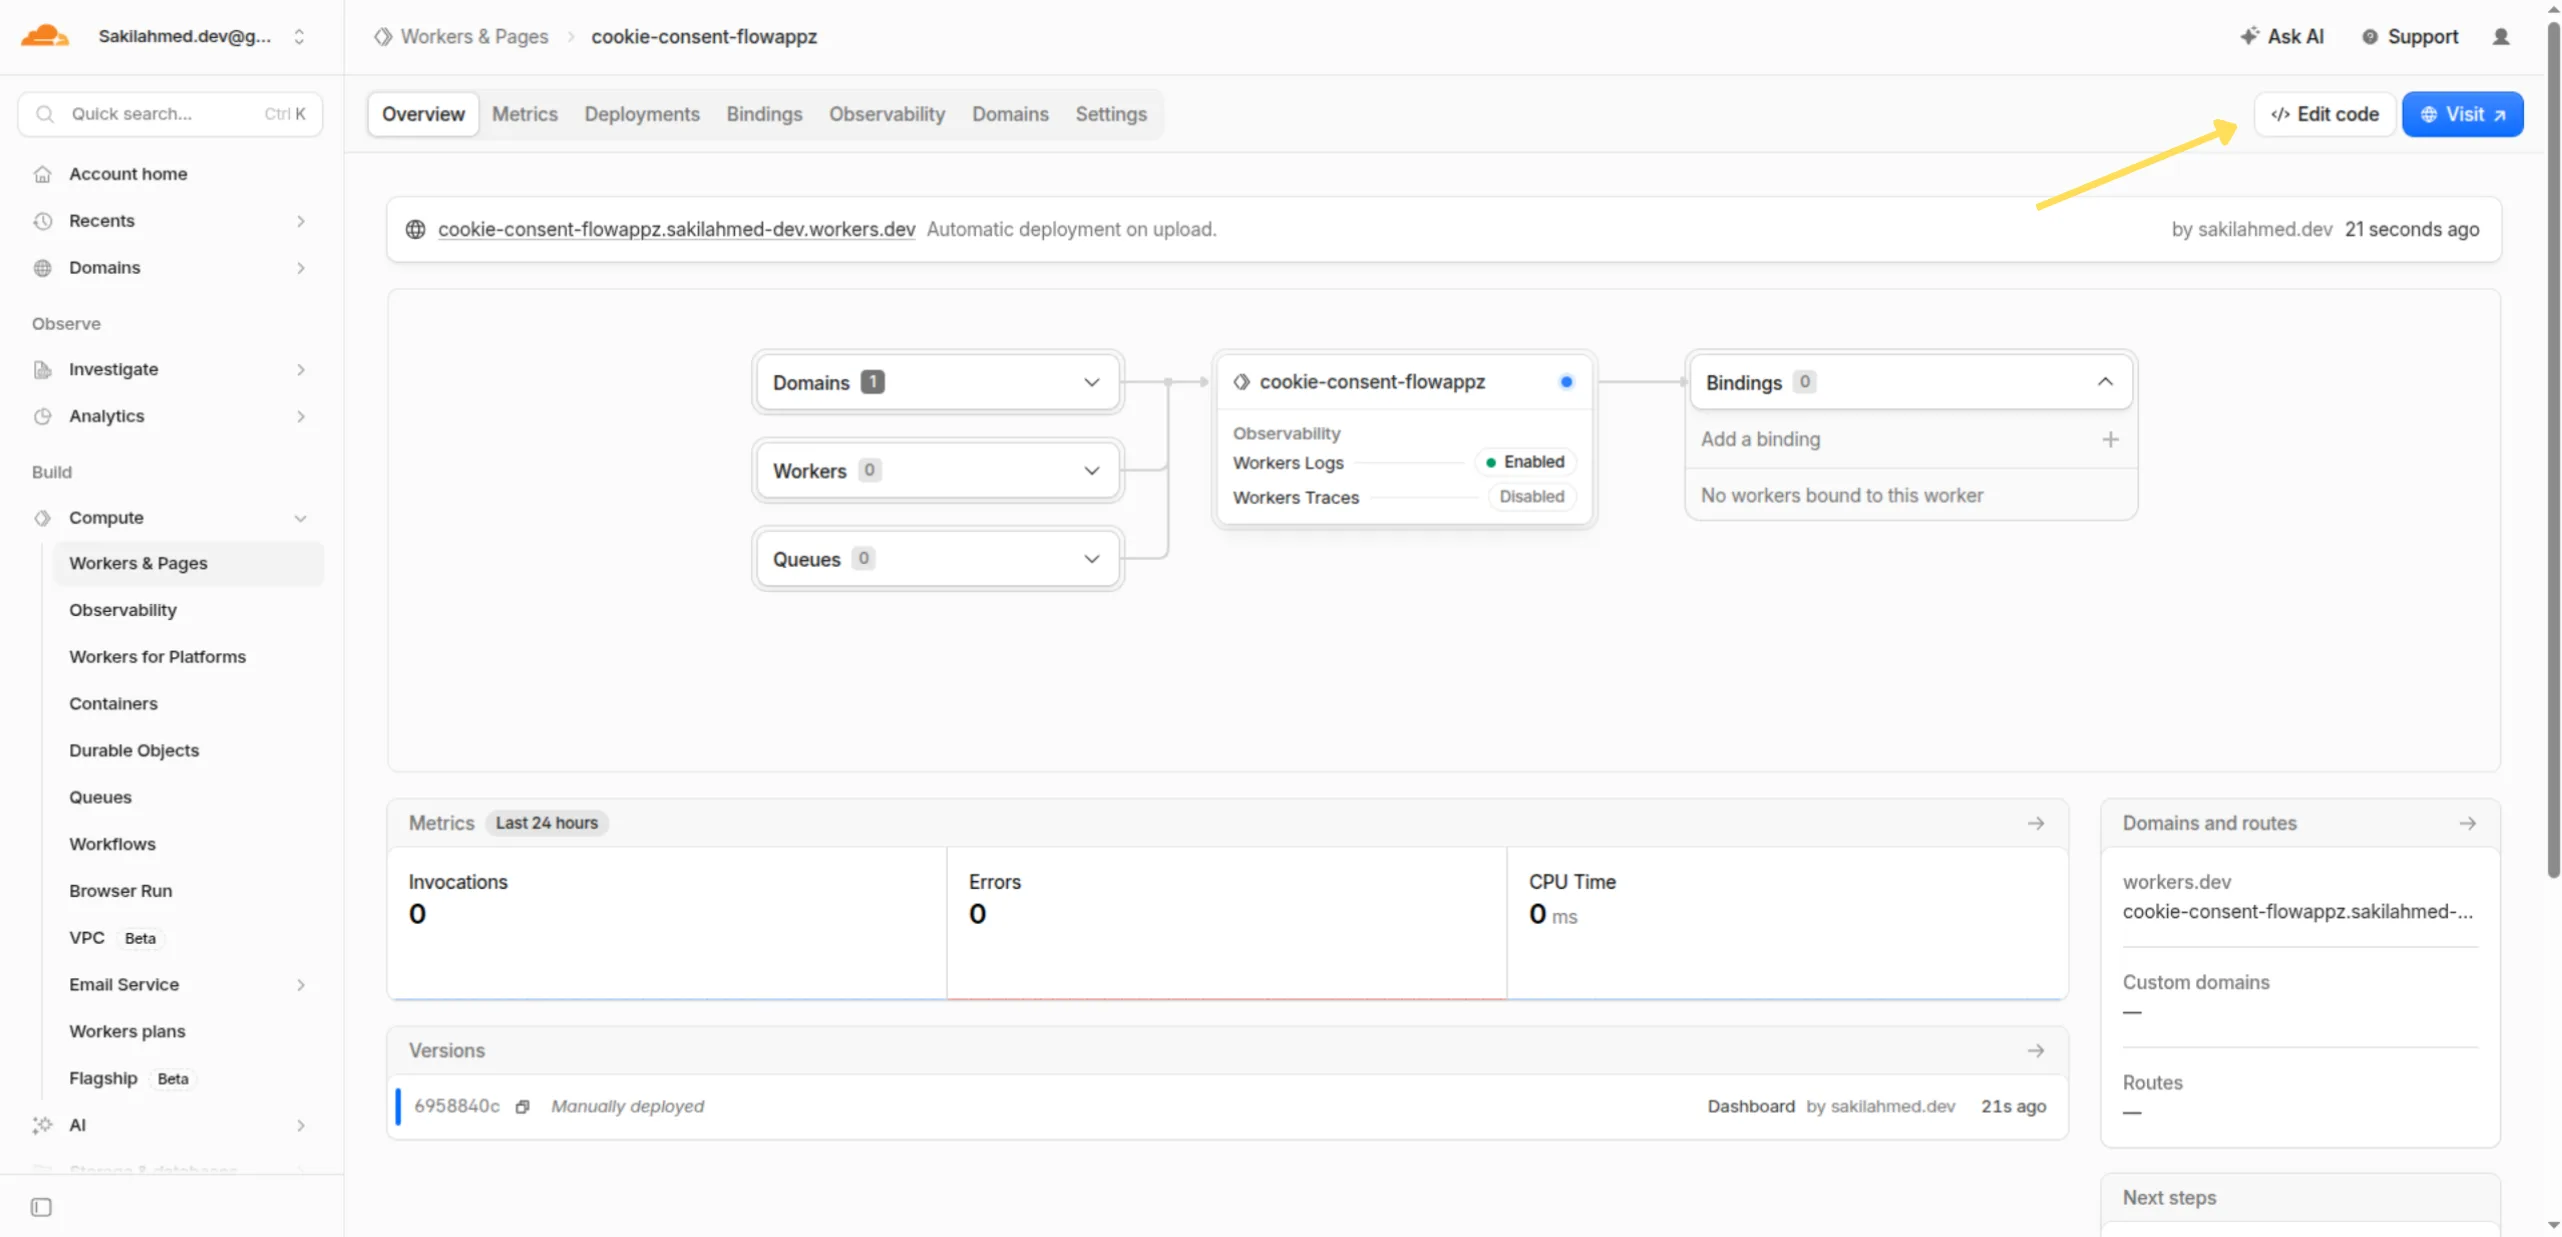
- You will be redirected to the Success page. Click Edit Code to proceed.
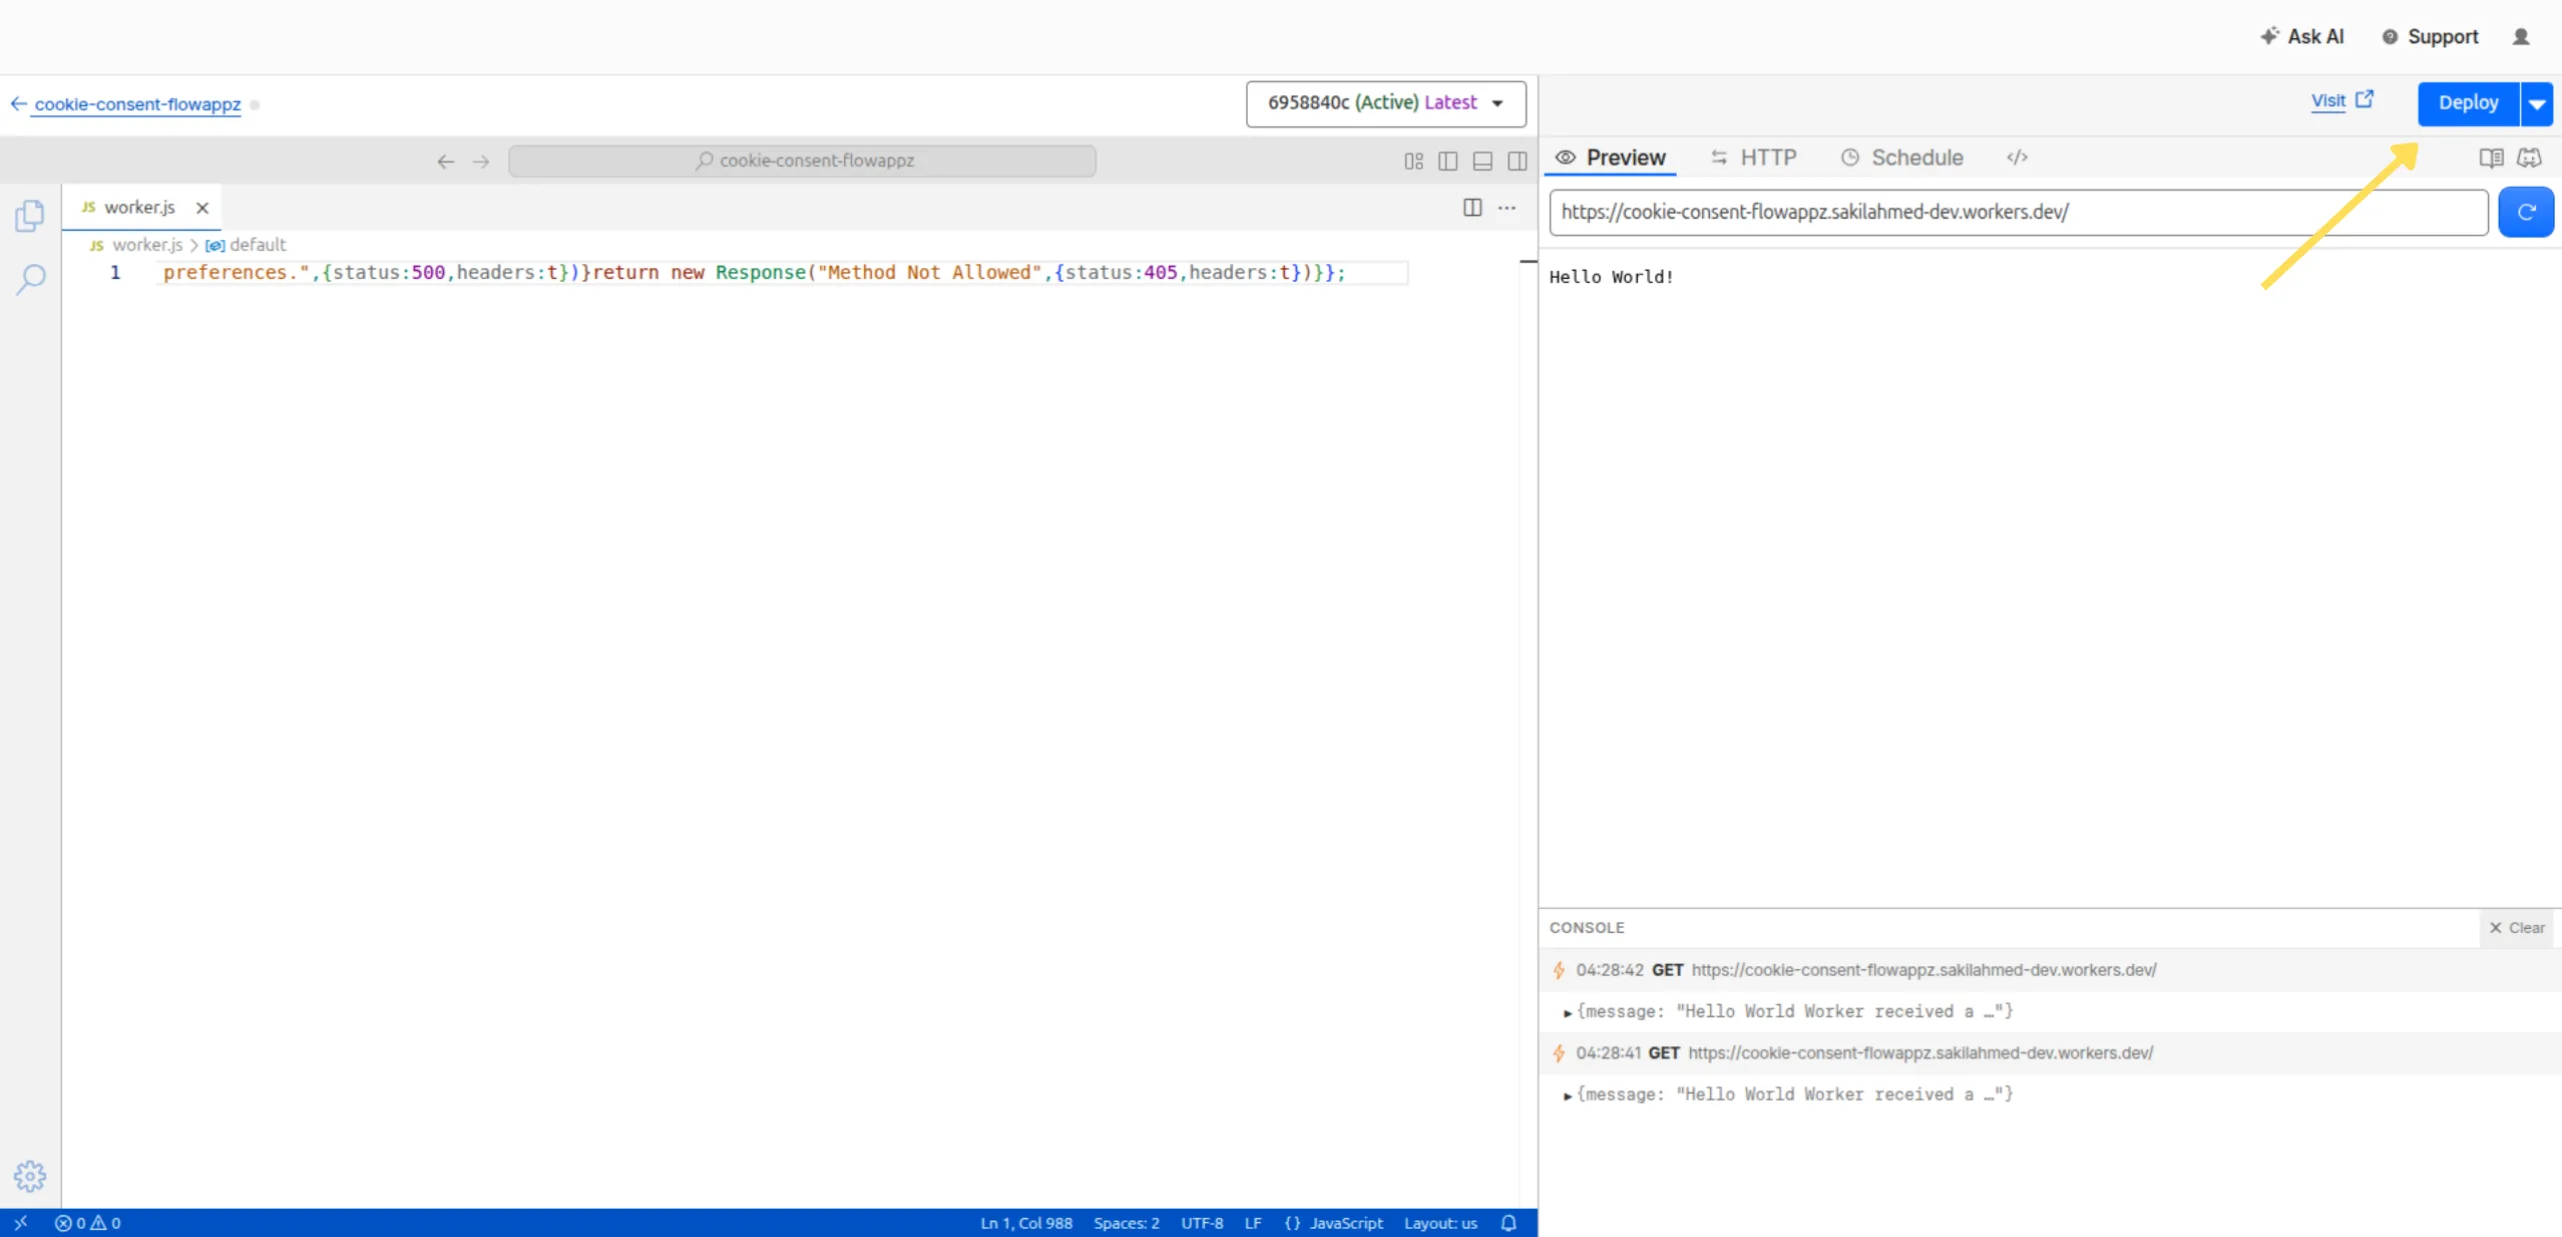
- Then, paste the following code into the code editor and click Deploy.
export default{async fetch(e,s){const t={"Access-Control-Allow-Origin":"*","Access-Control-Allow-Methods":"GET, HEAD, POST, OPTIONS","Access-Control-Allow-Headers":"Content-Type","Access-Control-Allow-Credentials":"true","Access-Control-Max-Age":"86400"};if("OPTIONS"===e.method)return new Response(null,{headers:t});if("POST"===e.method)try{const o=await e.json(),{cookiePreferences:r,expiryDate:n,browserInfo:a,userIp:c,action:l}=o;if(!(r&&n&&a&&c&&l))return new Response("Invalid payload: Missing required fields.",{status:400,headers:t});const i={action:l,userIp:c,browserInfo:a,cookiePreferences:r,expiryDate:n,timestamp:(new Date).toISOString()};return await s.CONSENTS.put(c,JSON.stringify(i)),new Response("Consent preferences successfully stored.",{status:200,headers:t})}catch(e){return console.error("Failed to store data in KV:",e),new Response("Failed to store consent preferences.",{status:500,headers:t})}return new Response("Method Not Allowed",{status:405,headers:t})}};
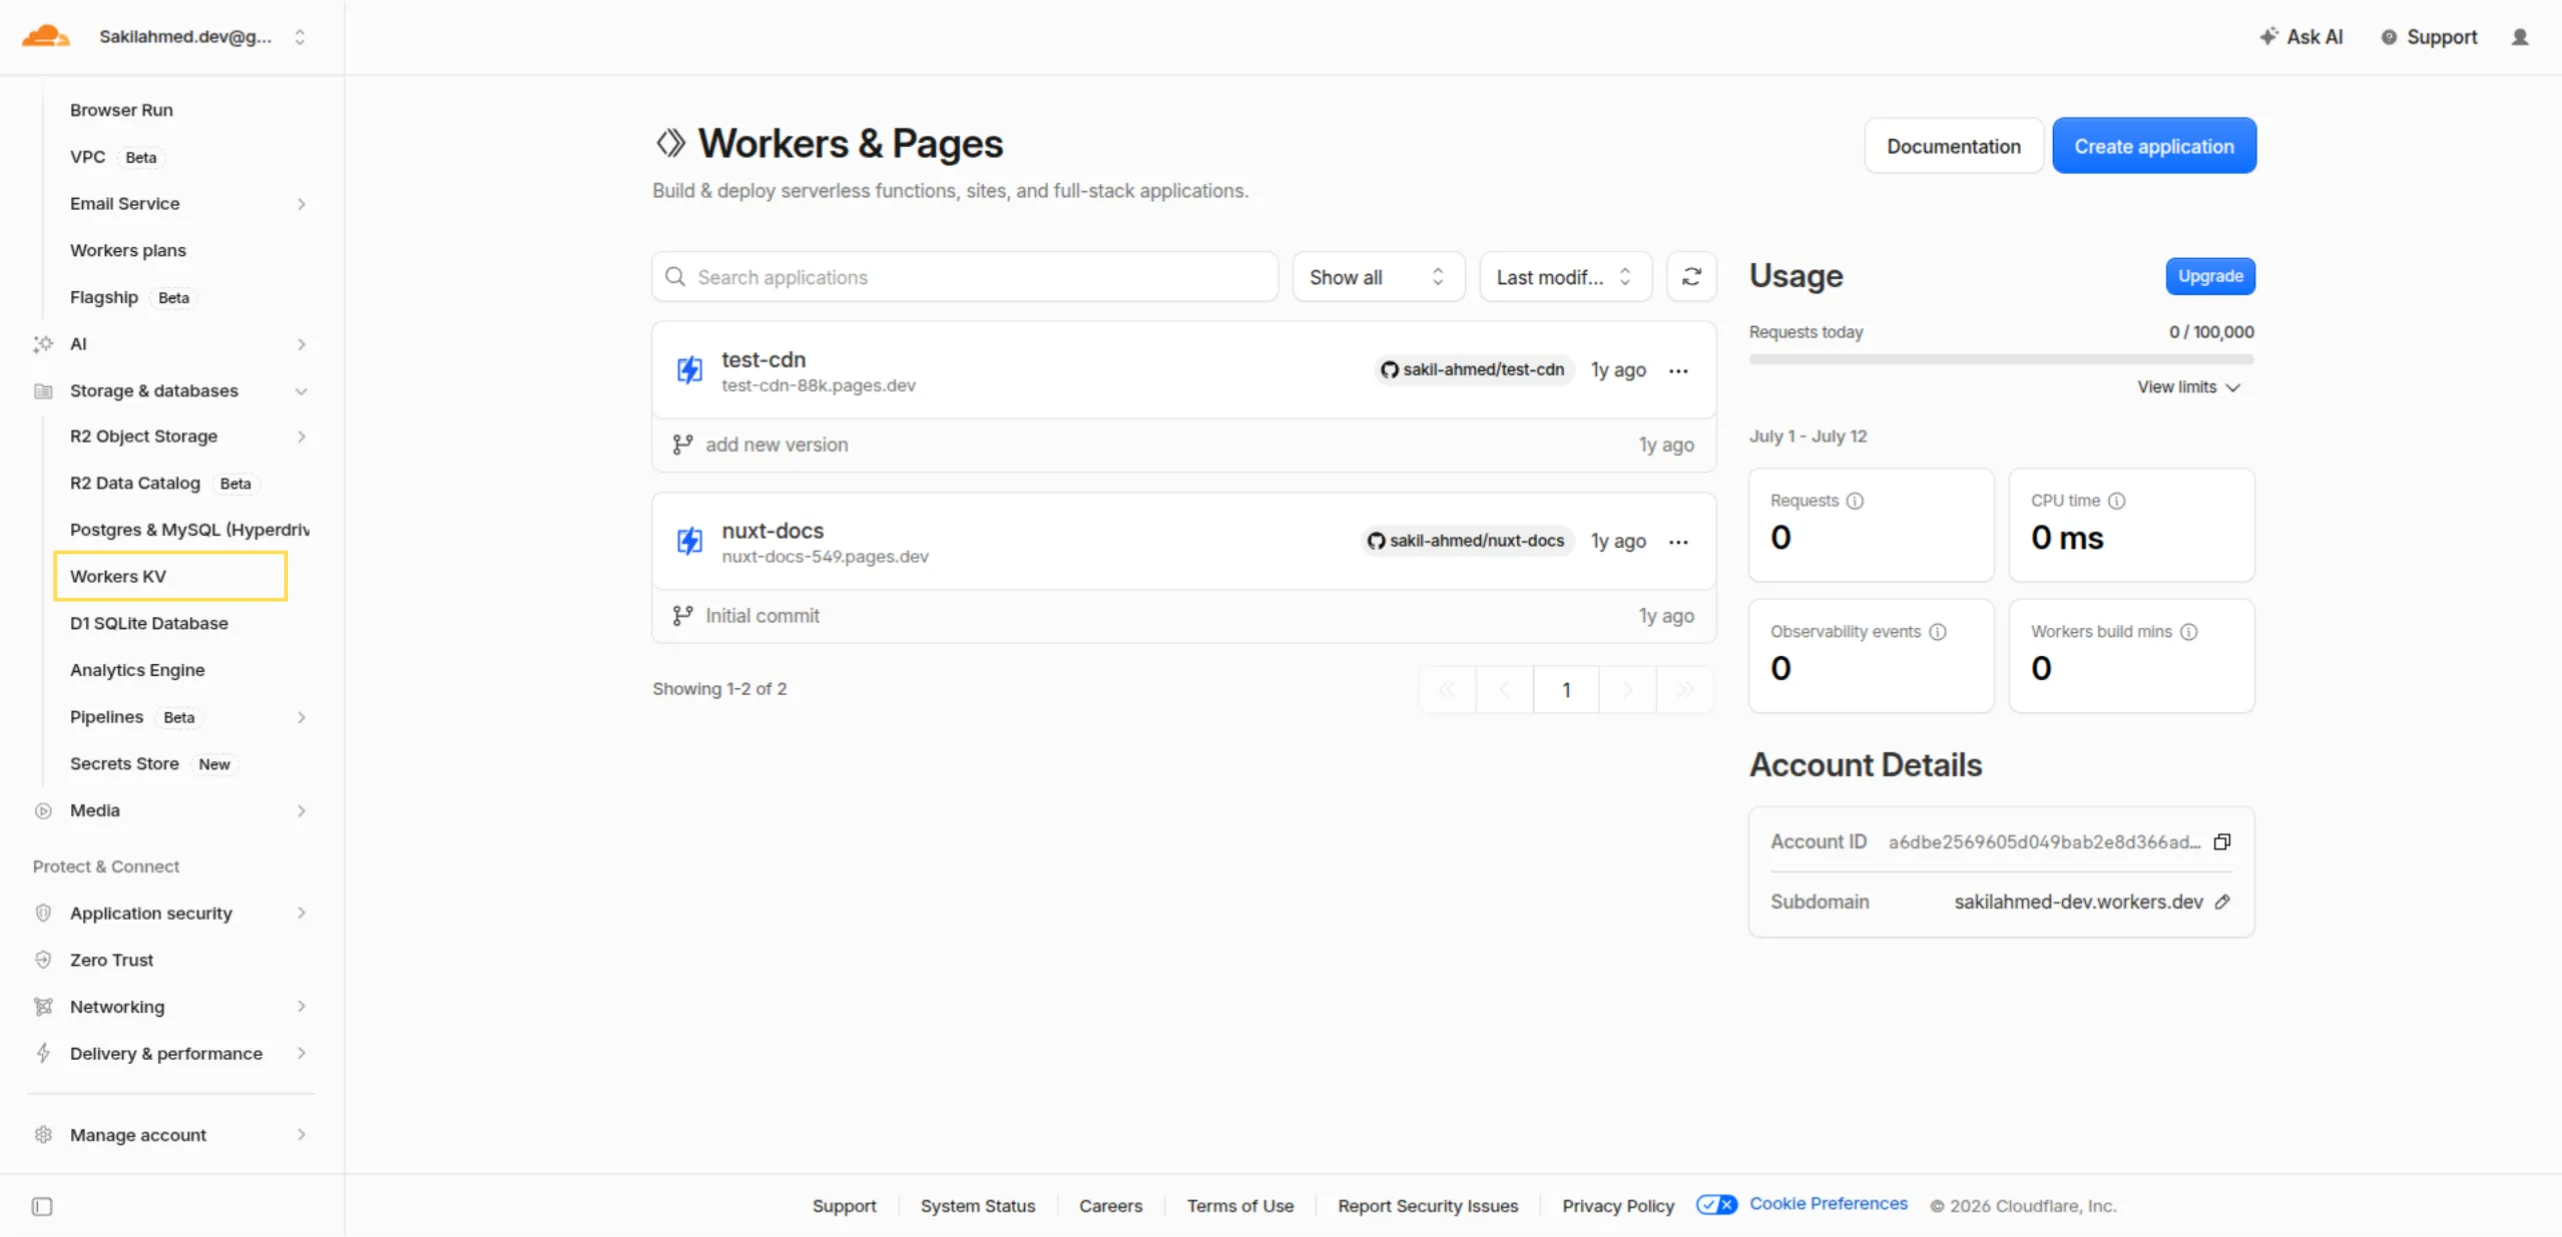
- Then, go back to the Dashboard, and in the left-side menu under Storage and Databases, click on Workers KV.
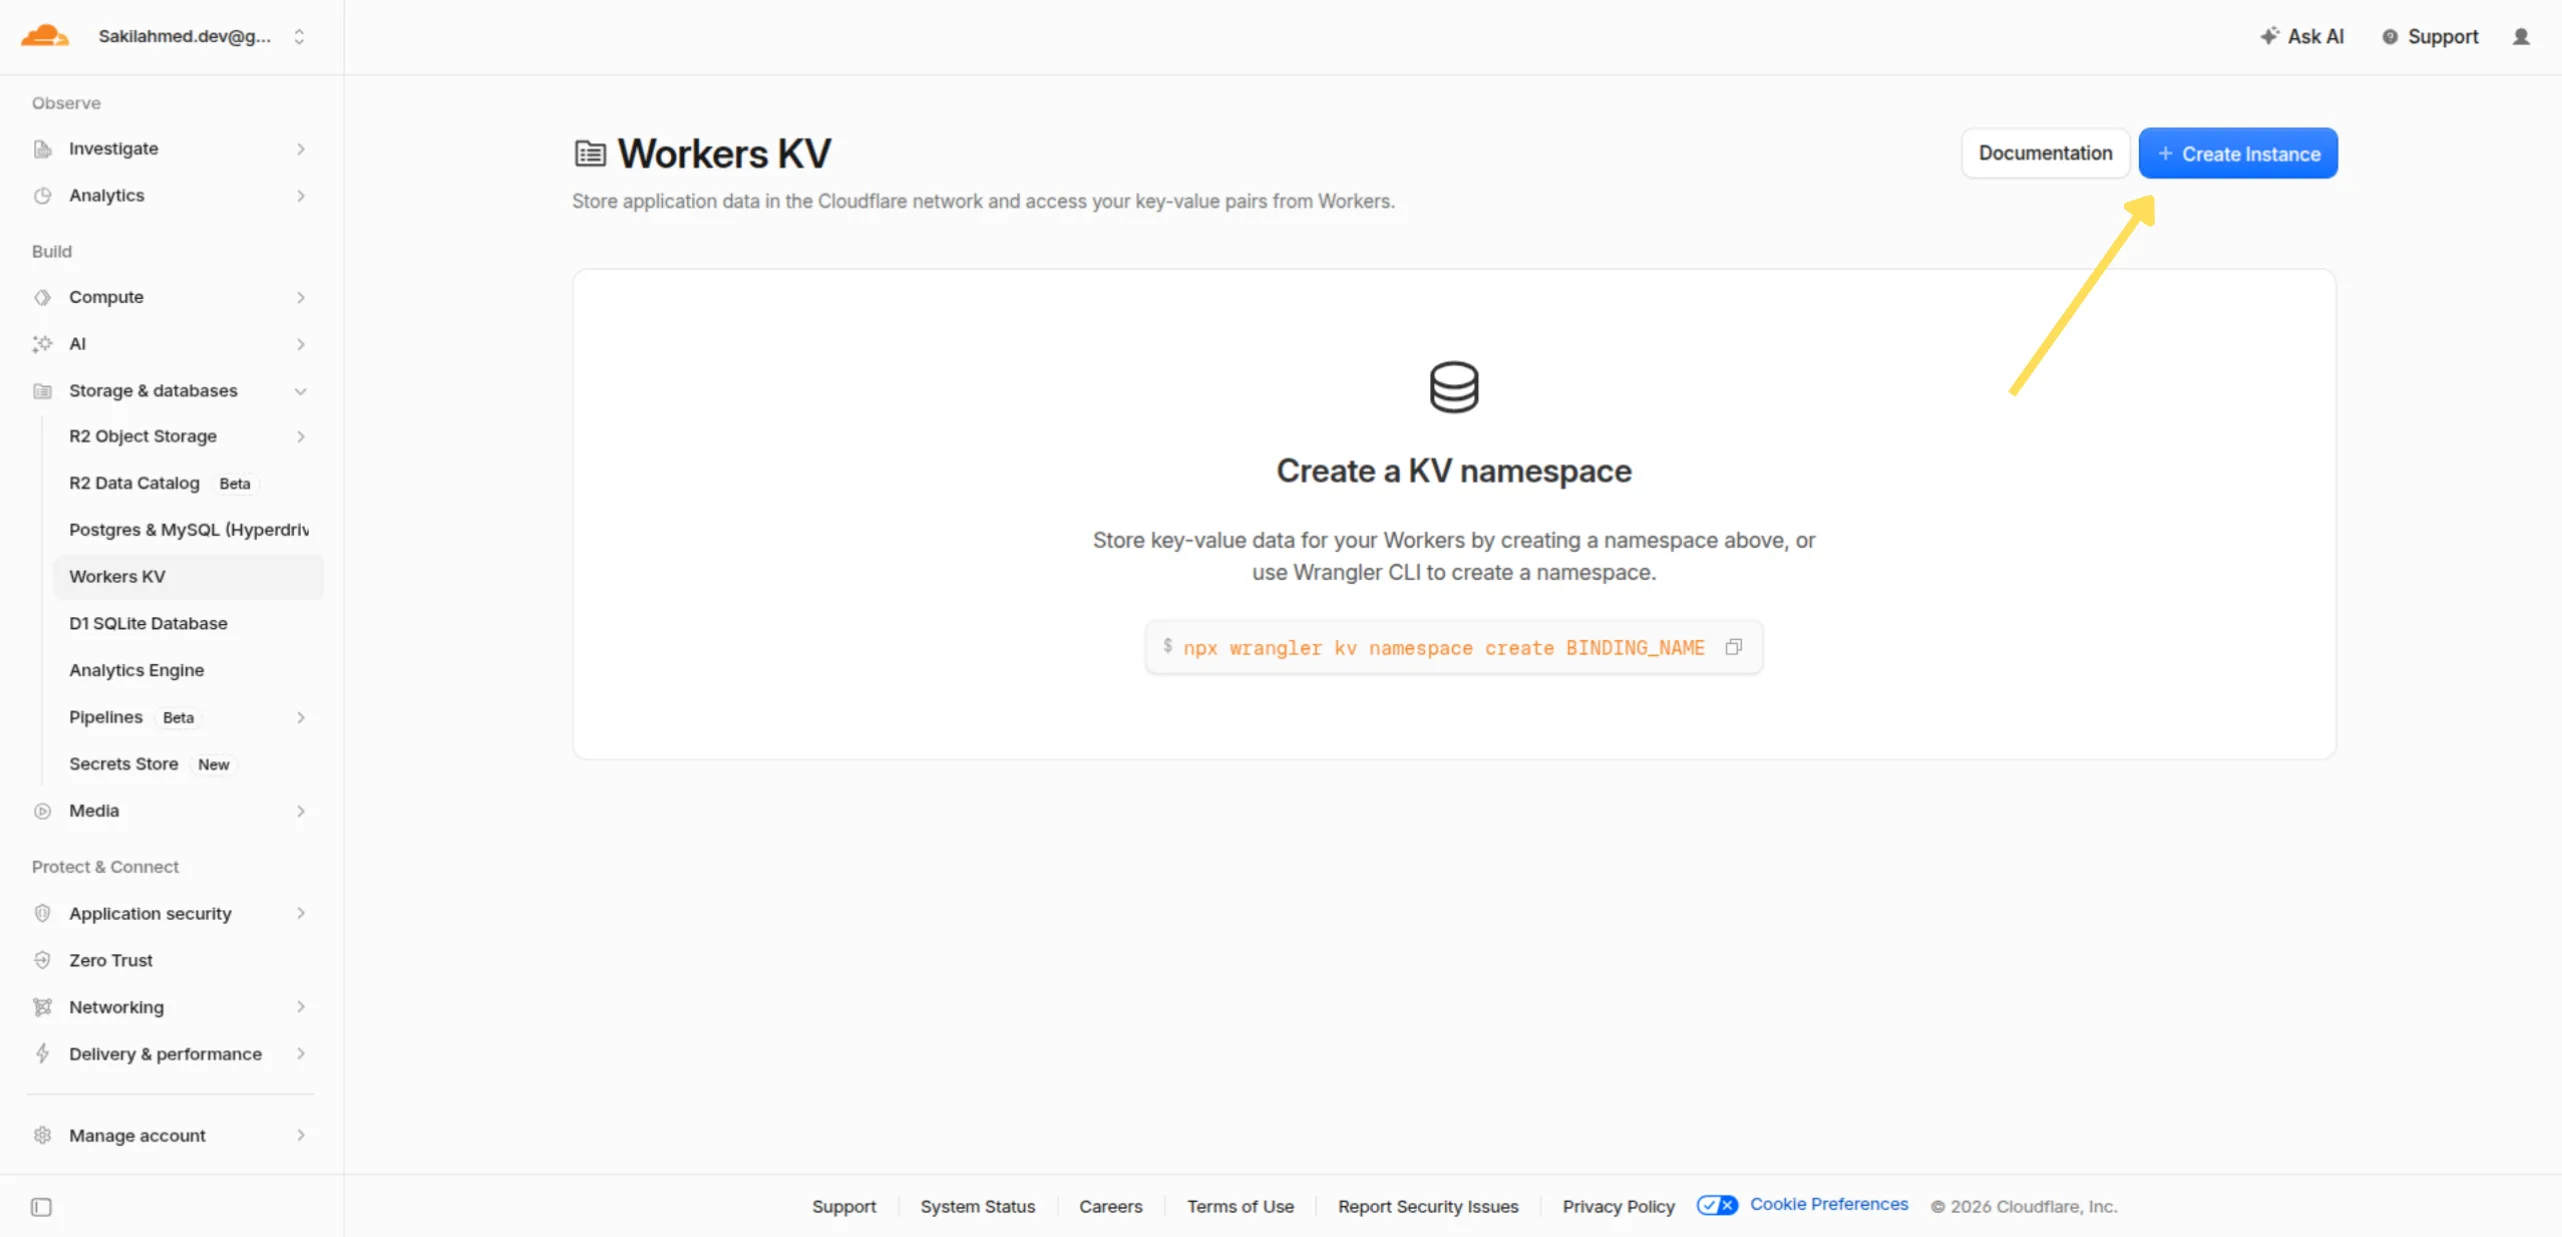
- Then, click on Create Instance.
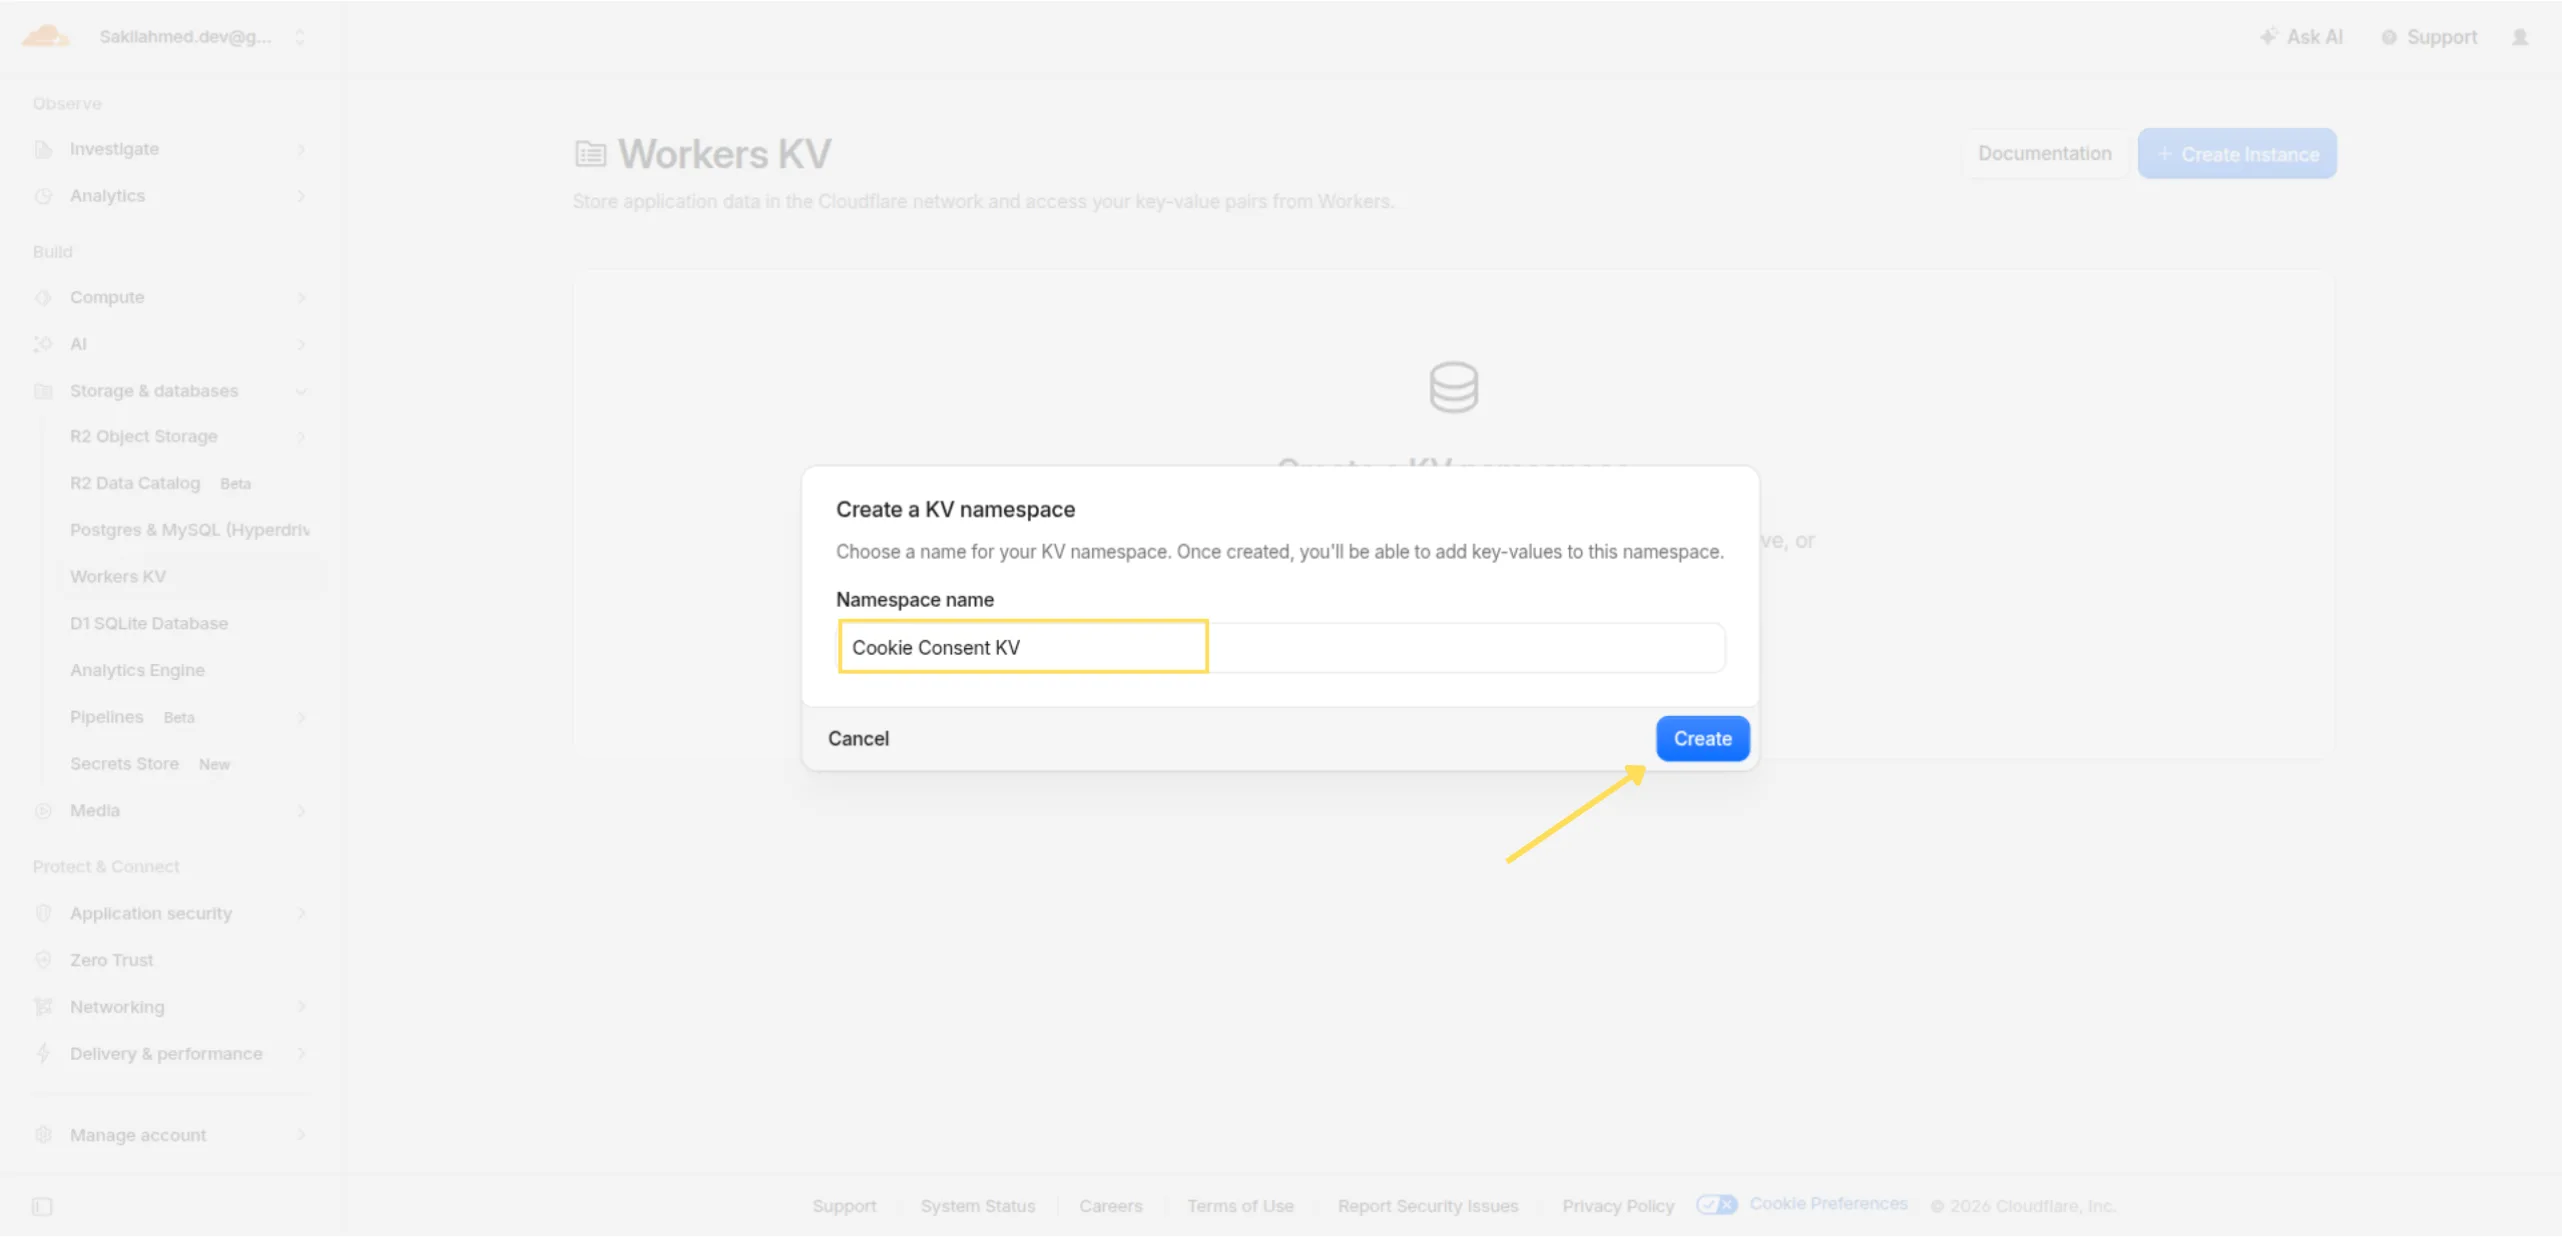
- Give a name to the Namespace and click Create. In our example, we have used the name Cookie Consent KV.
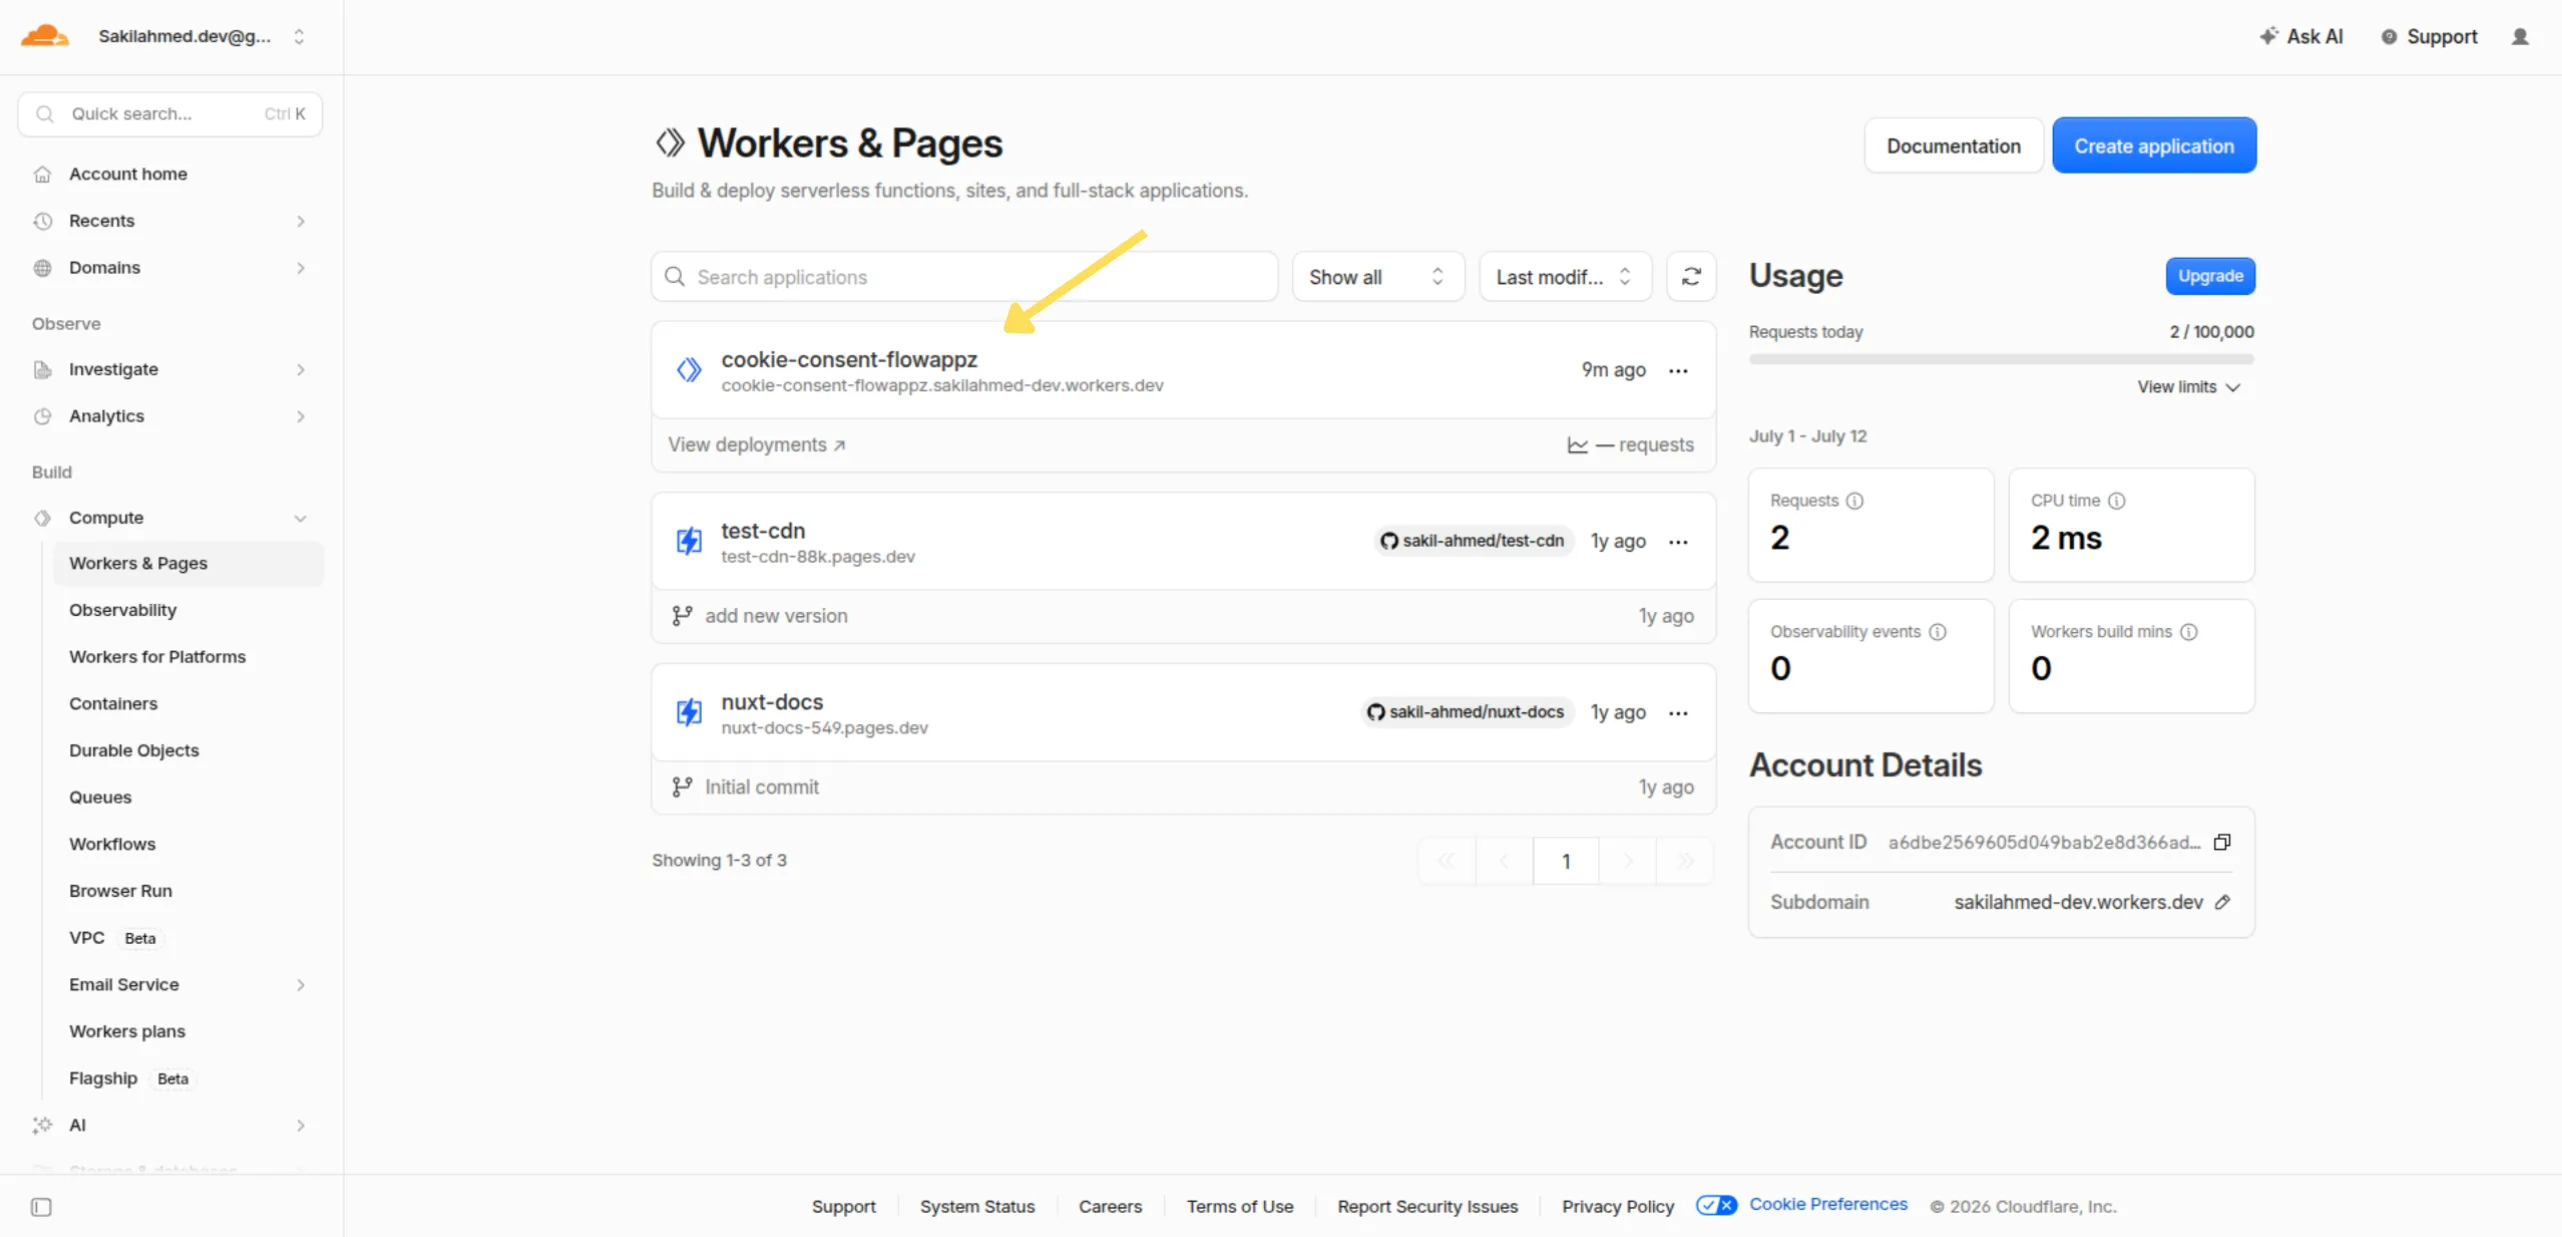
- Go to Workers and Pages, then click on the previously created worker. In our example, it is cookie-consent-flowappz.
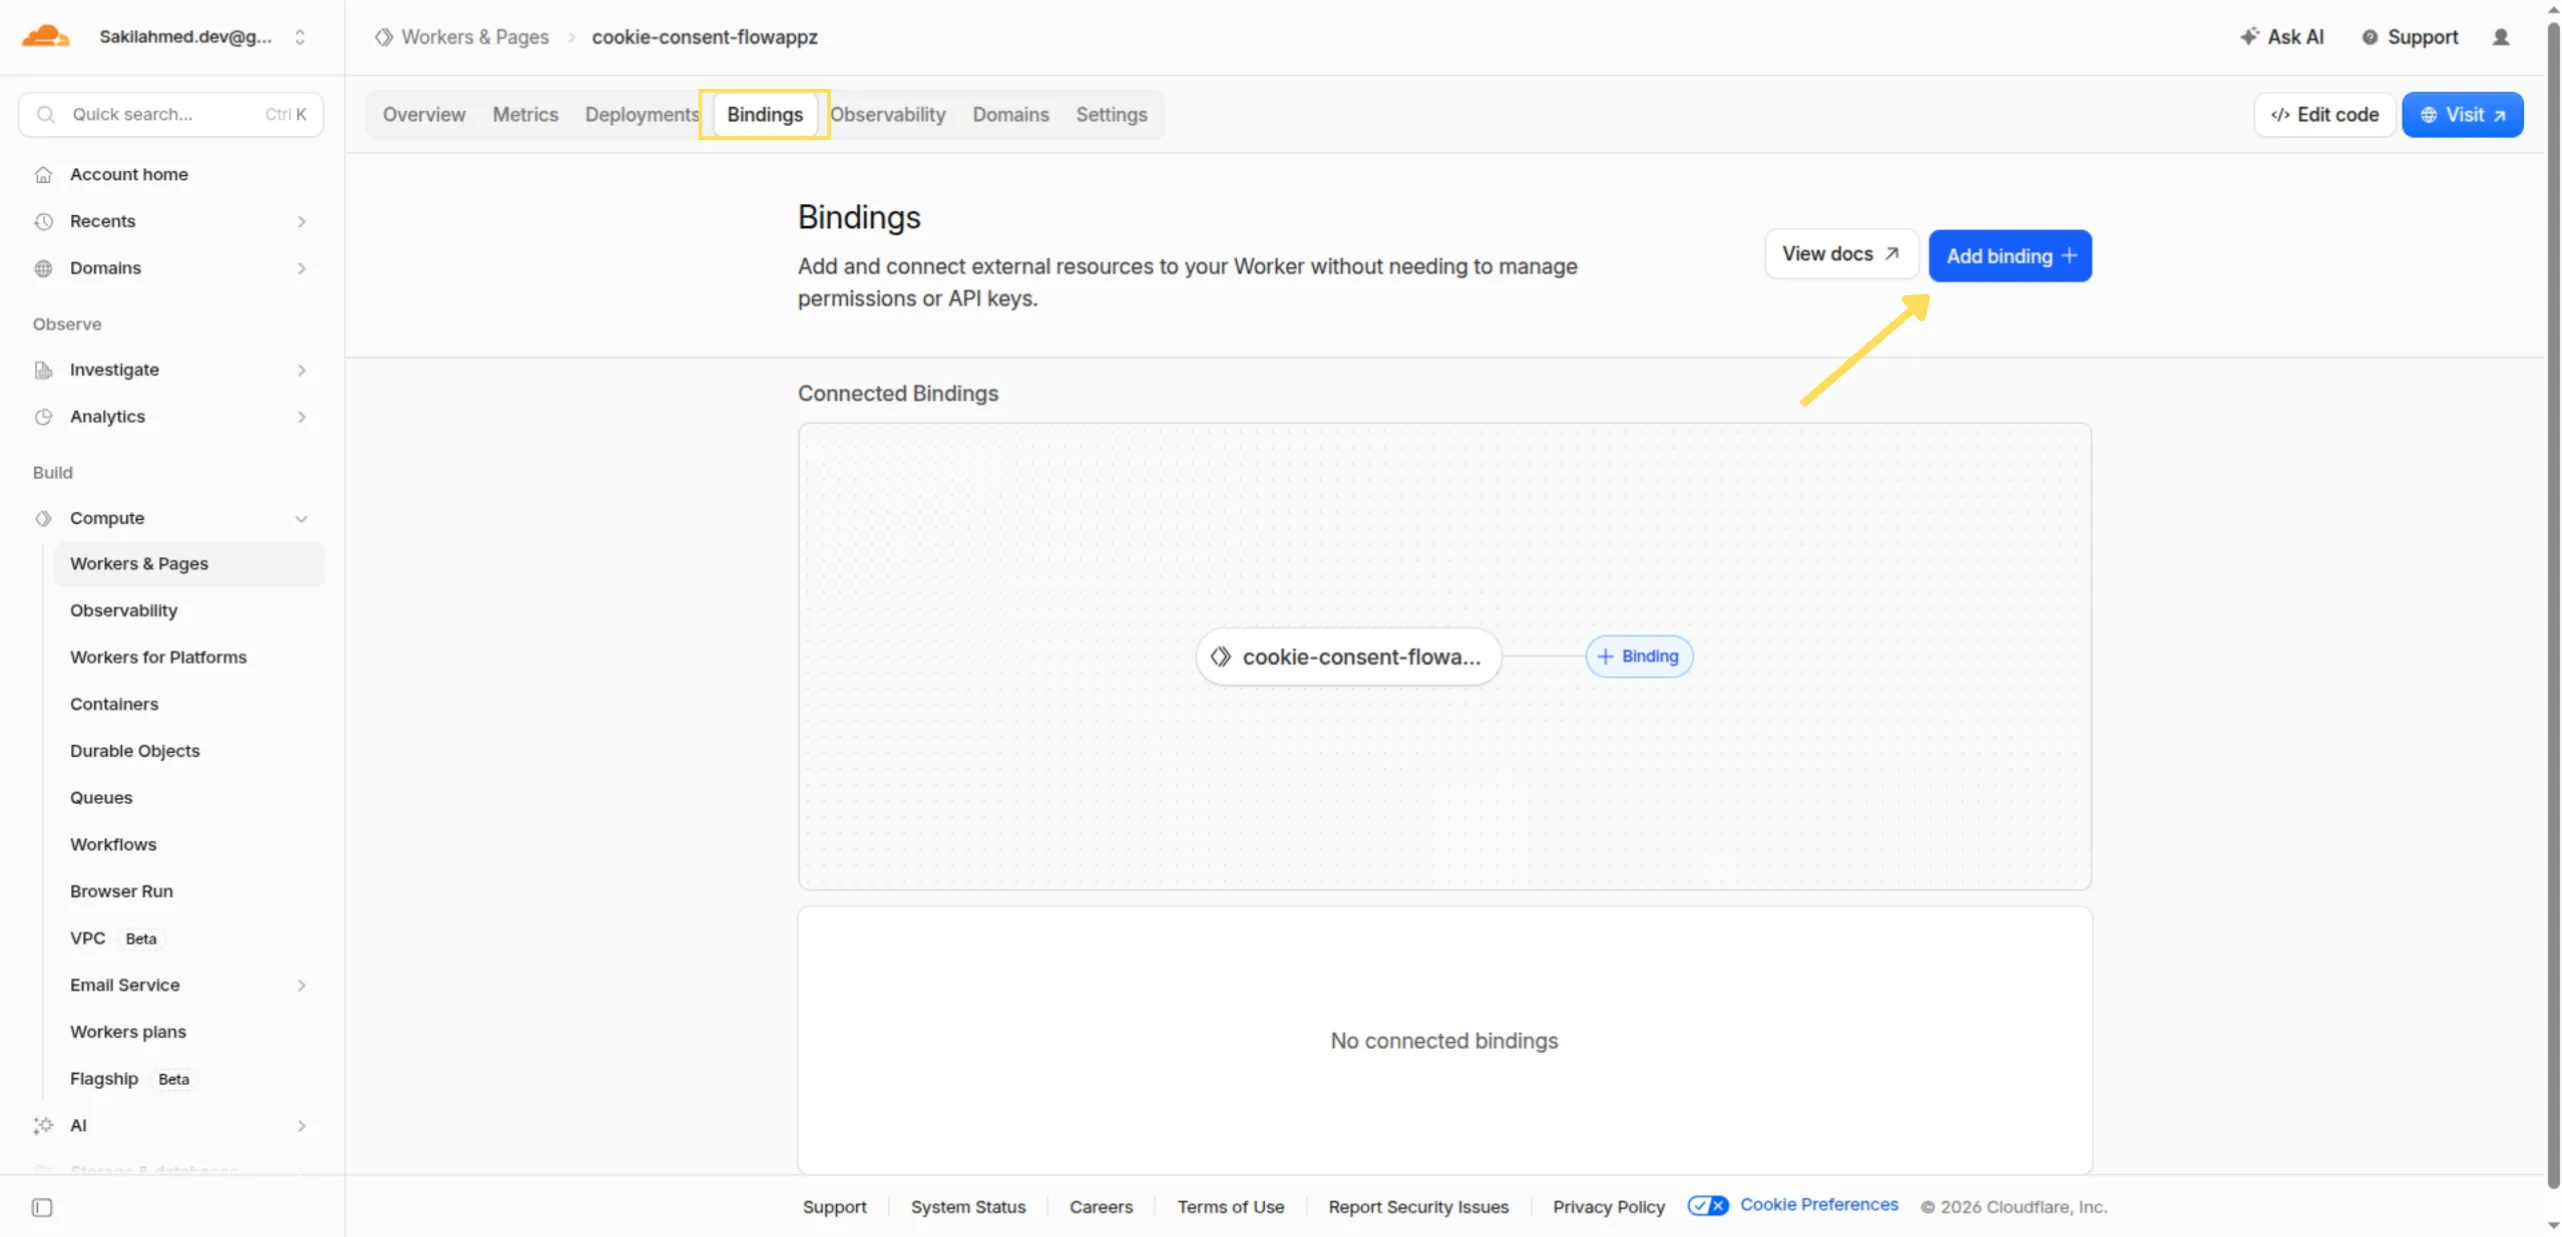
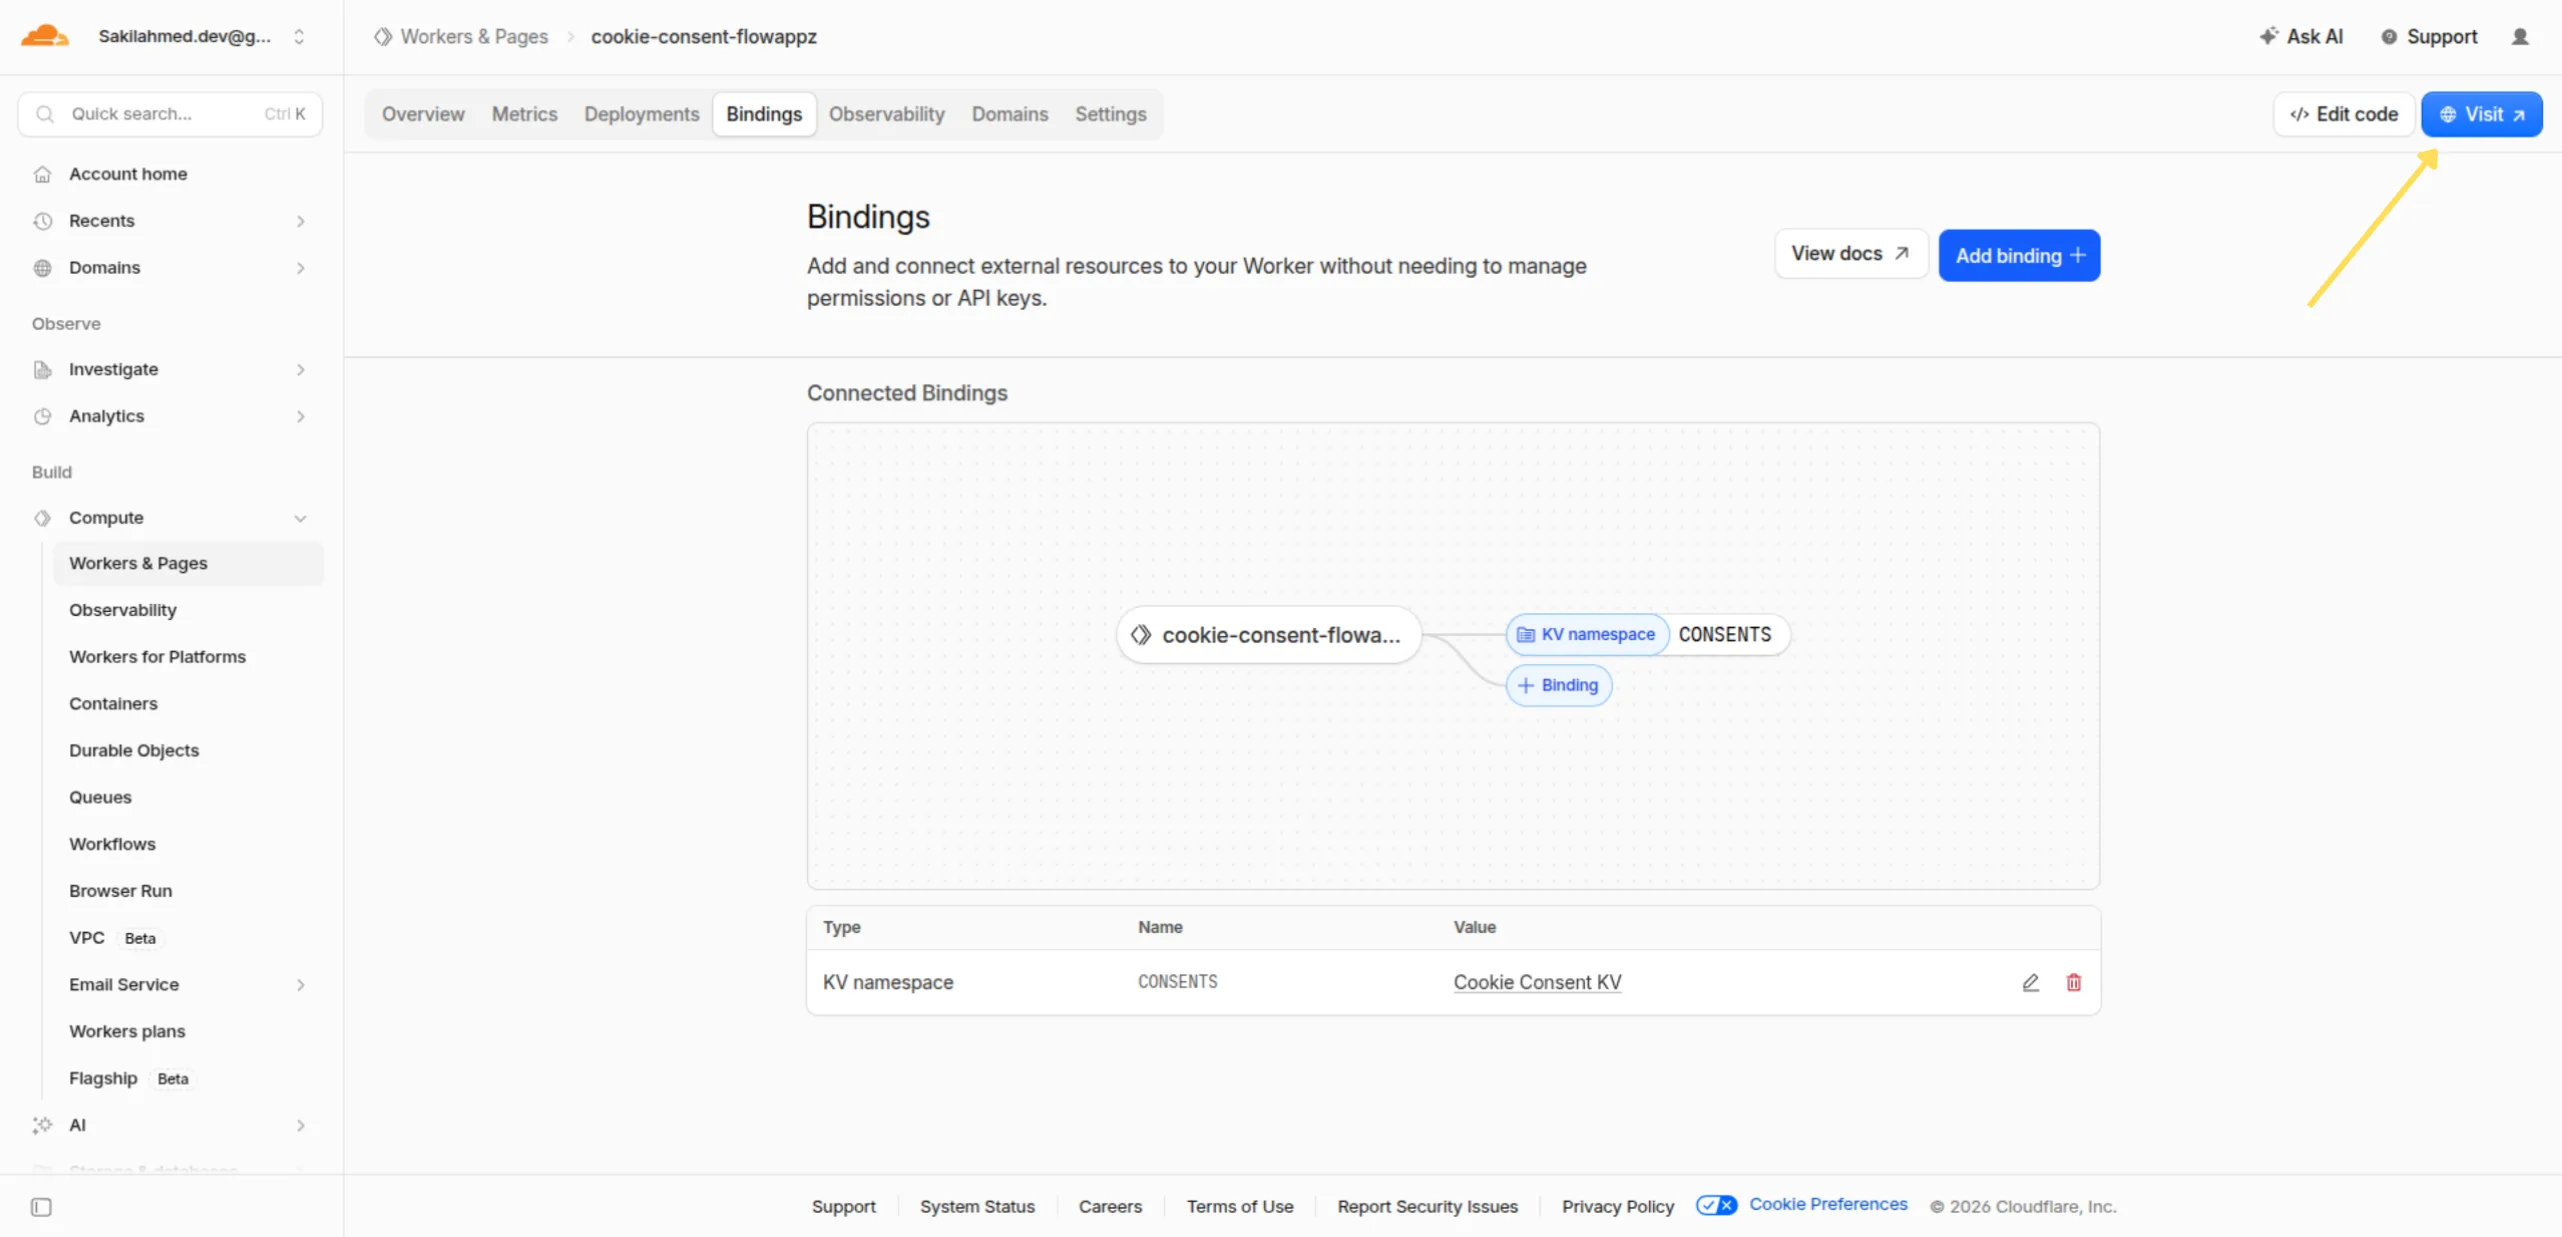
- Navigate to the Bindings tab and click on Add Binding
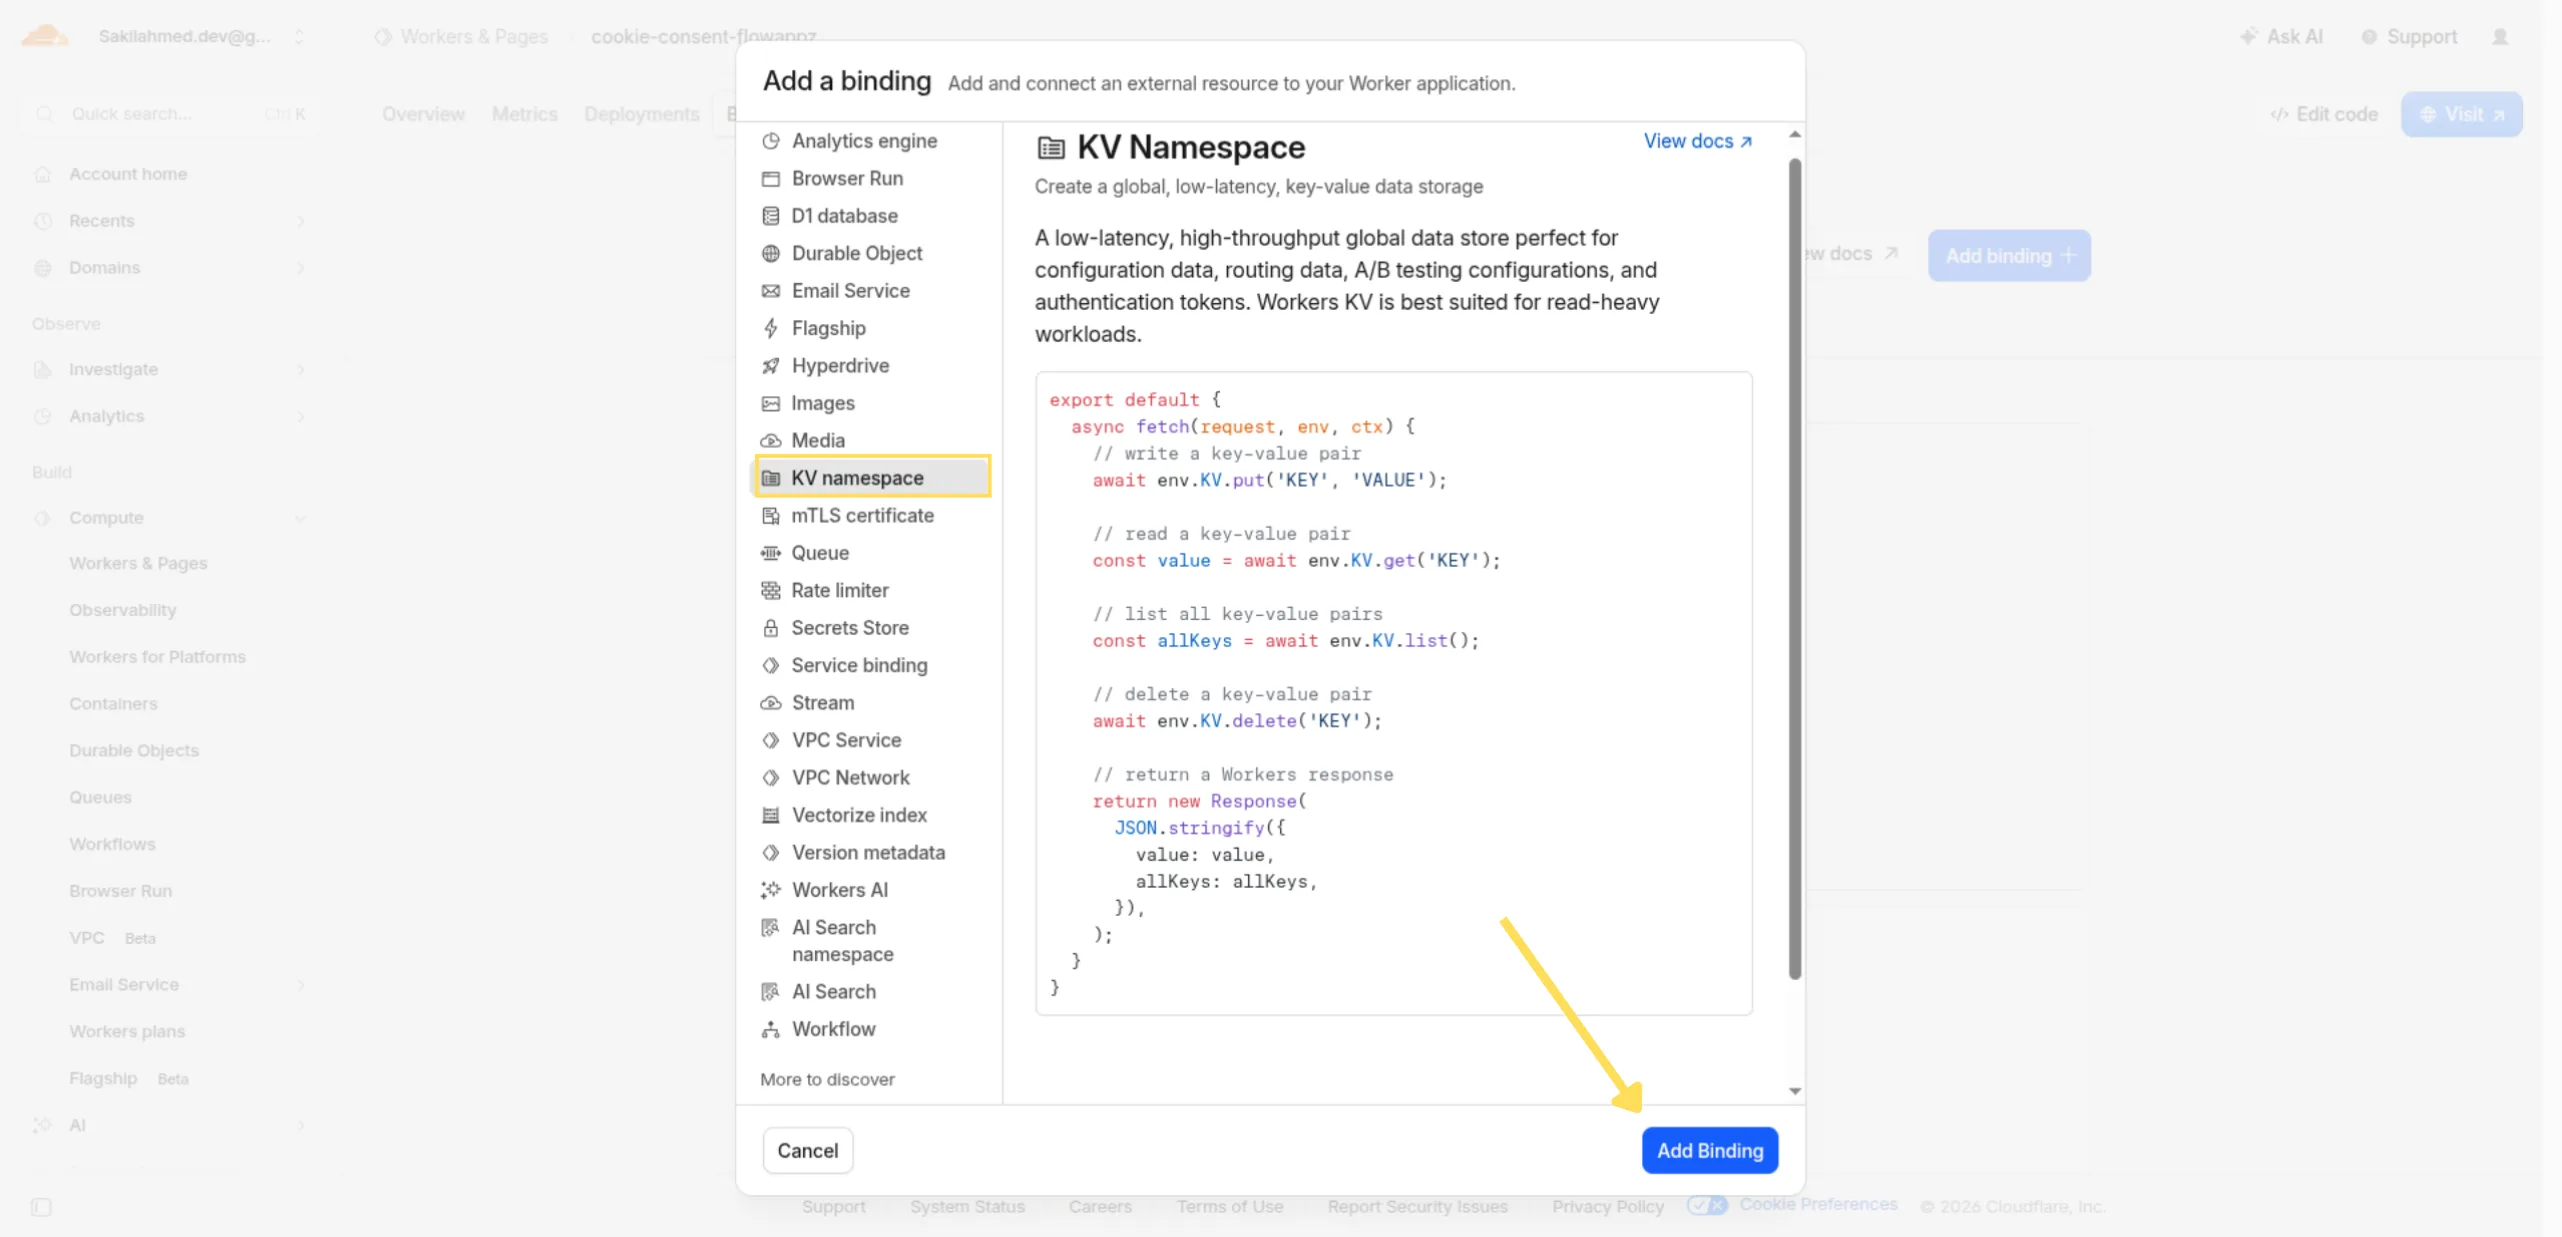
- Then, select the KV Namespace then click Add binding.
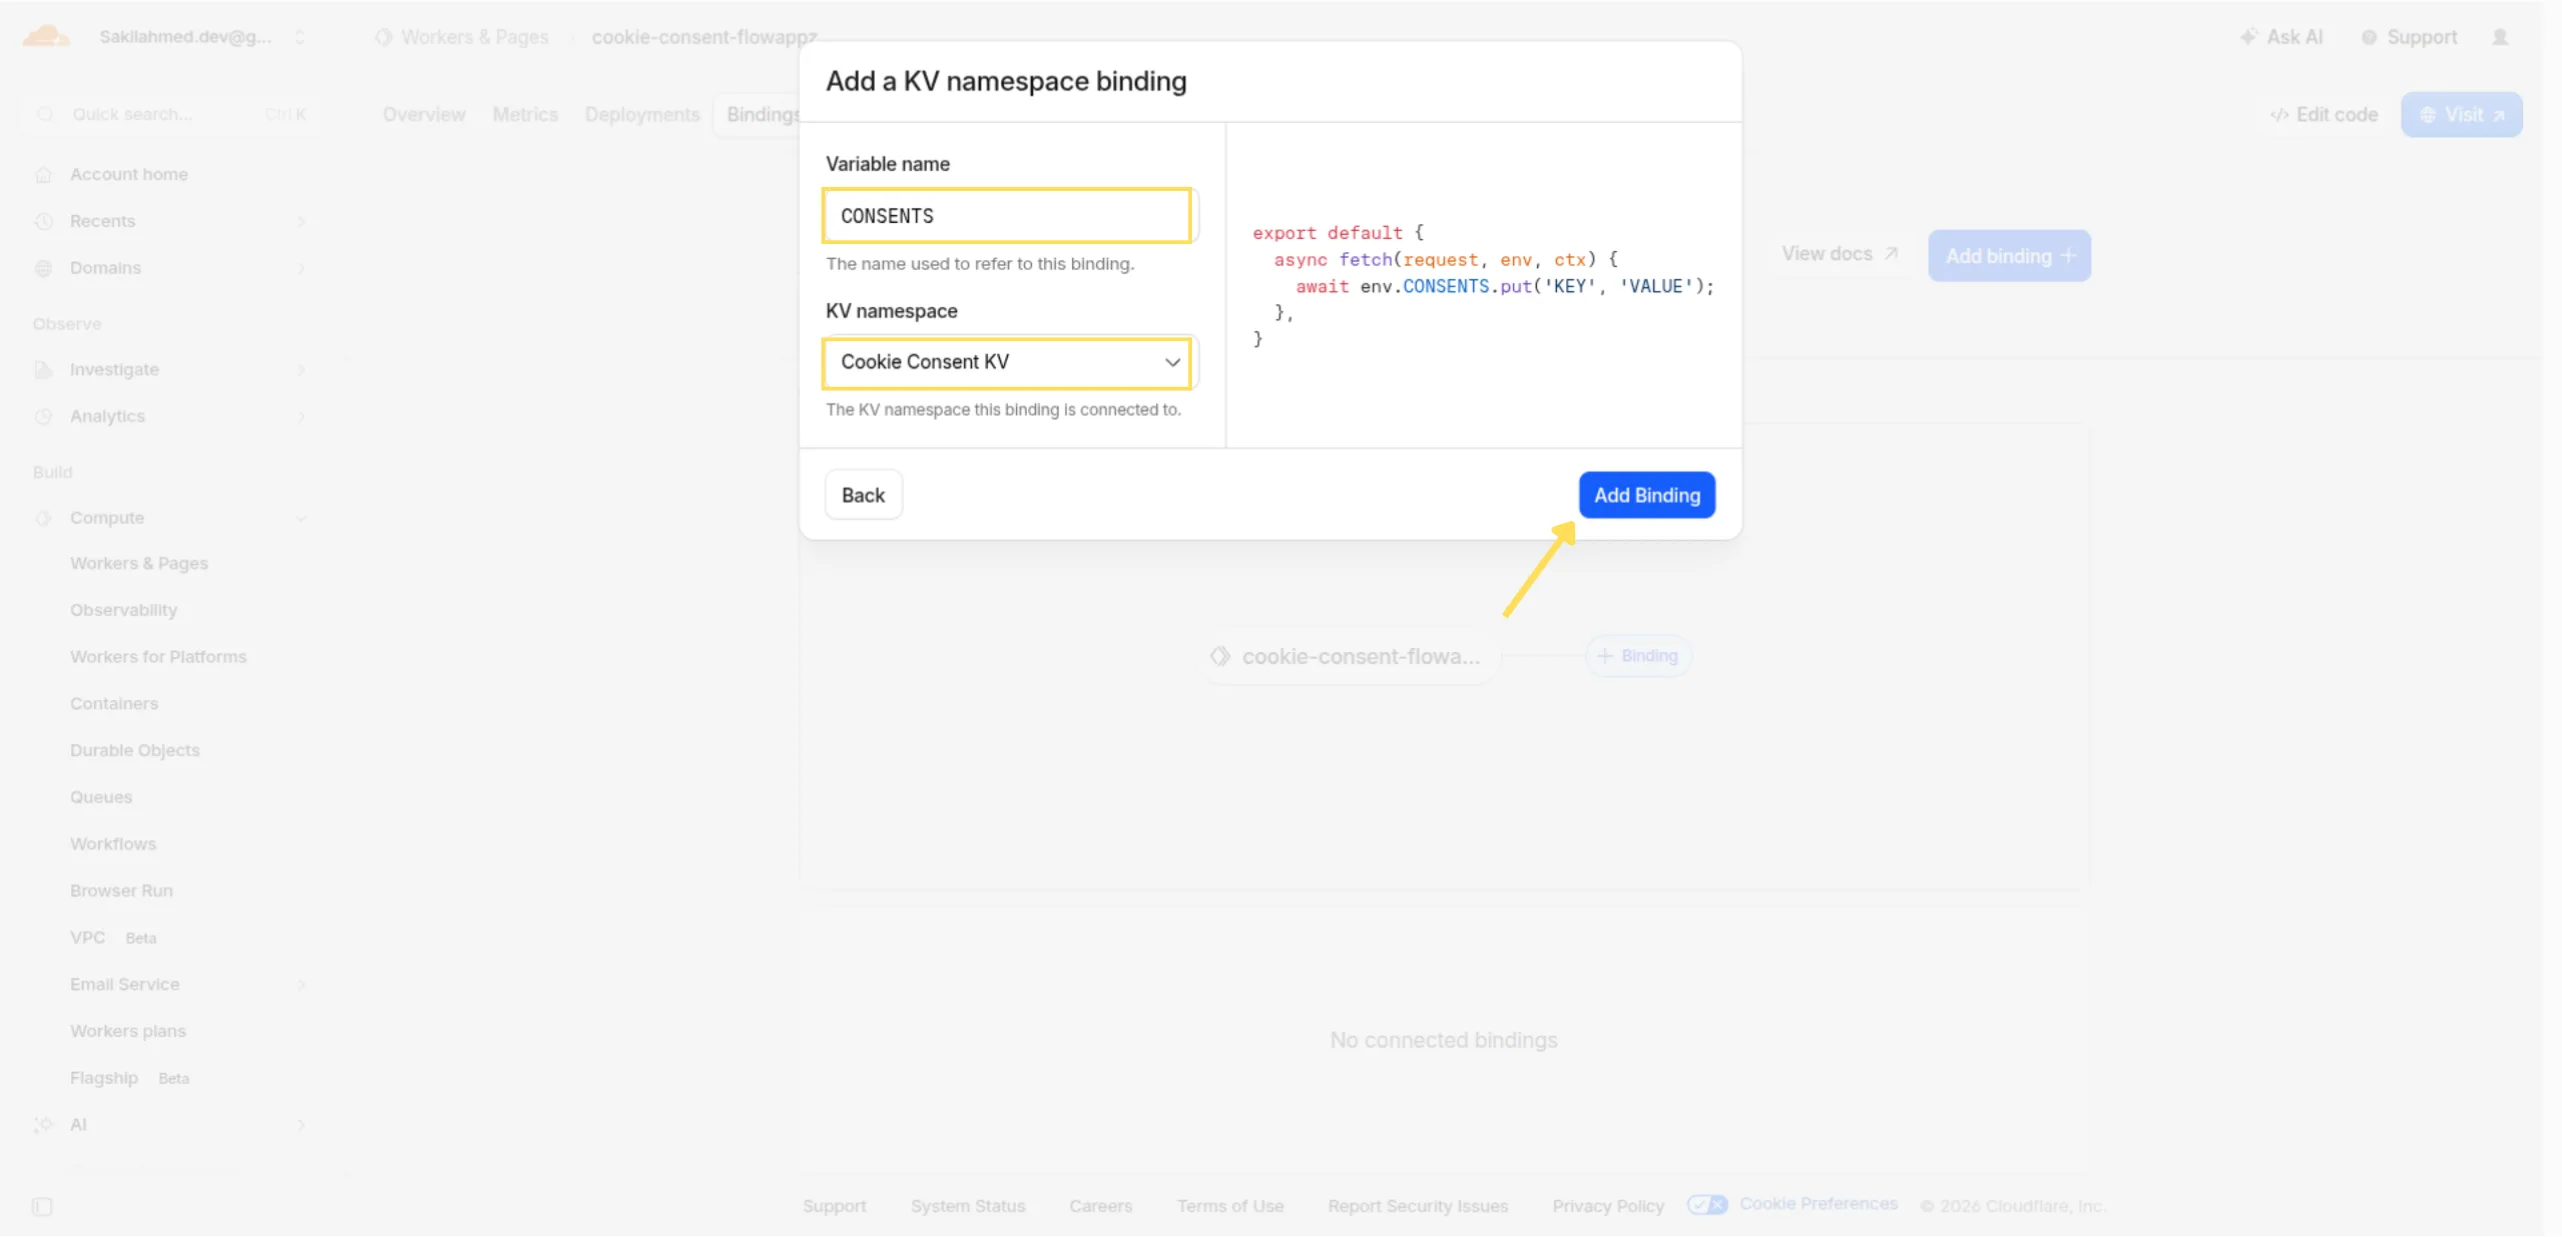
- Enter the variable name as CONSENTS and select the KV namespace as Cookie Consent KV. After that, click Add Binging.
- Right-click on the icon shown in the image and copy the URL.
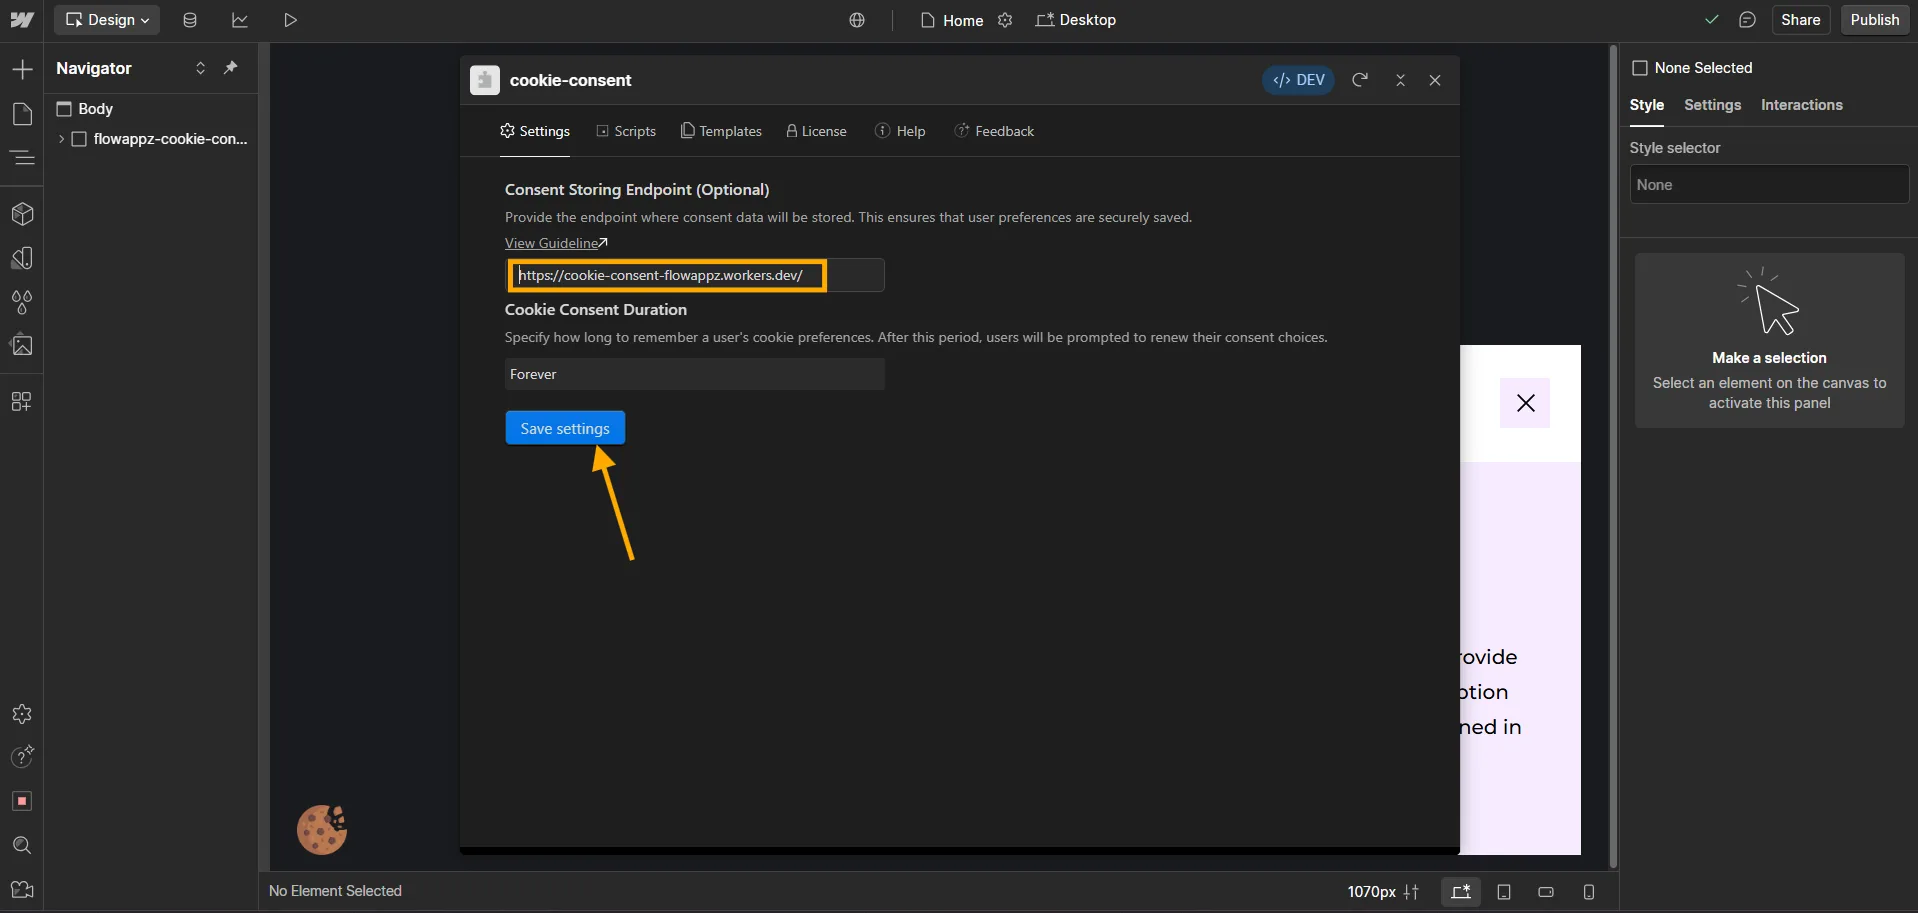
- Open your cookie consent app in the designer. Navigate to the Settings tab, paste the URL into the Consent Storing Endpoint input field, and then click Save Settings.
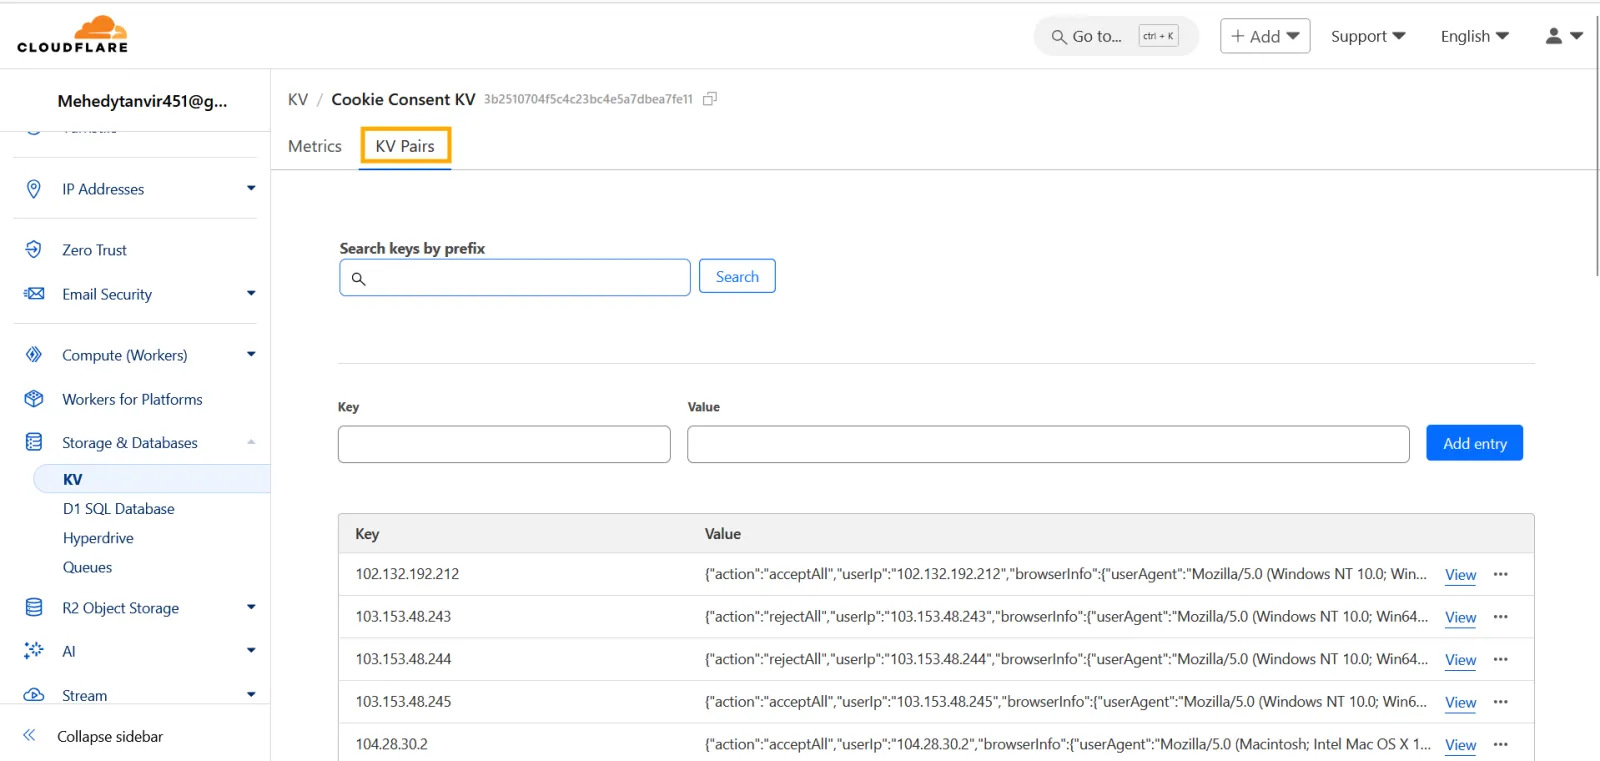
- To view all stored consents, navigate to KV under Storage and Databases, then click on Cookie Consent KV.
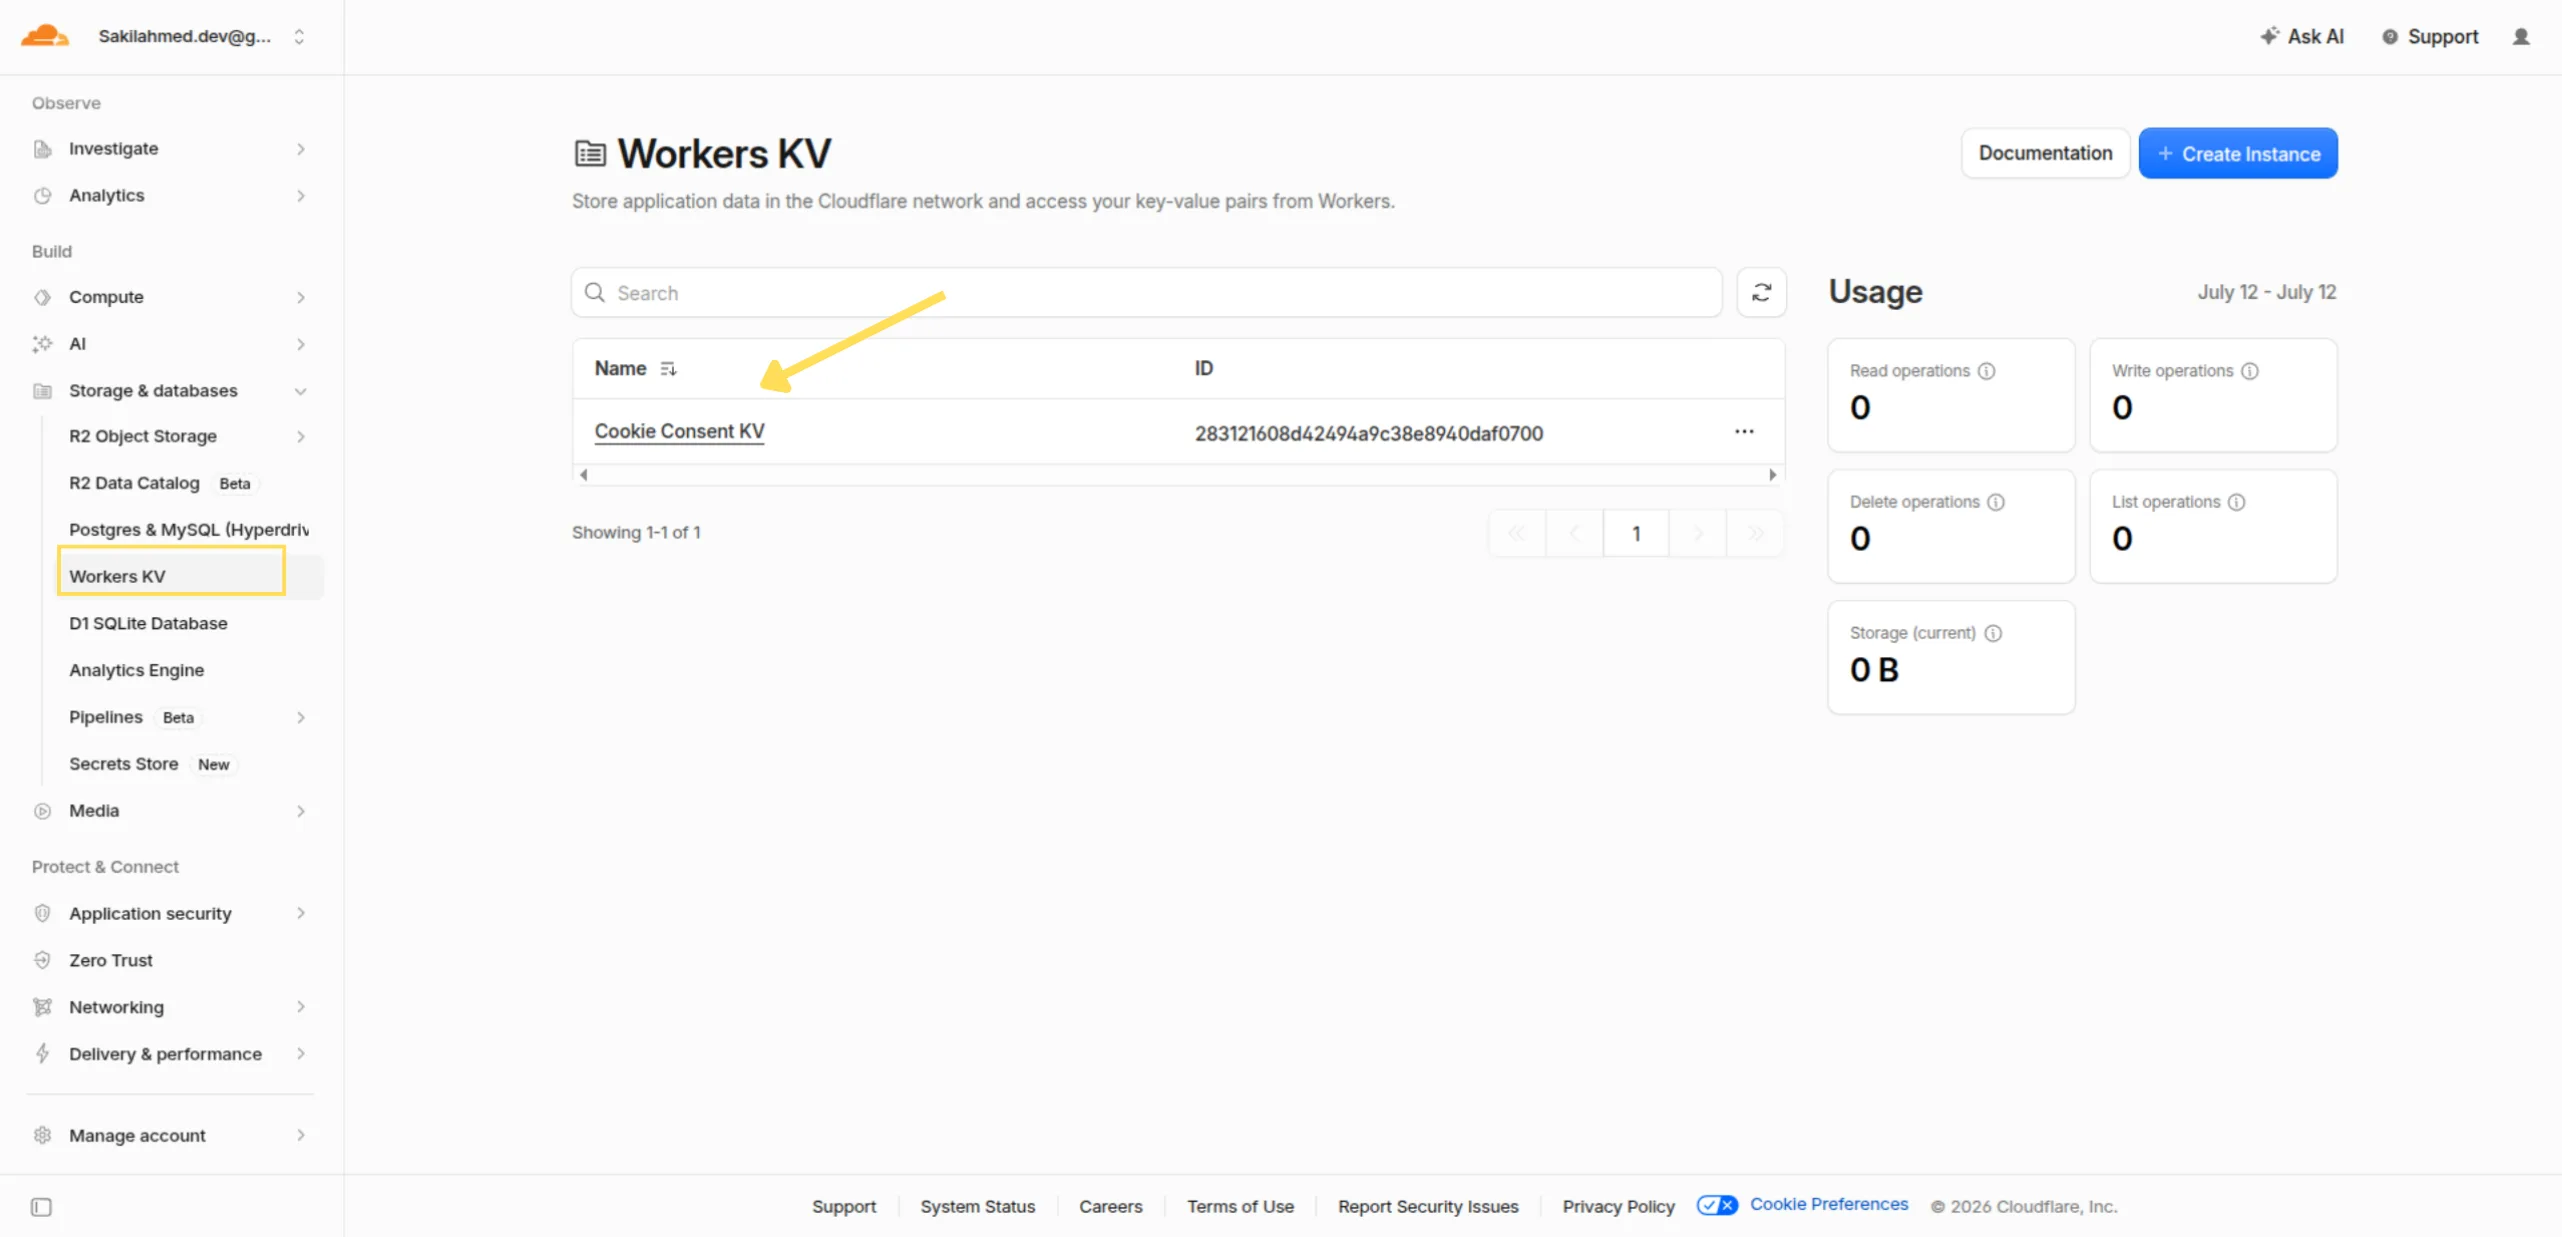
- Then, navigate to the KV Pairs section, where you will see all the users' consents.