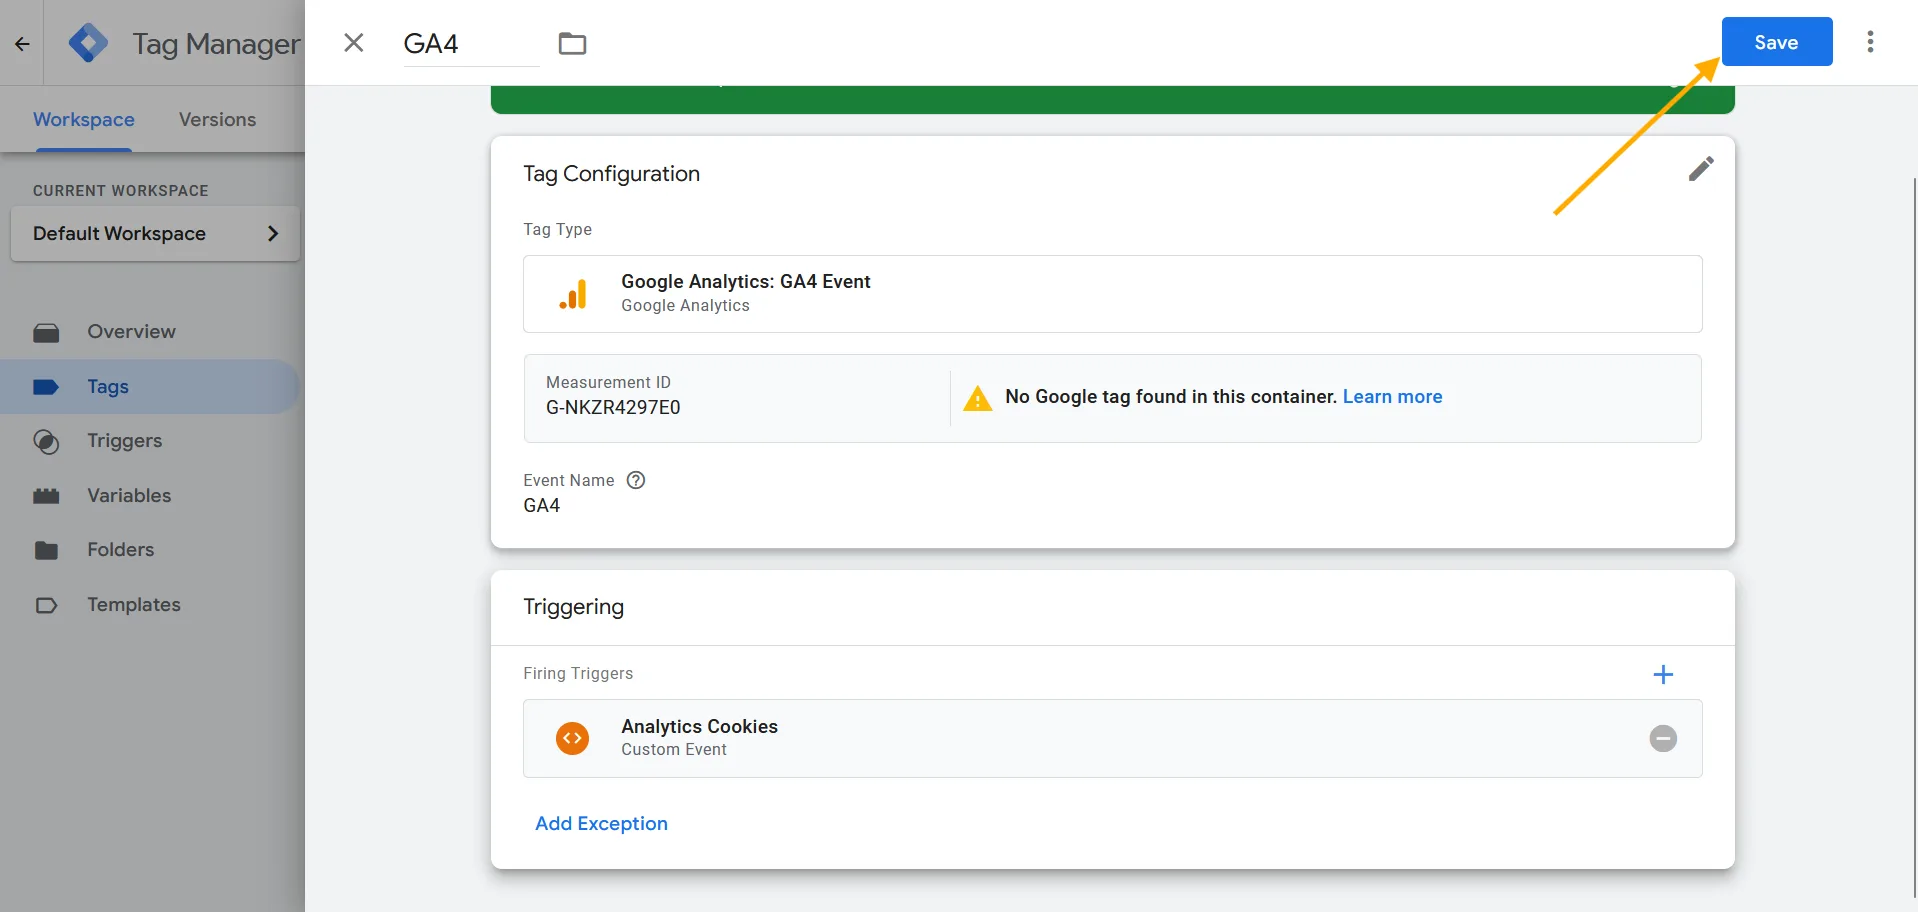
- First, go to the Scripts menu.
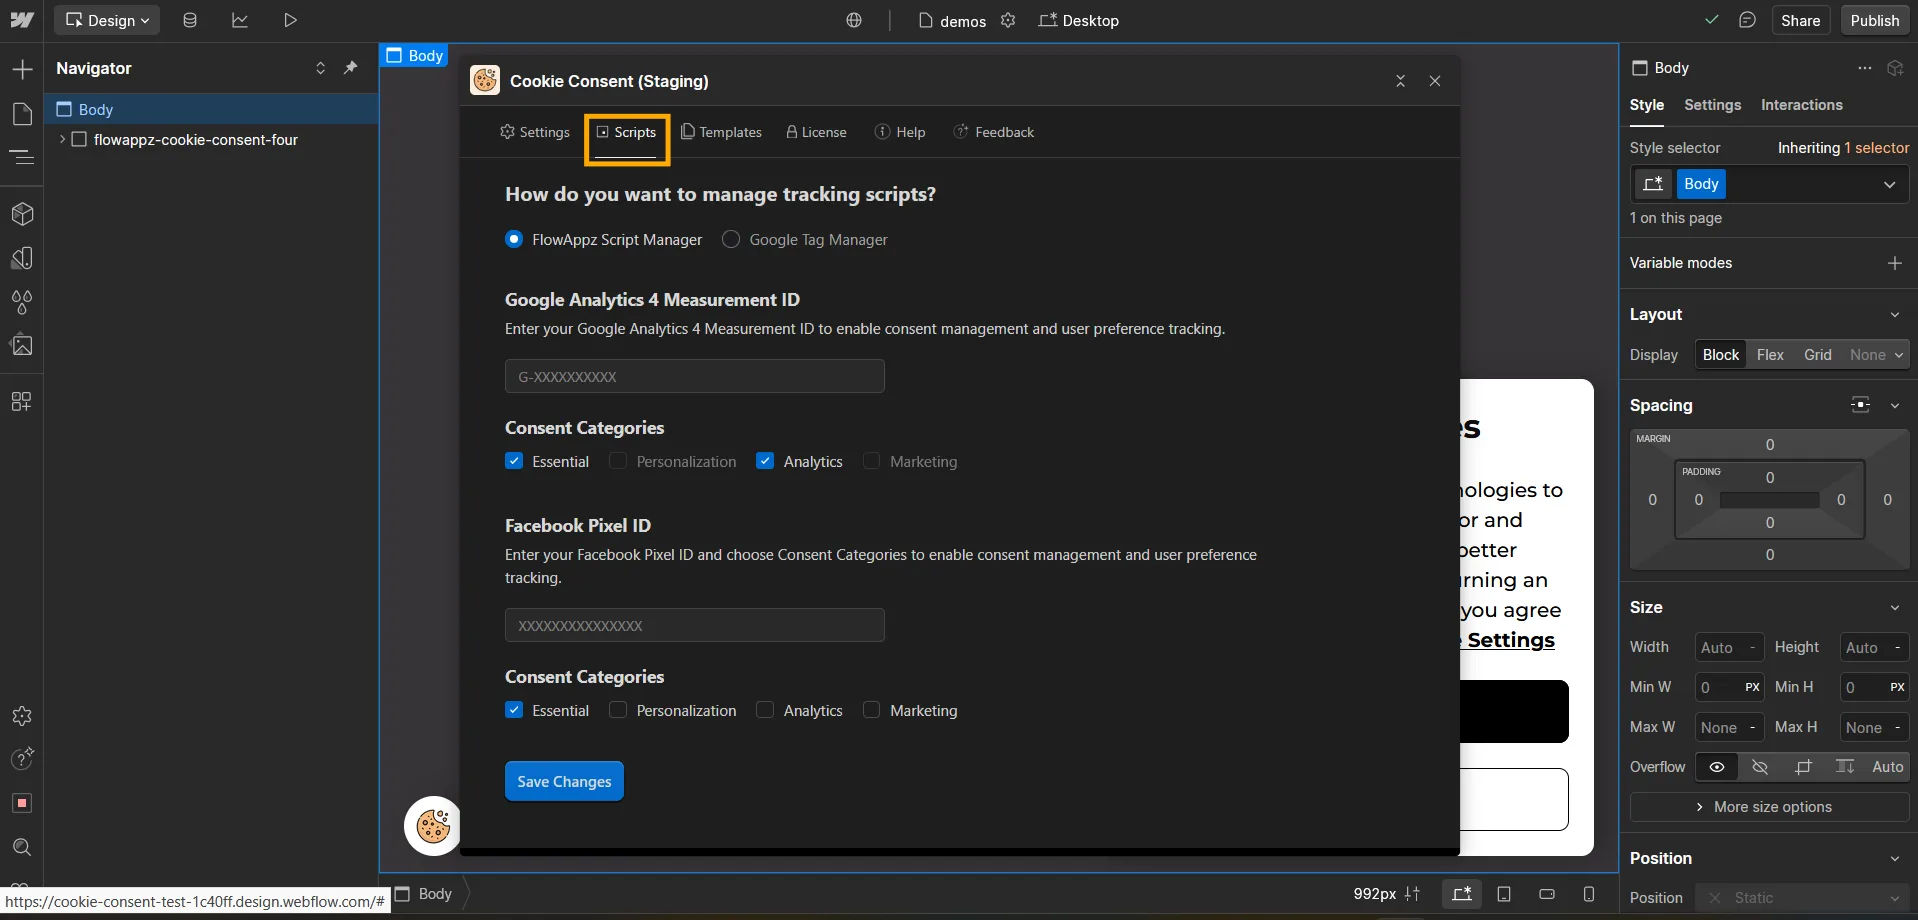
- Then, select Google Tag Manager to open the Google Tag Manager tab and use Google Tag Manager.
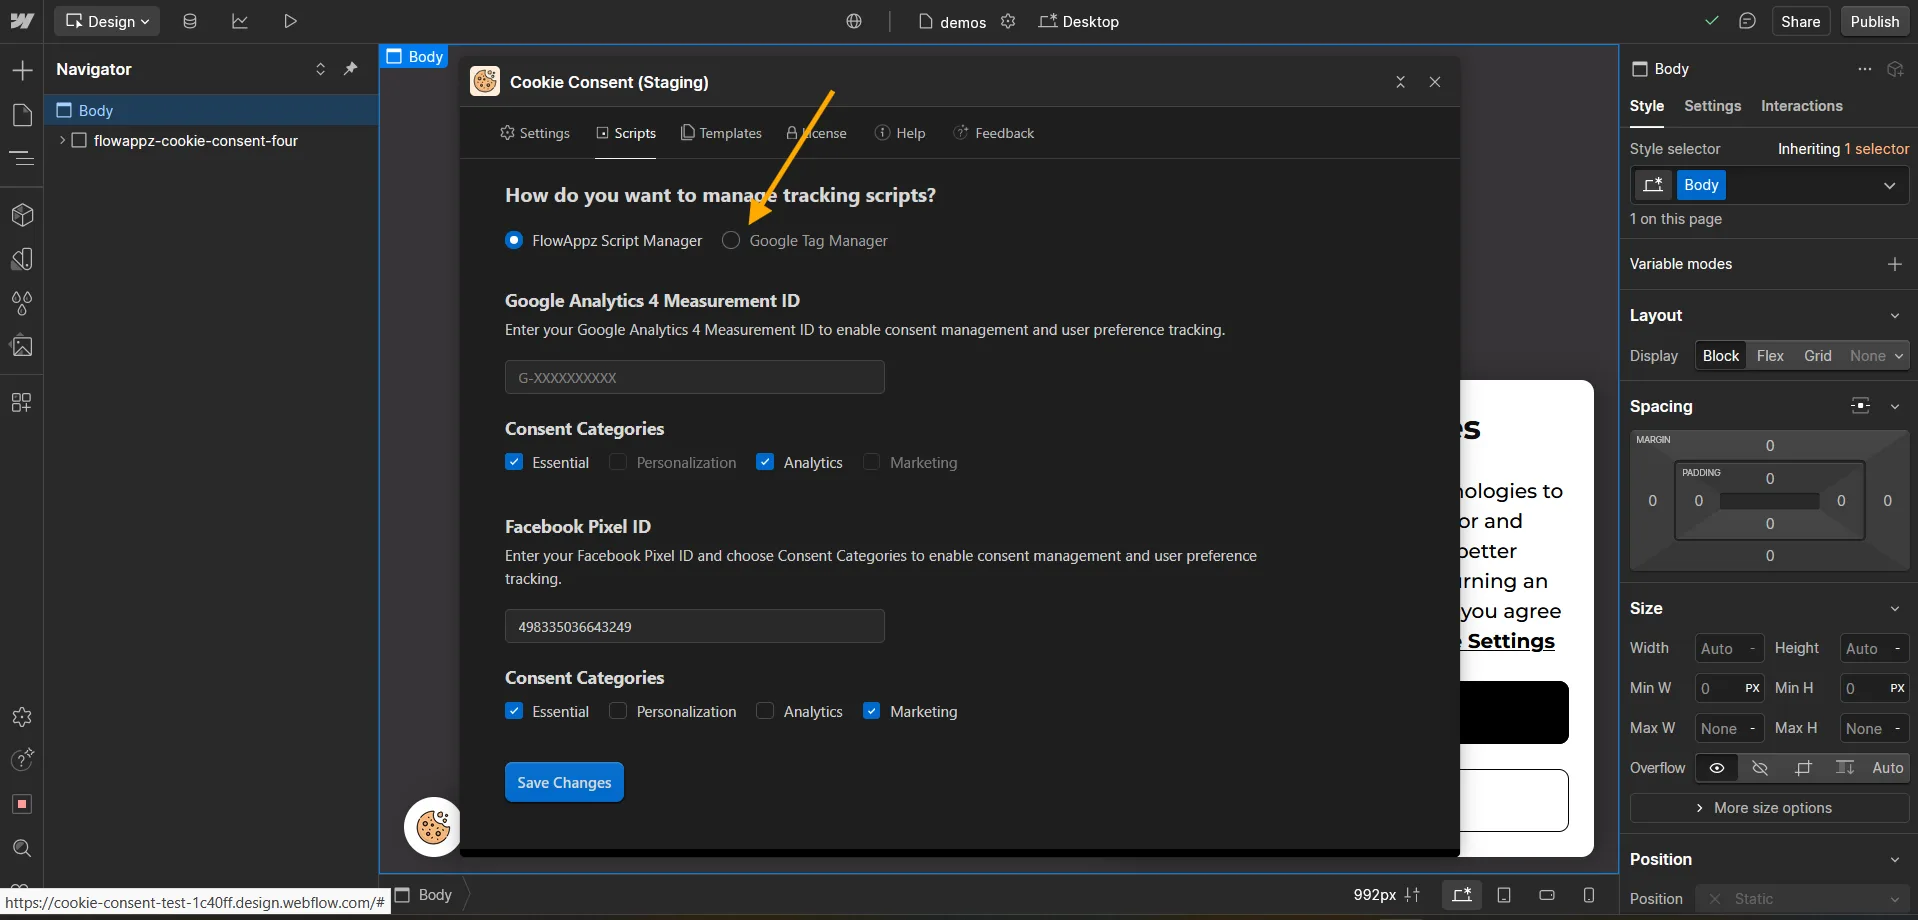
- Then, enter your Google Tag Manager ID and click Save Changes to save the configuration.
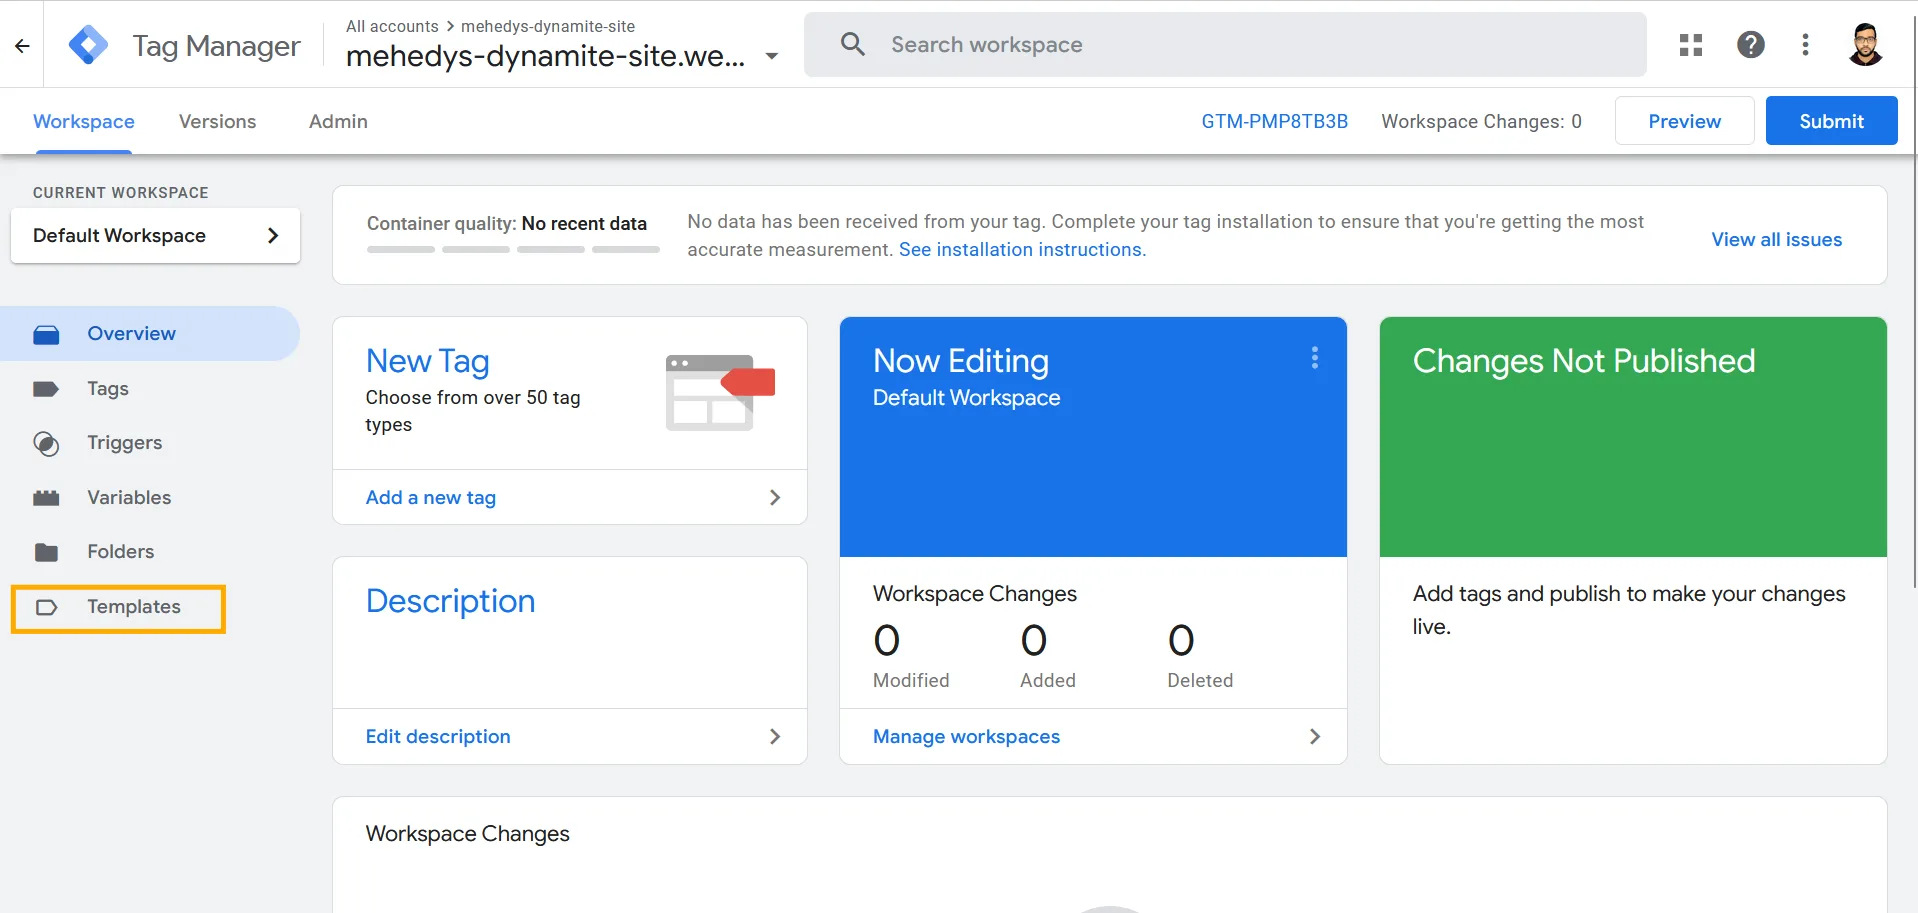
- Then, go to your Google Tag Manager account and navigate to the Templates tab.
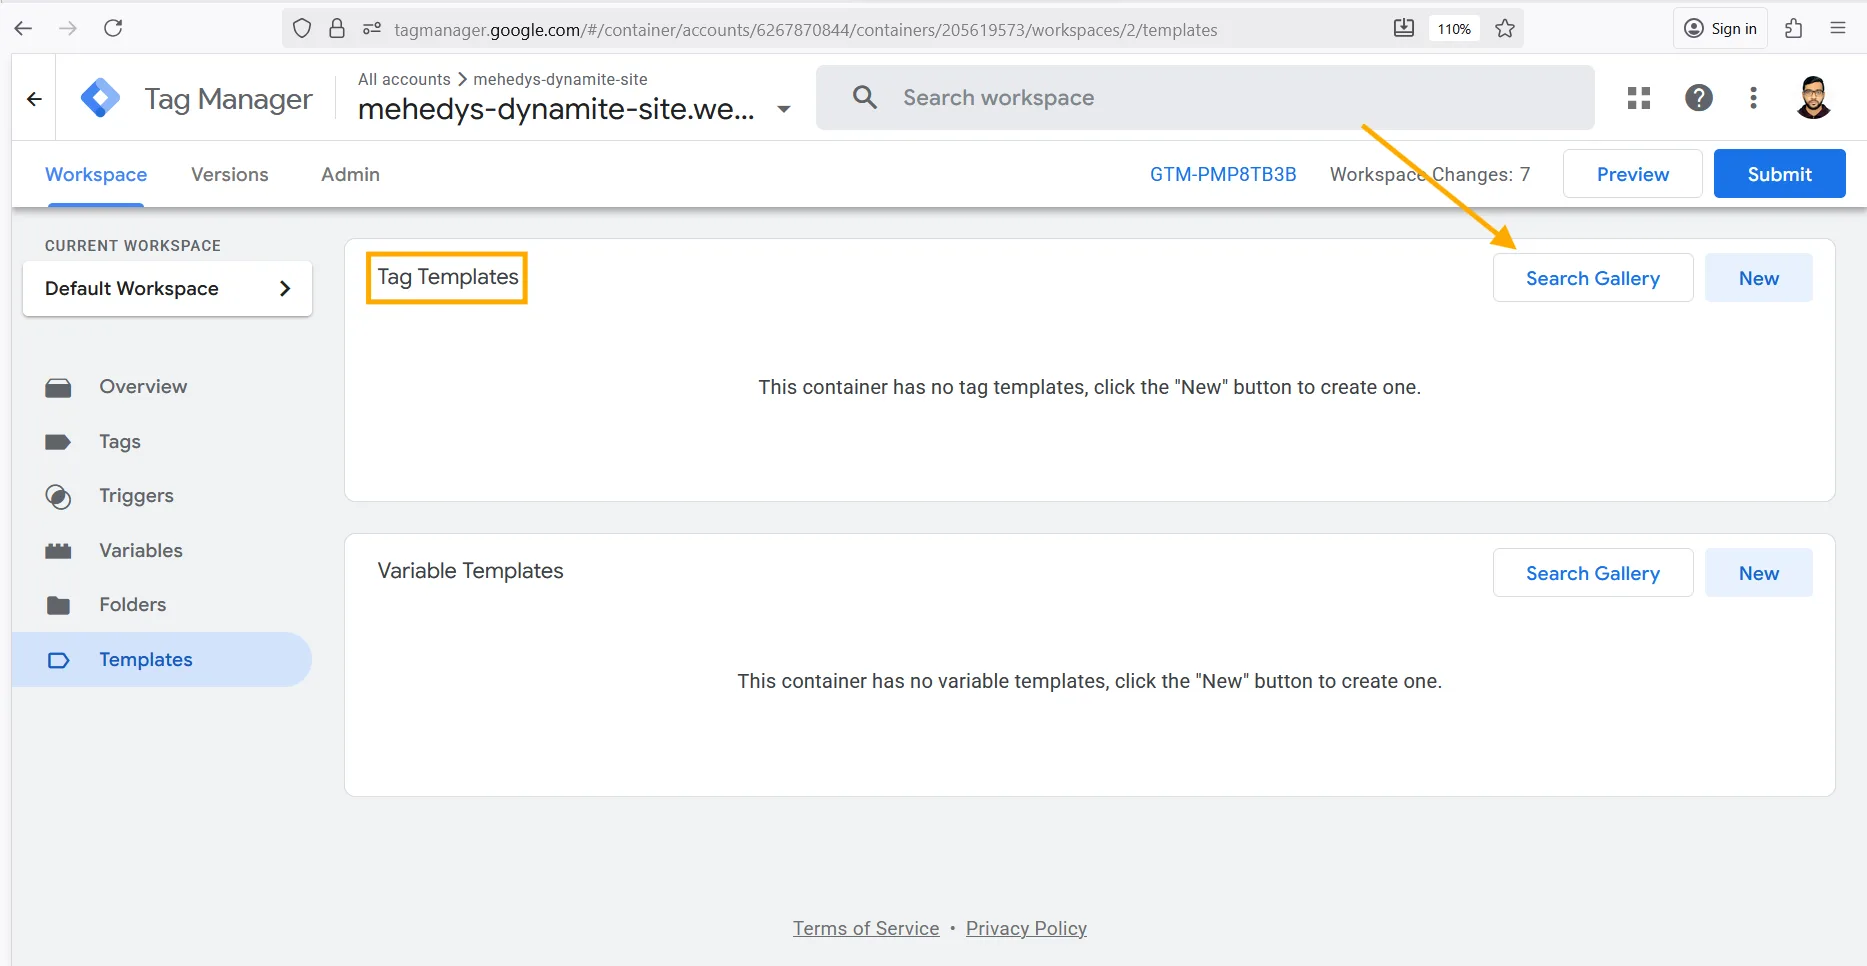
- Then, click on Search Gallery under Tag Templates.
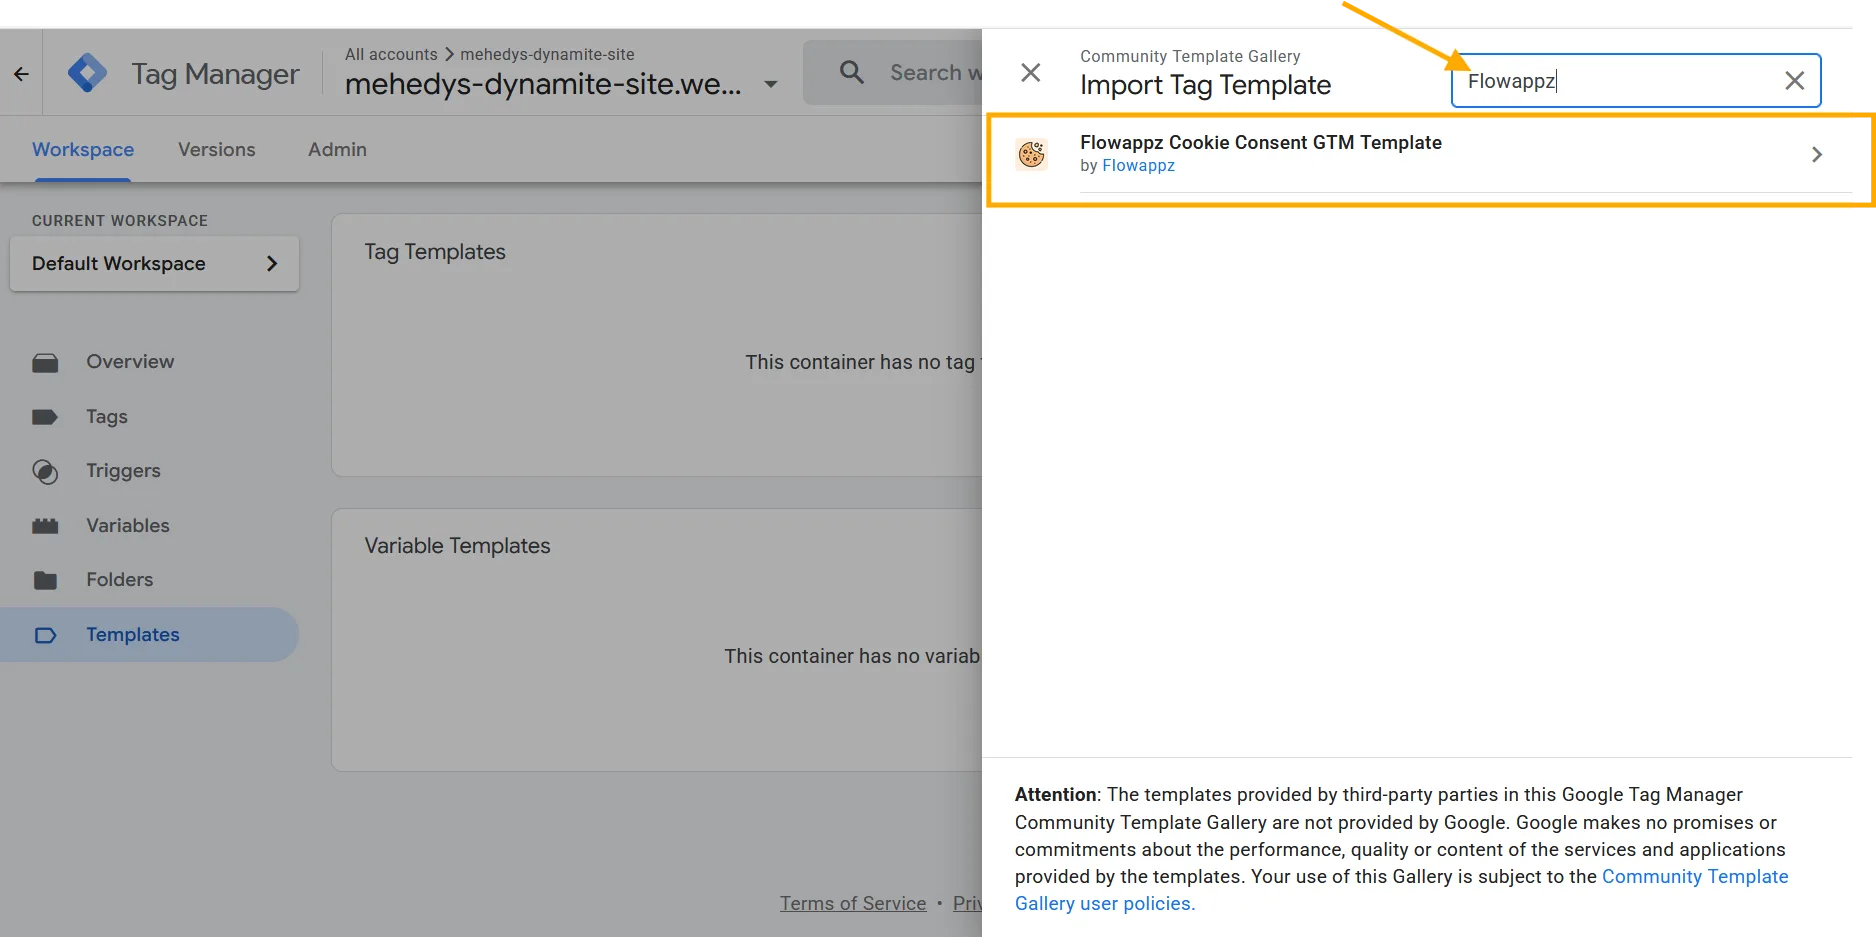
- Then, search for FlowAppz in the search bar and select FlowAppz Cookie Consent GTM Template from the results.
- Then, click Add to Workspace.
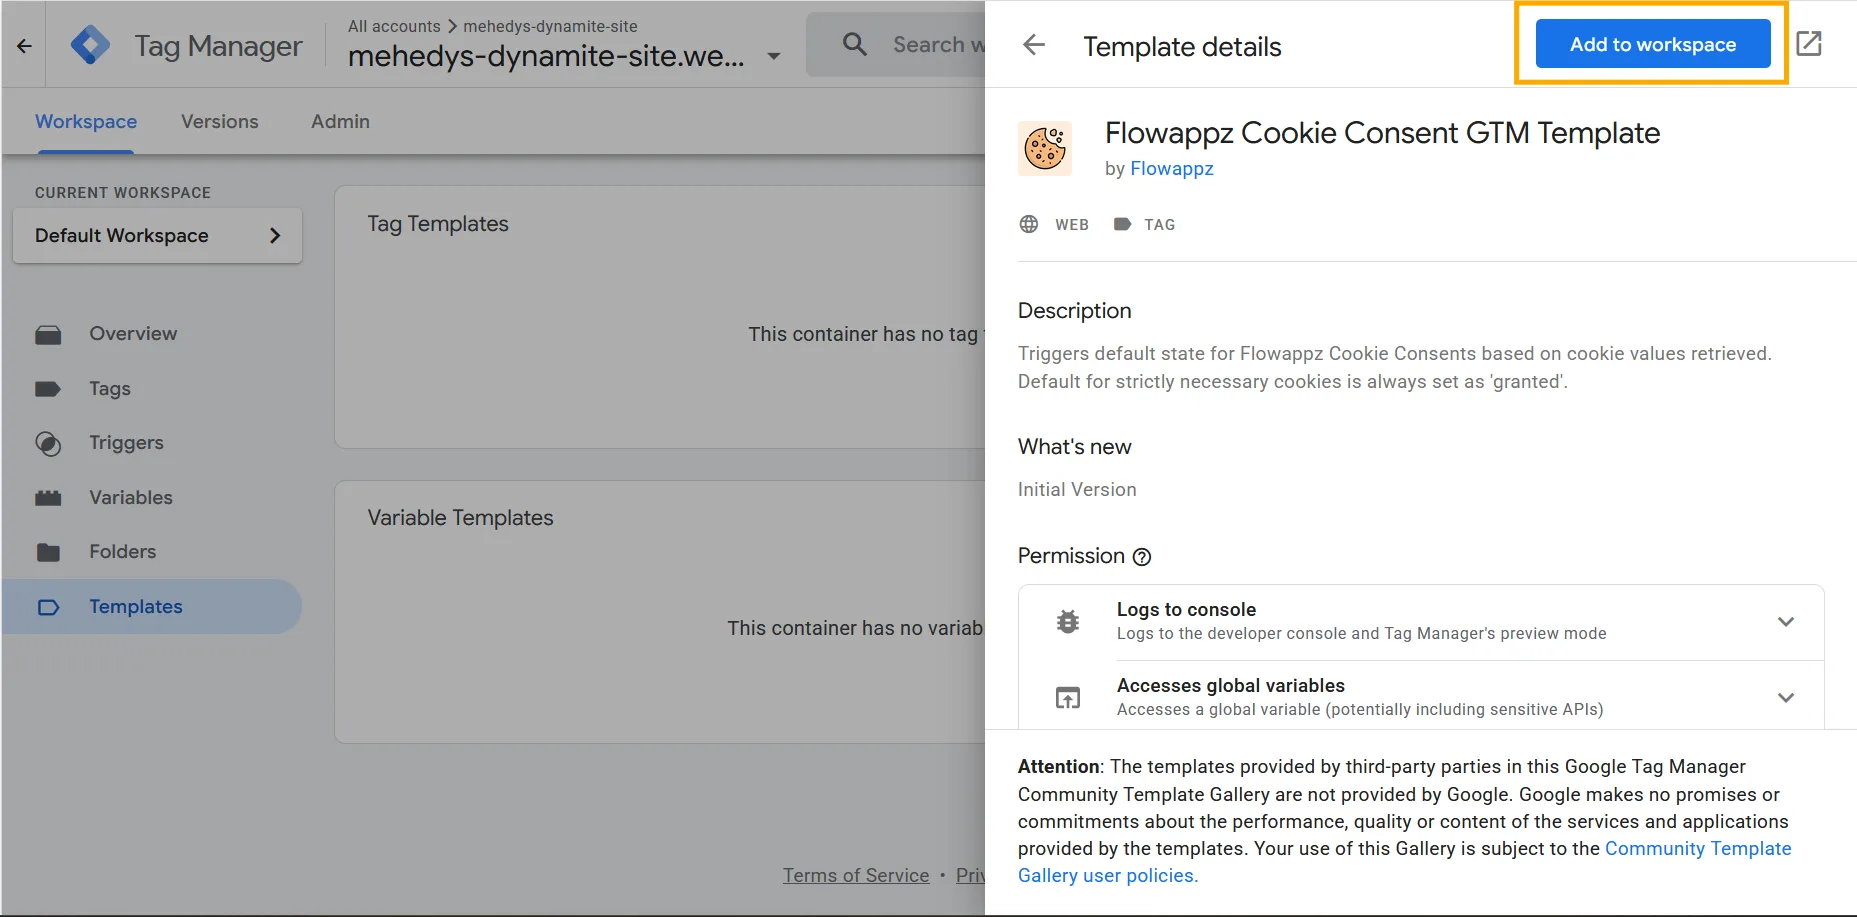
- Then, click Add to include it in your Google Tag Manager workspace.
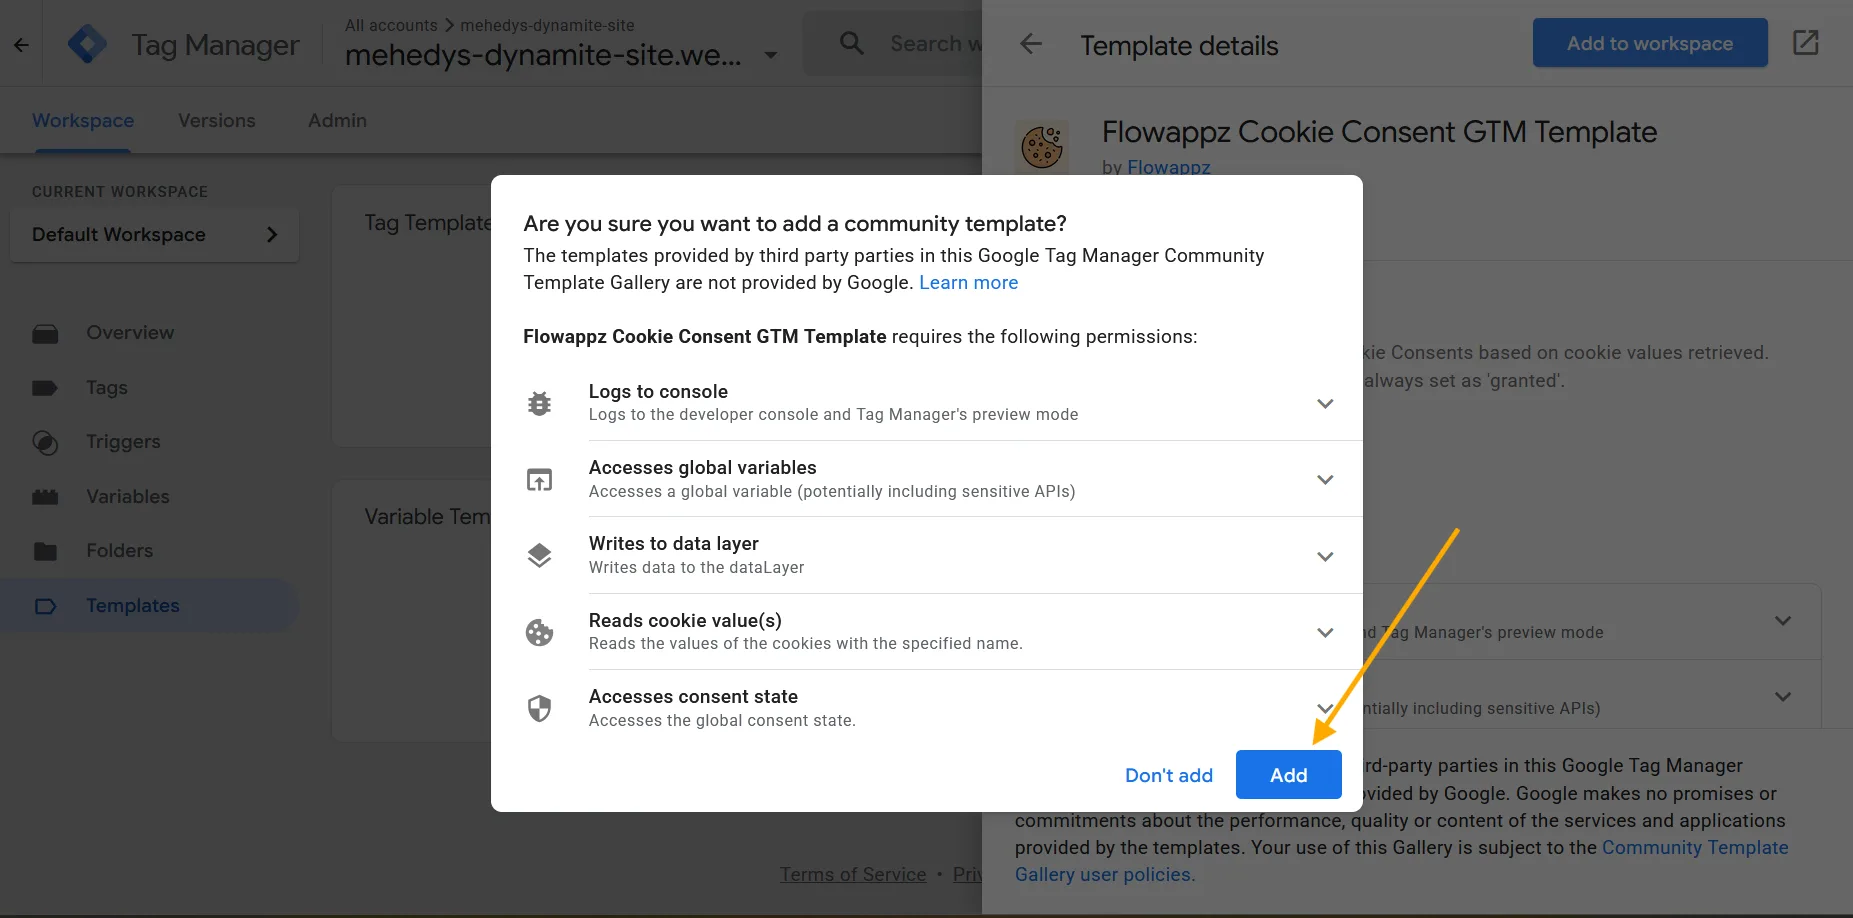
- Now, you should see the FlowAppz Cookie Consent GTM Template in the tag templates list.
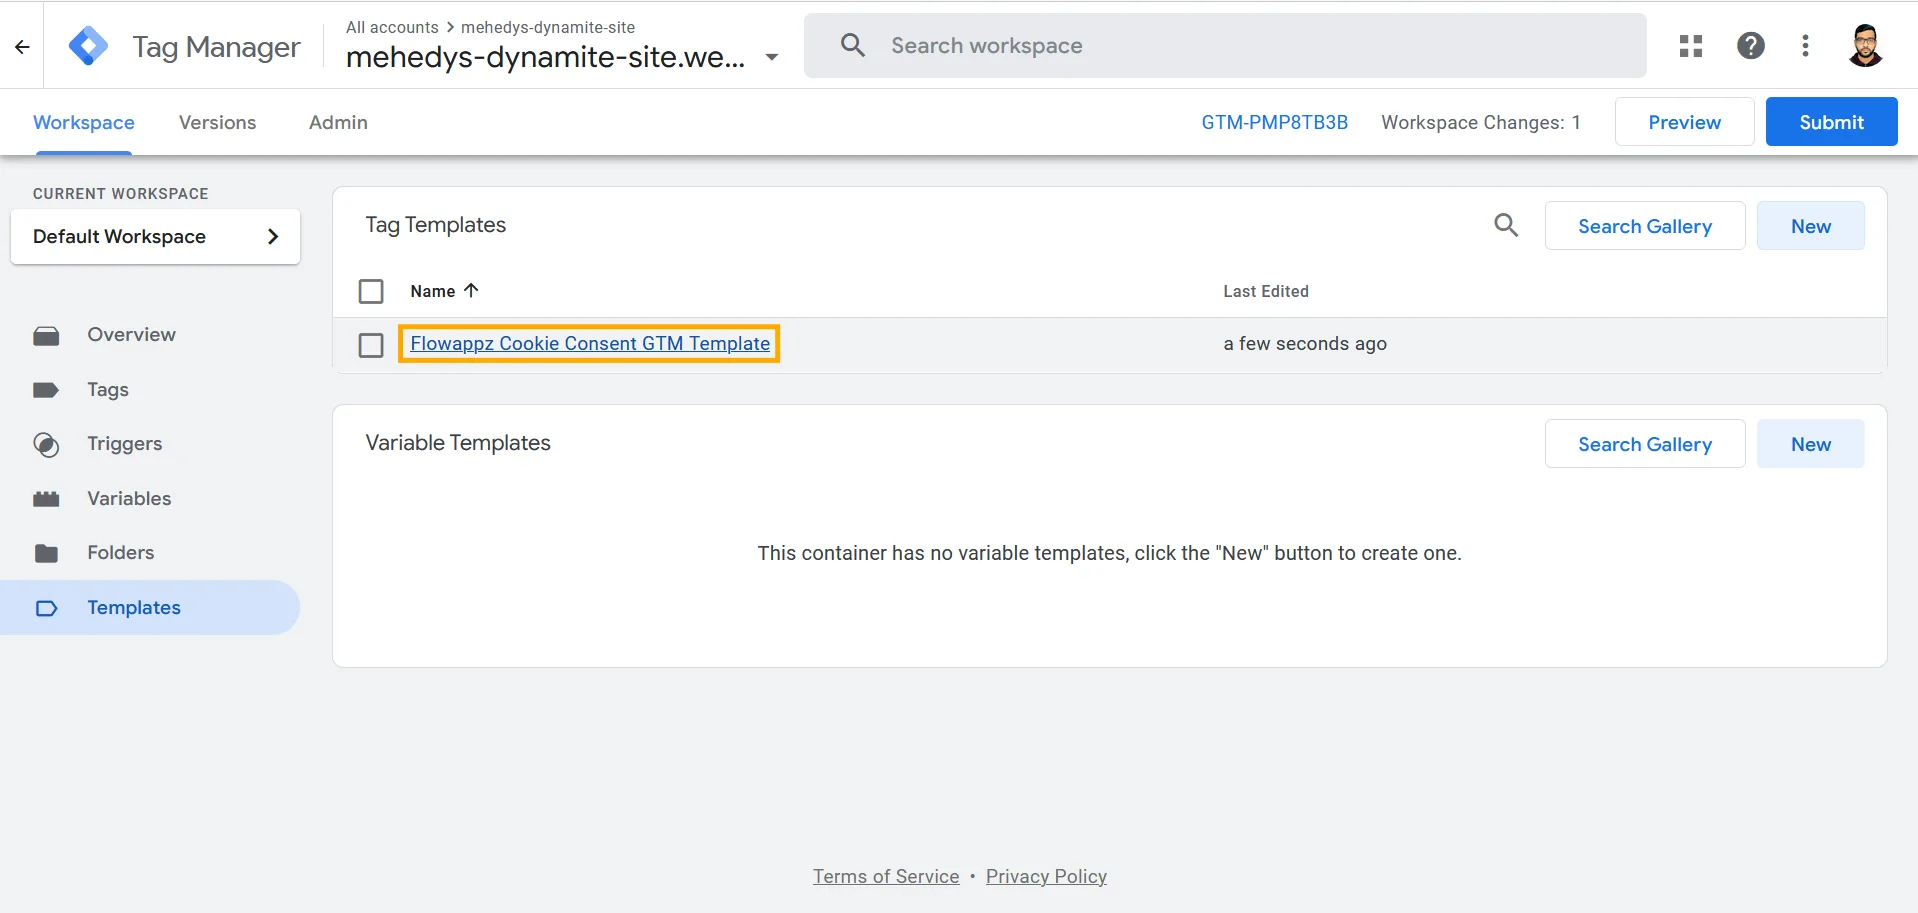
- Then, navigate to the Tags tab and click on 'New'.
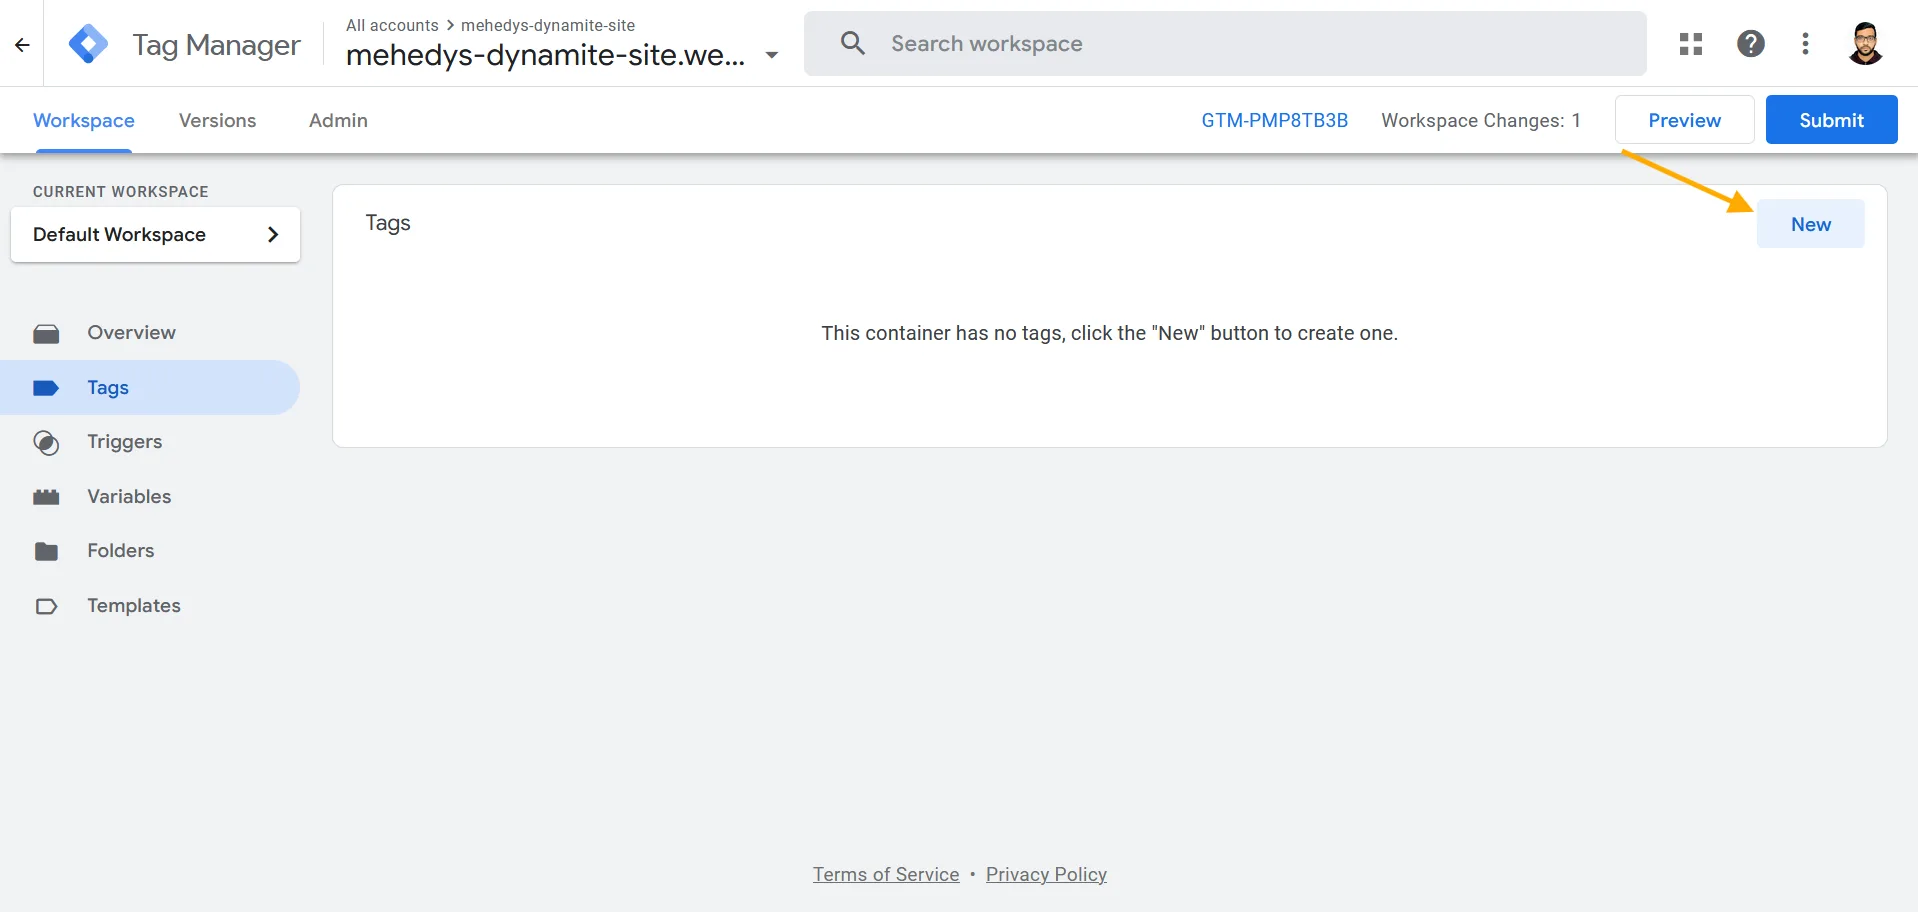
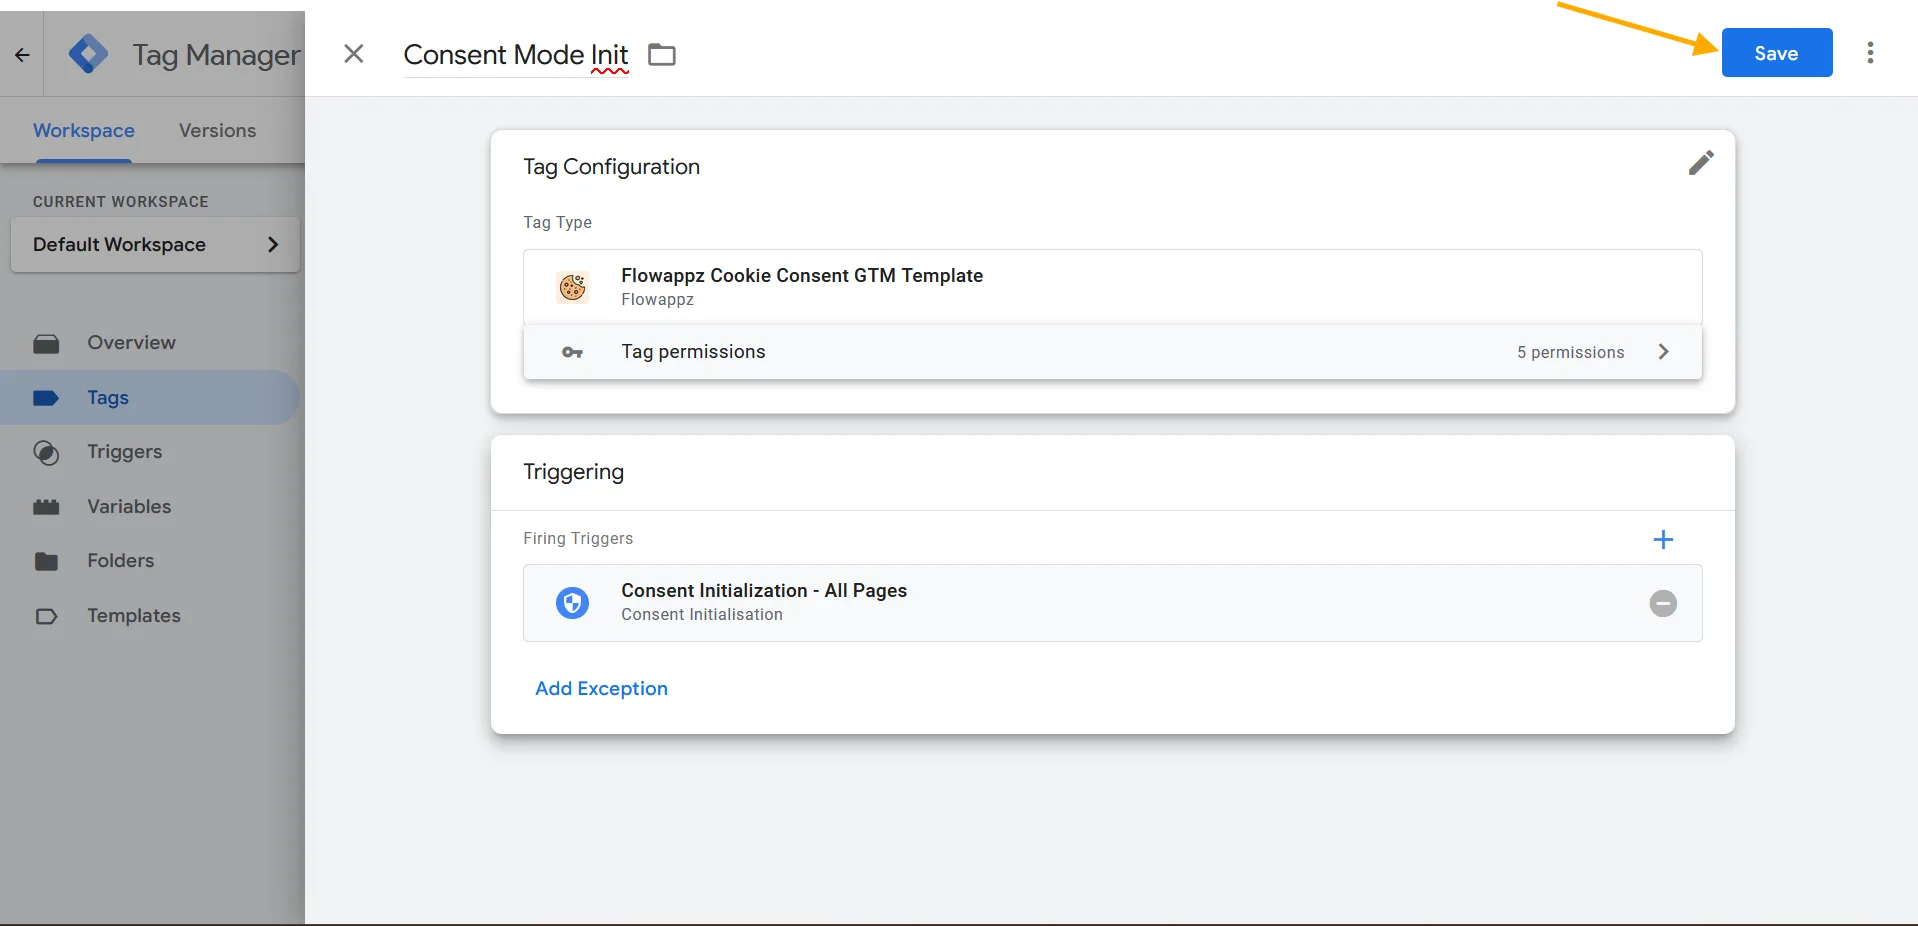
- Then, name the new tag 'Consent Mode Init'.
- Then, click on the Tag Configuration section.
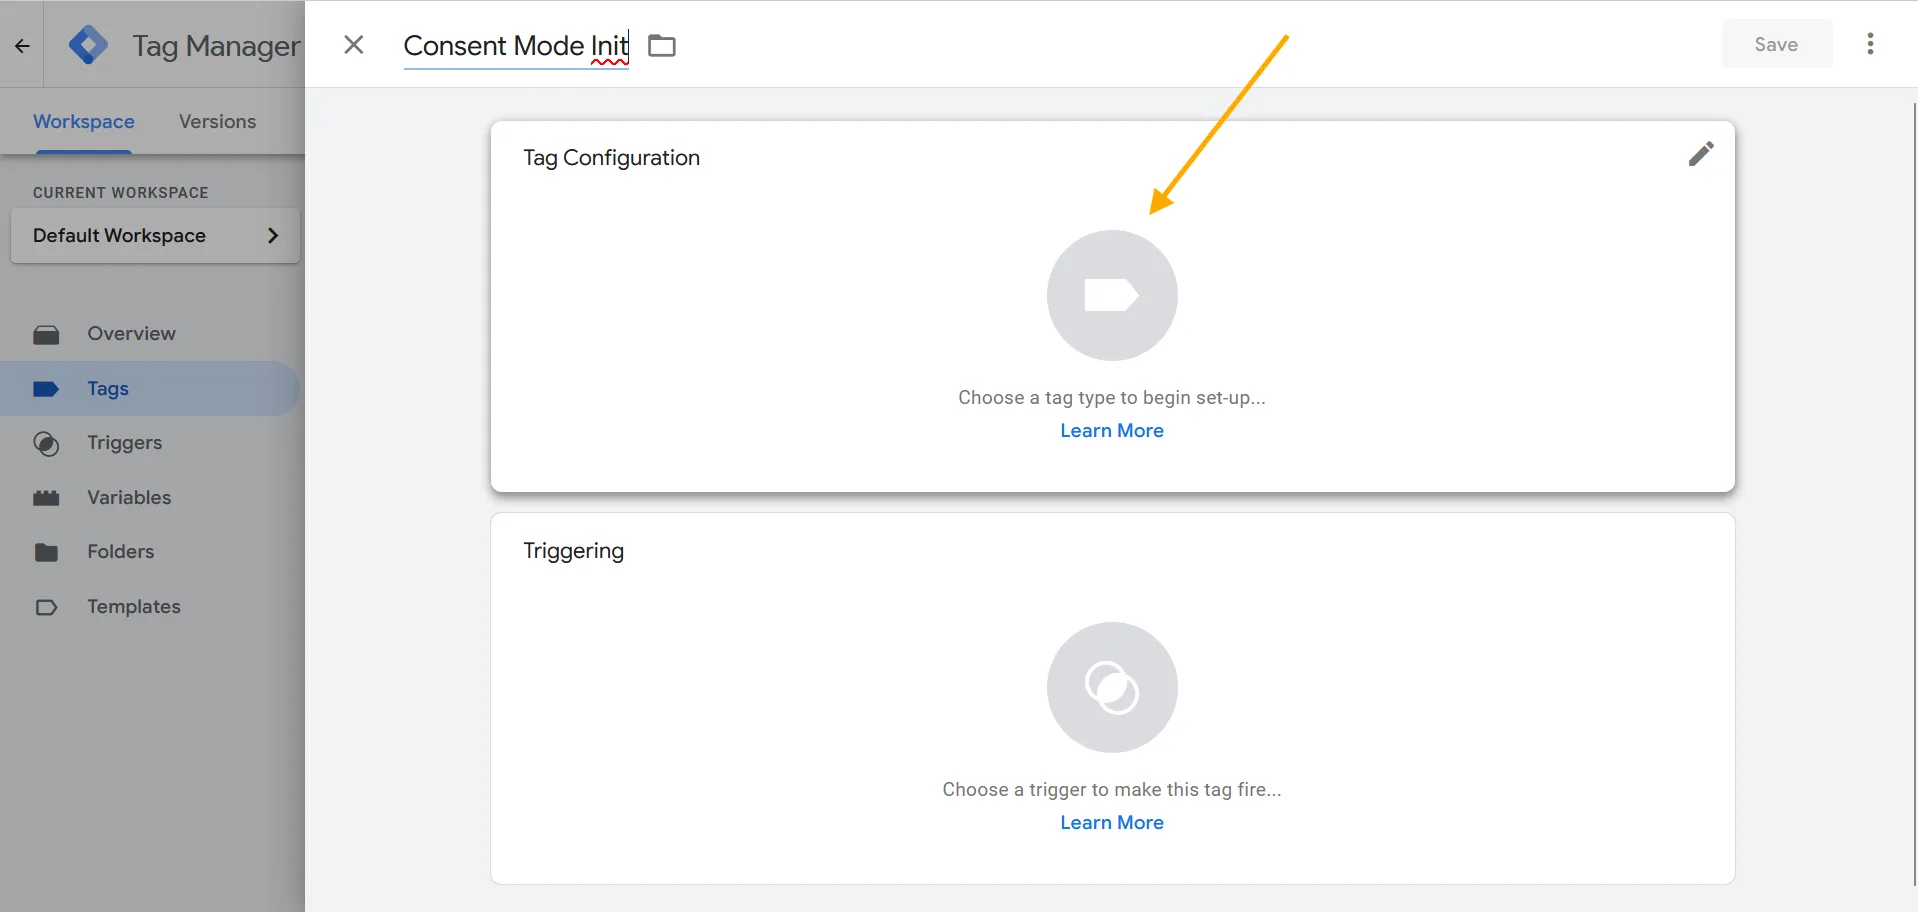
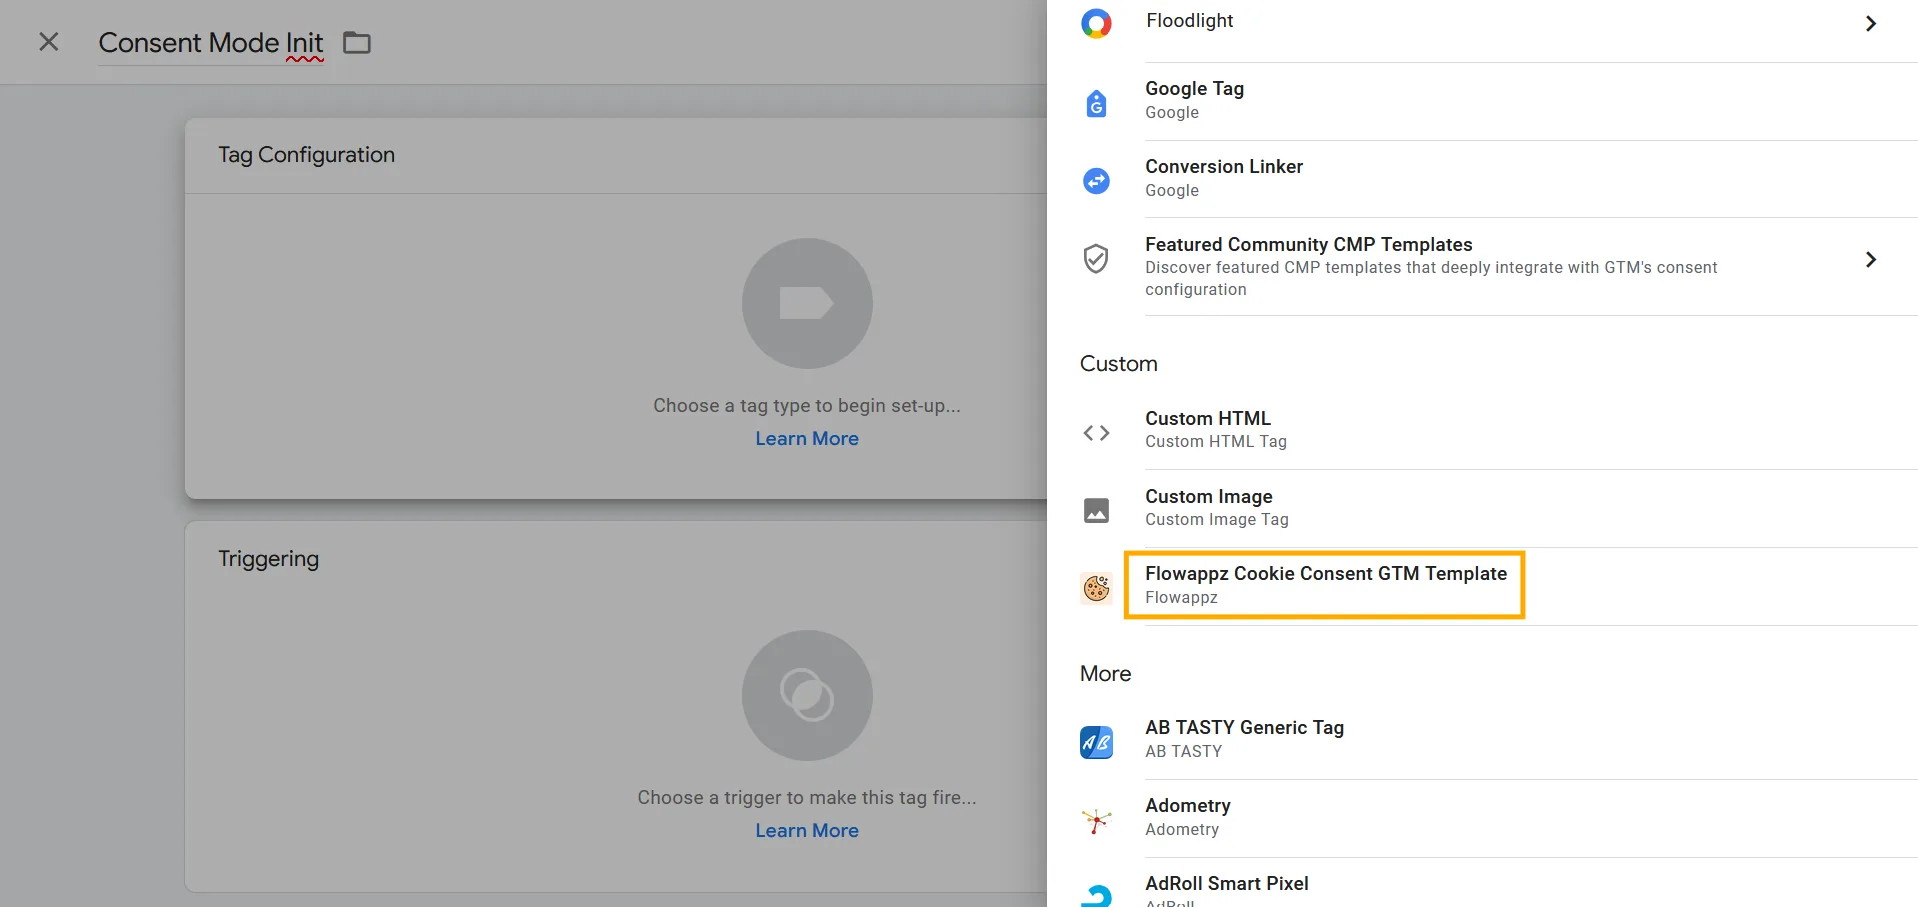
- Then, choose the FlowAppz Cookie Consent GTM Template.
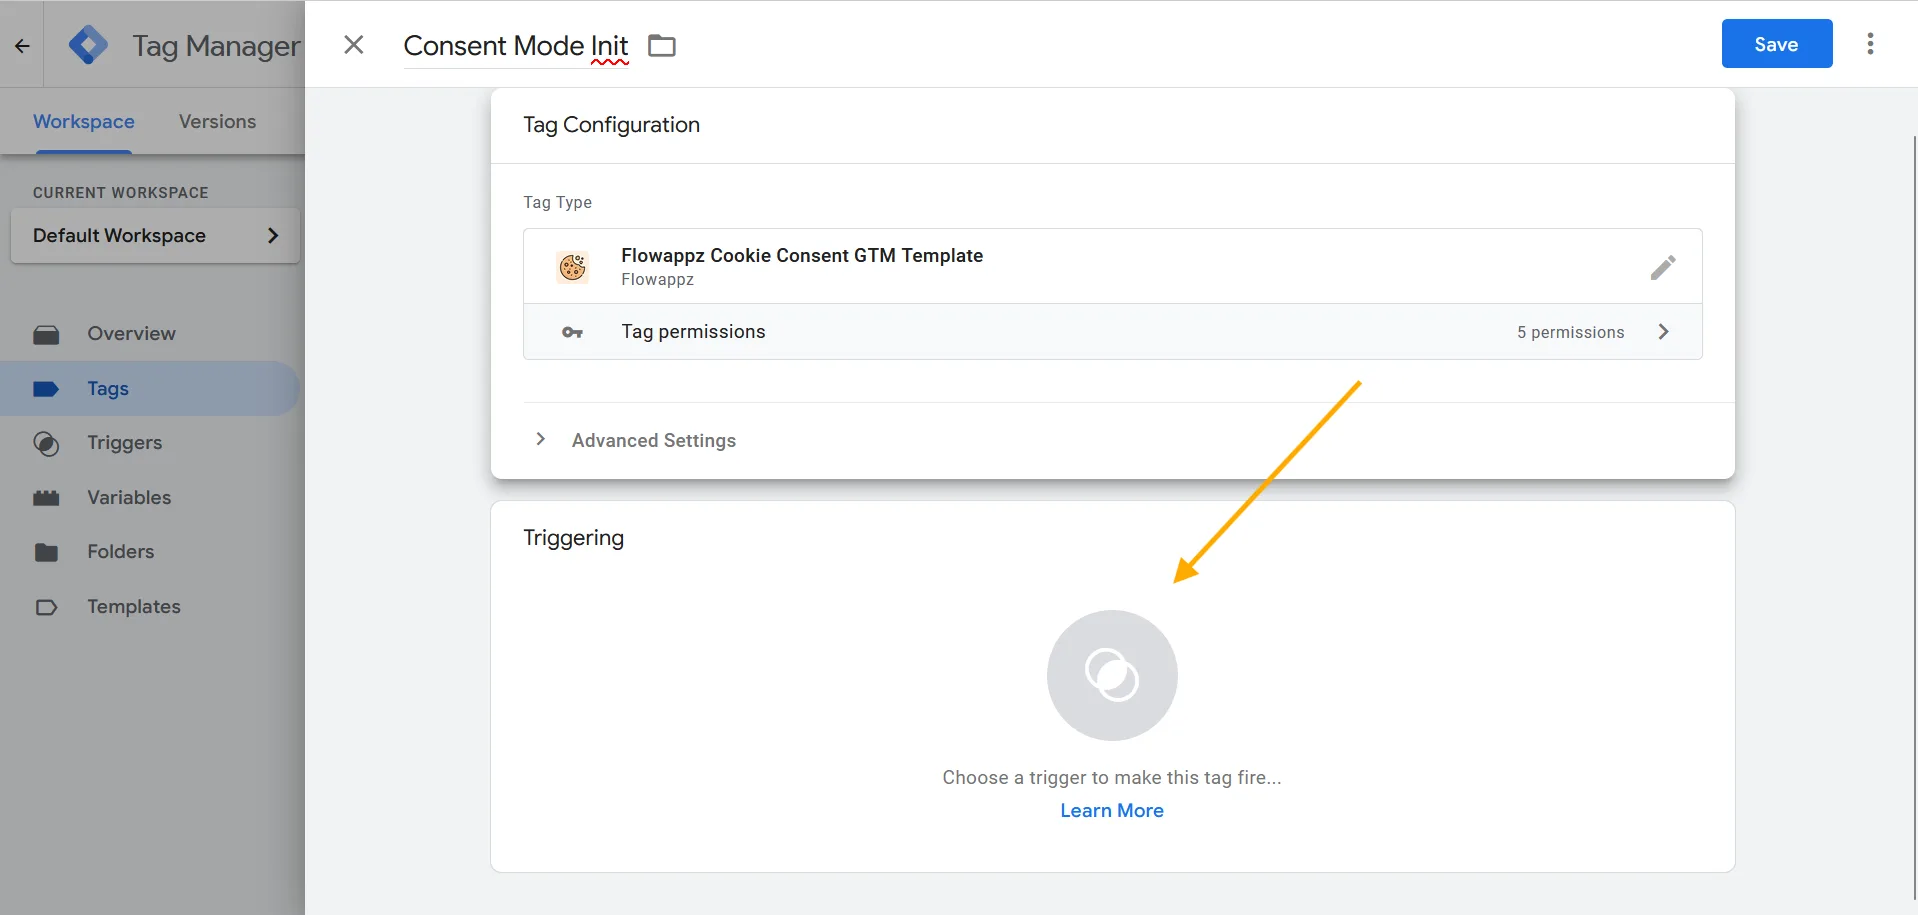
- Then, click on the Triggering section.
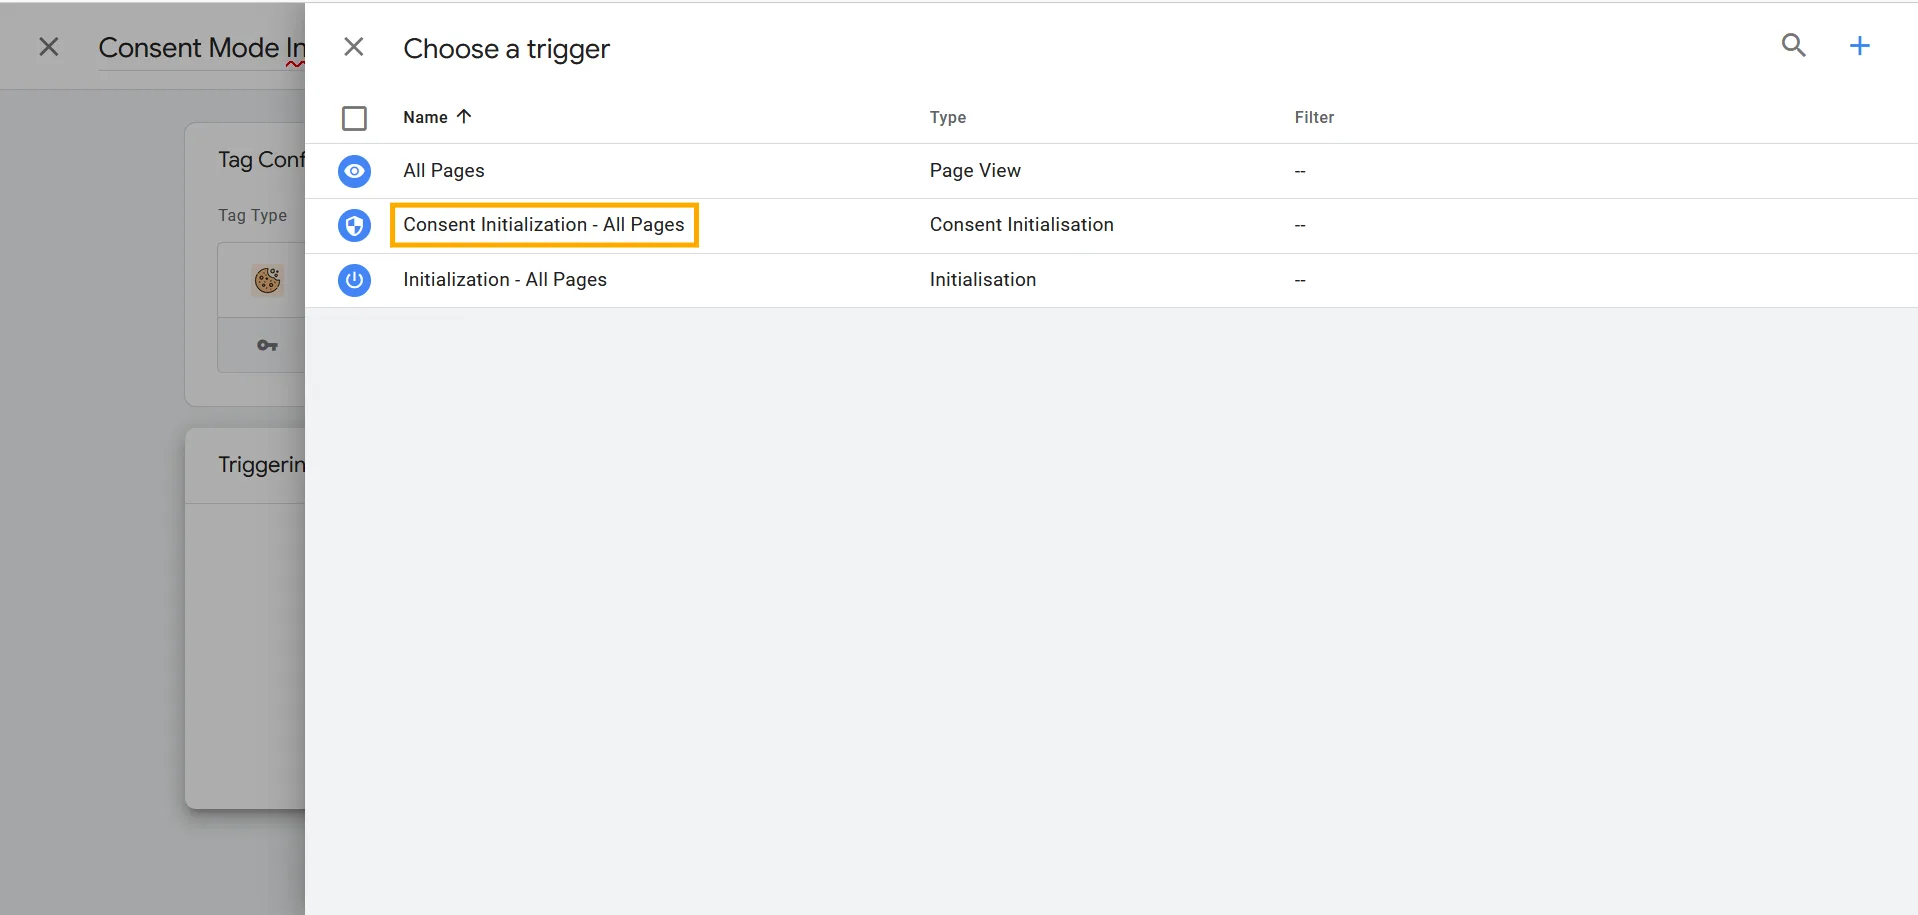
- Then, select 'Consent Initialization - All Pages'.
- Then, click 'Save'
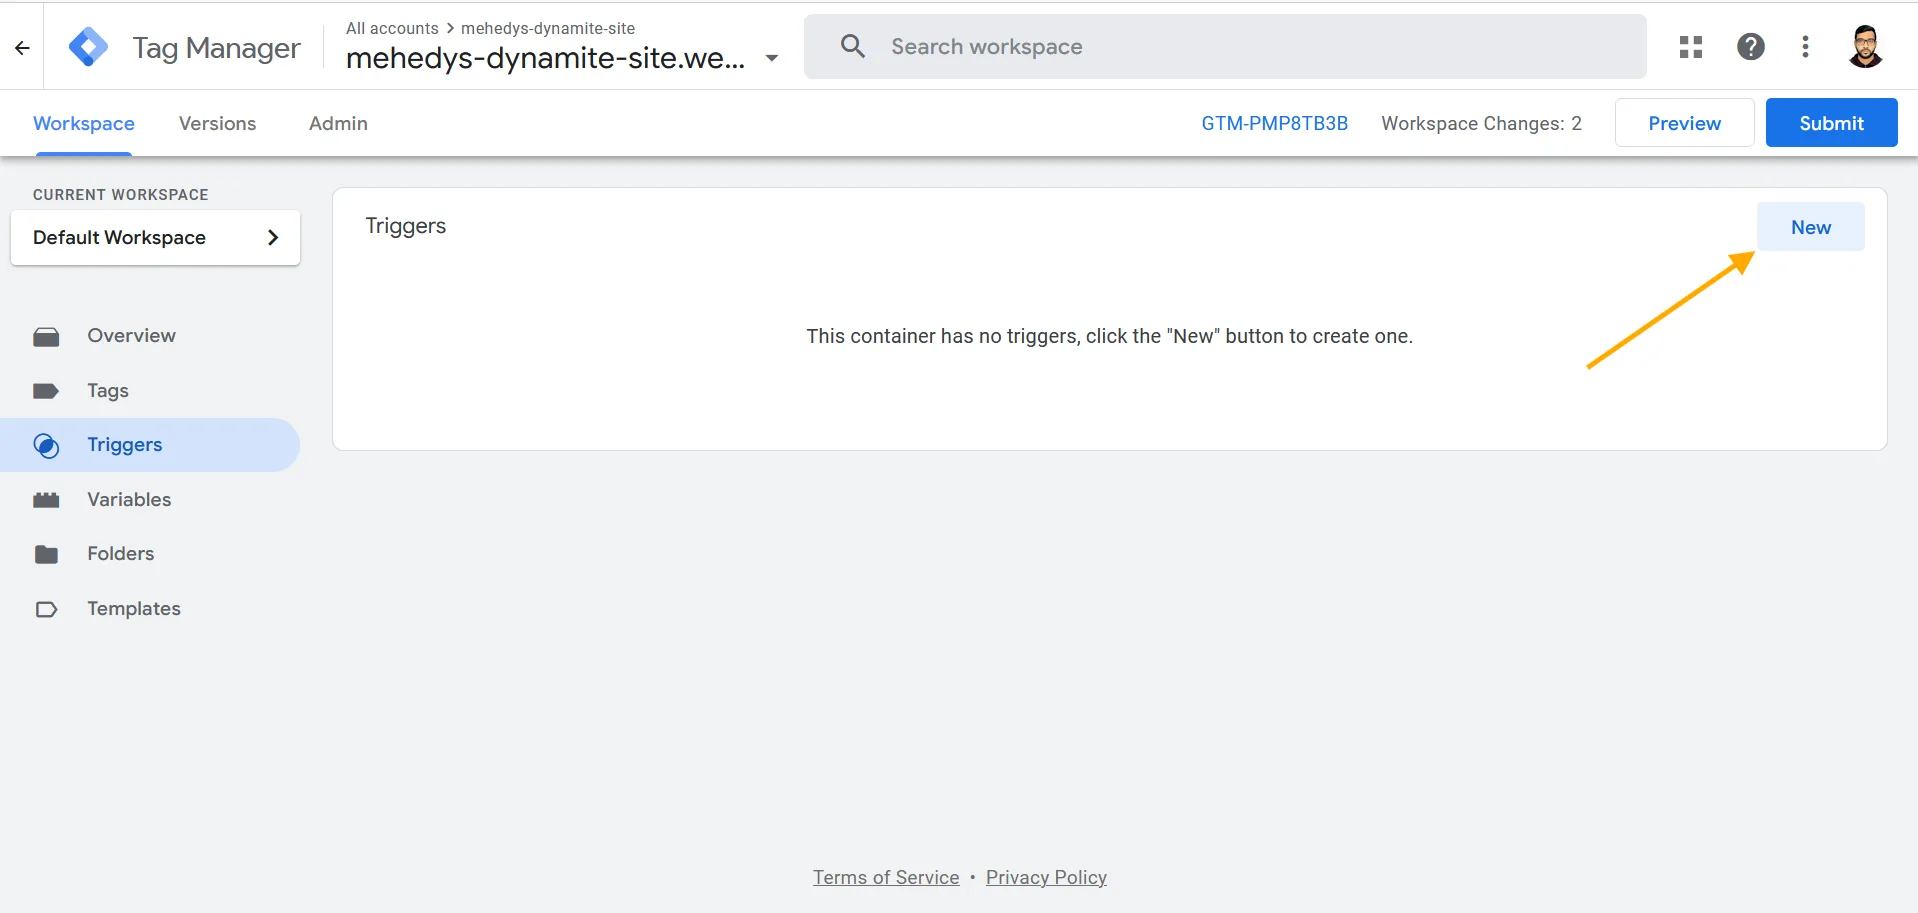
- Then, navigate to the Triggers tab and click 'New'.
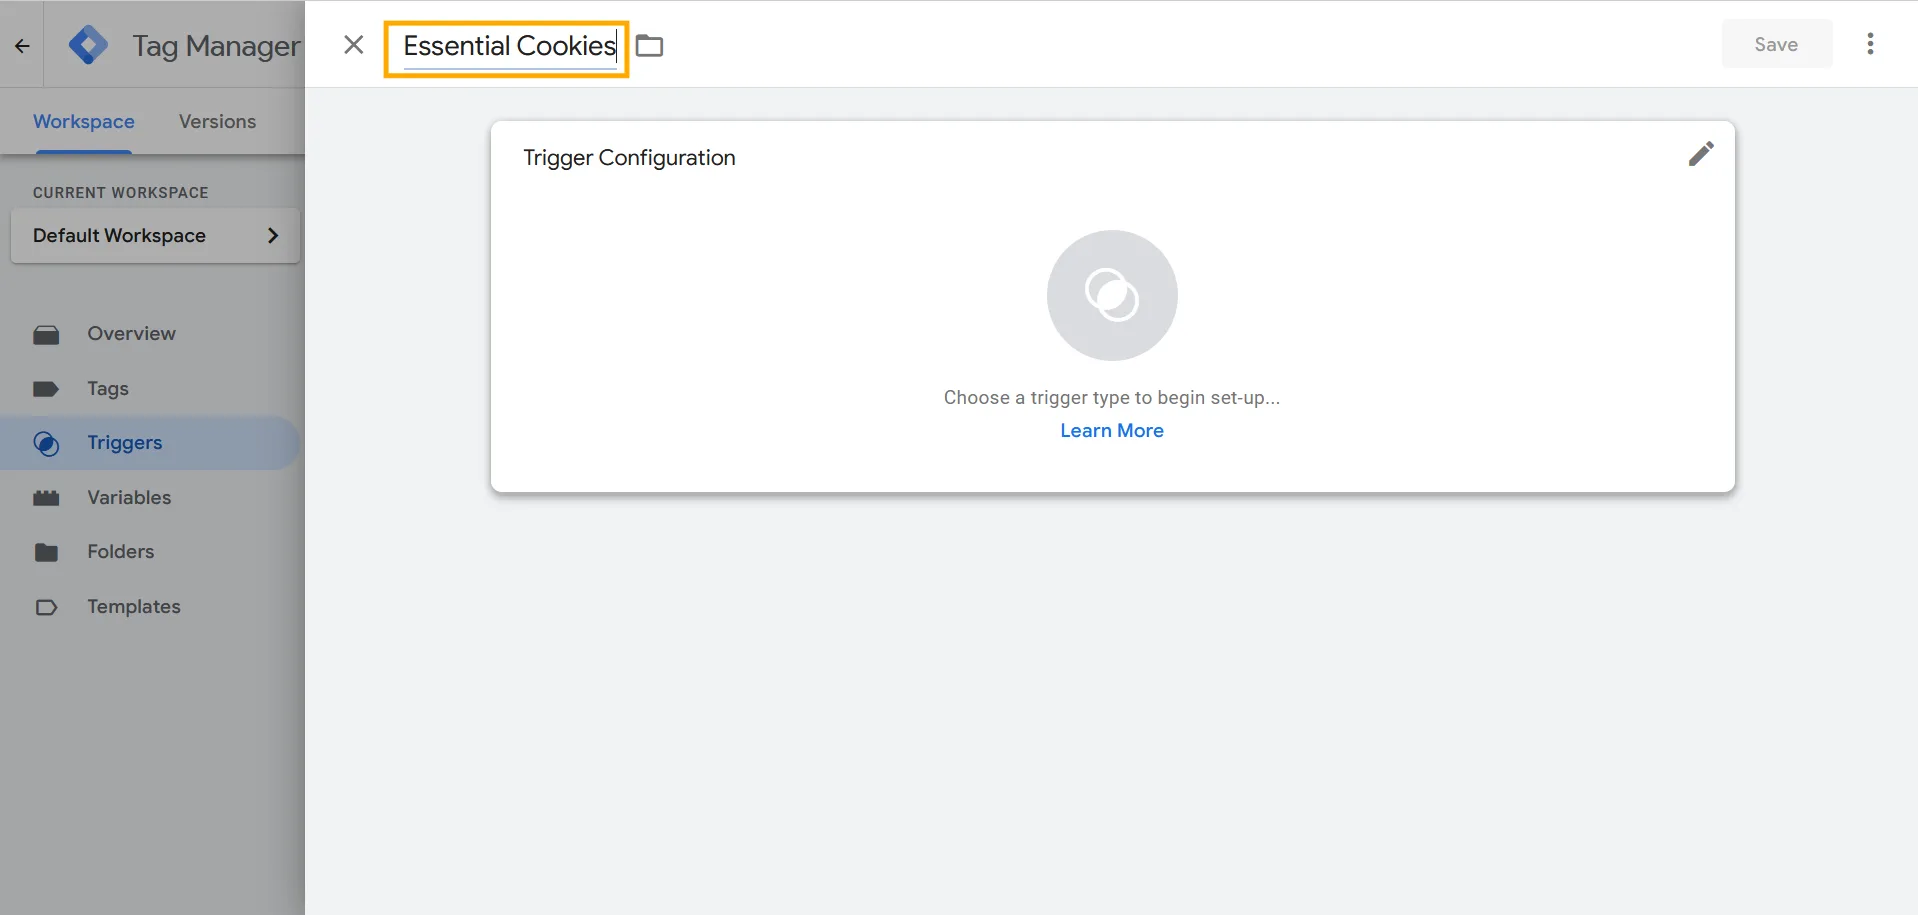
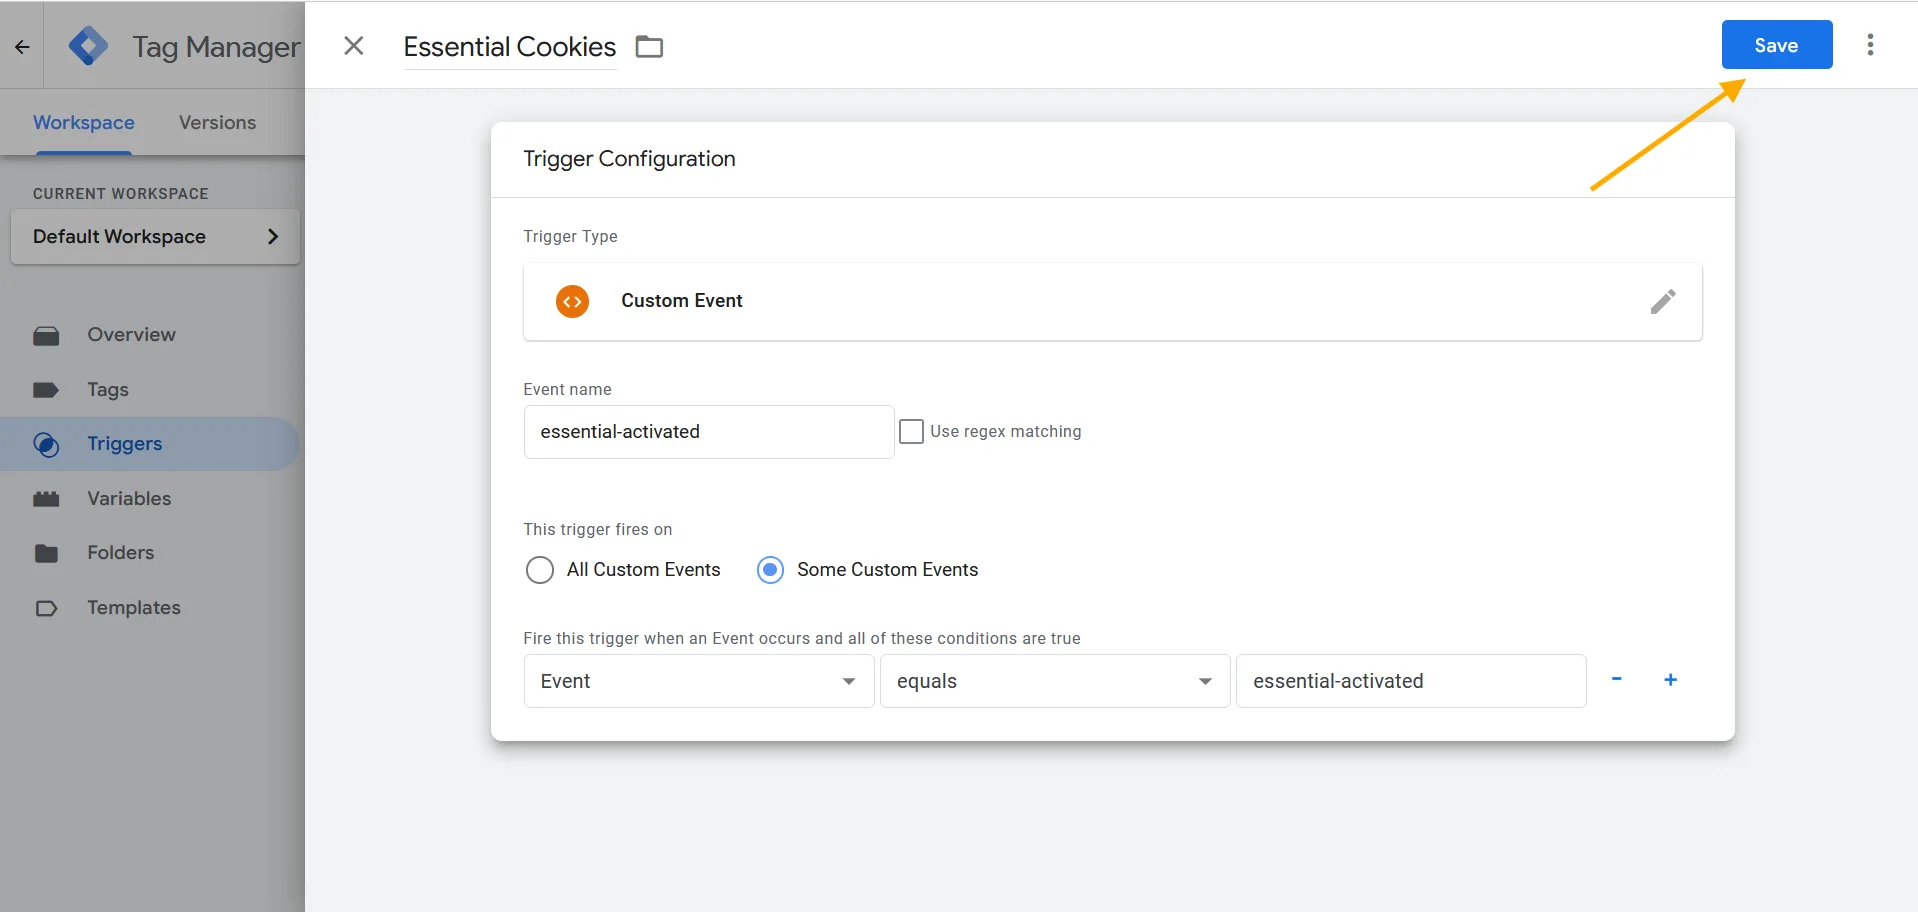
- Name the first trigger "Essential Cookies".
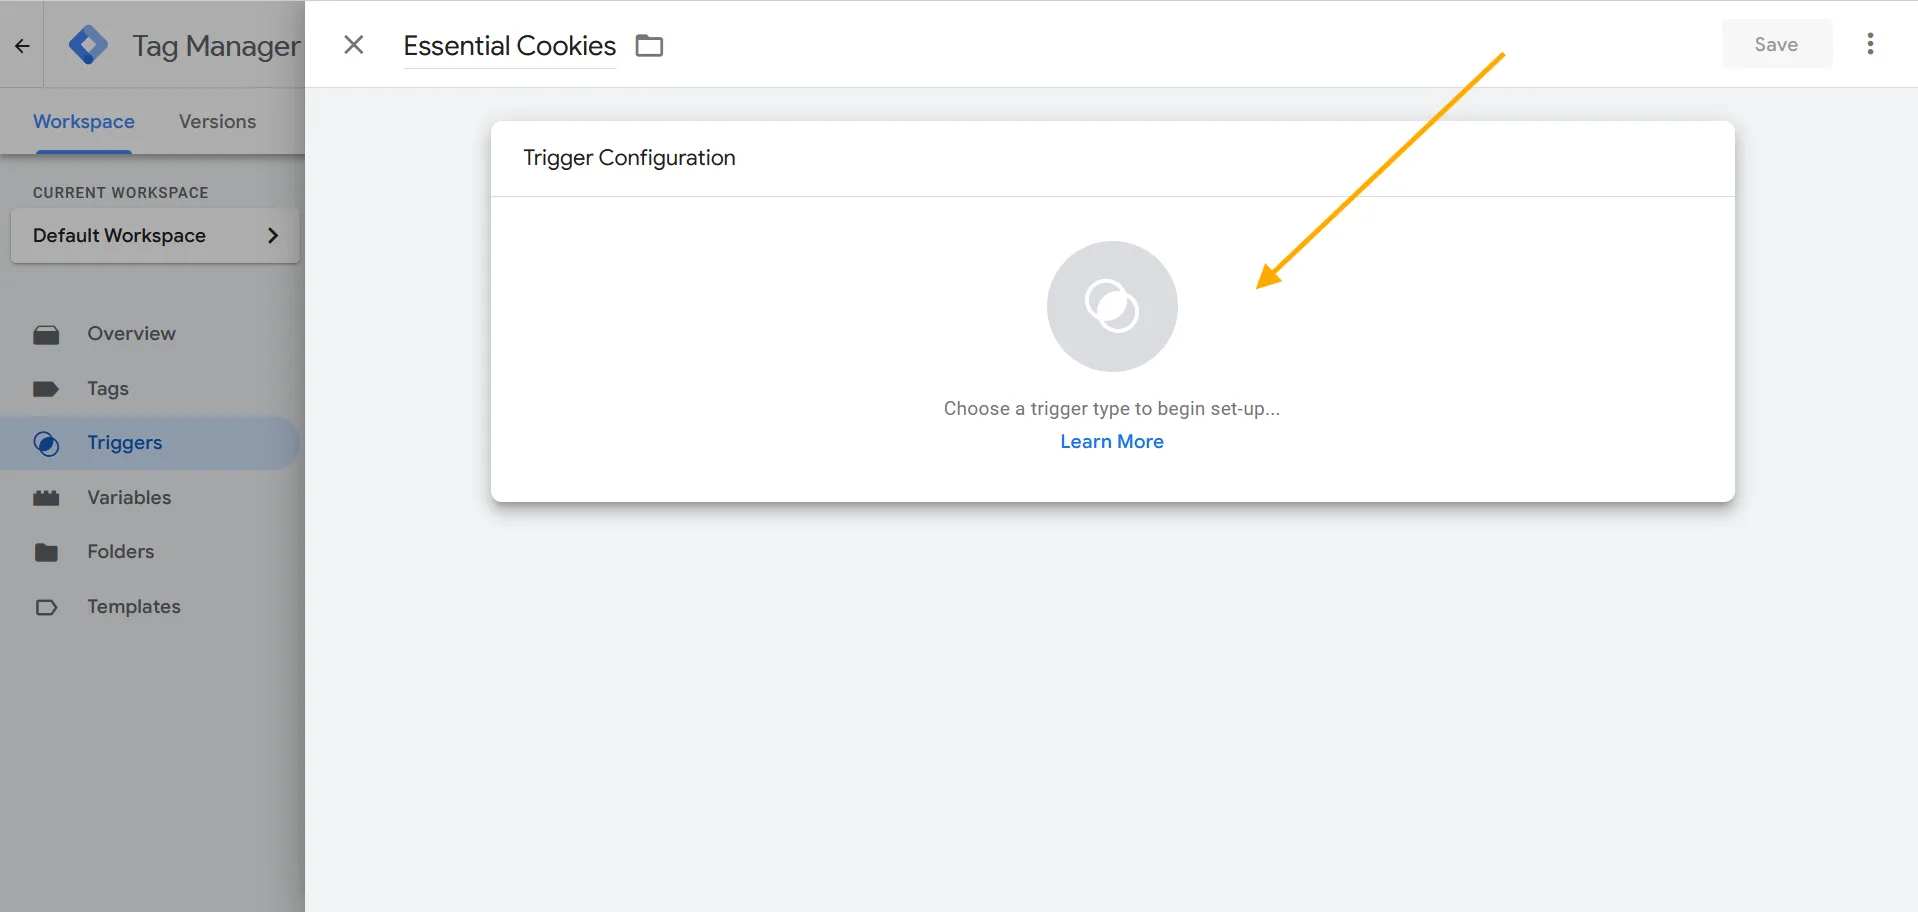
- Then, click on Trigger Configuration.
- Then, select Custom Event.
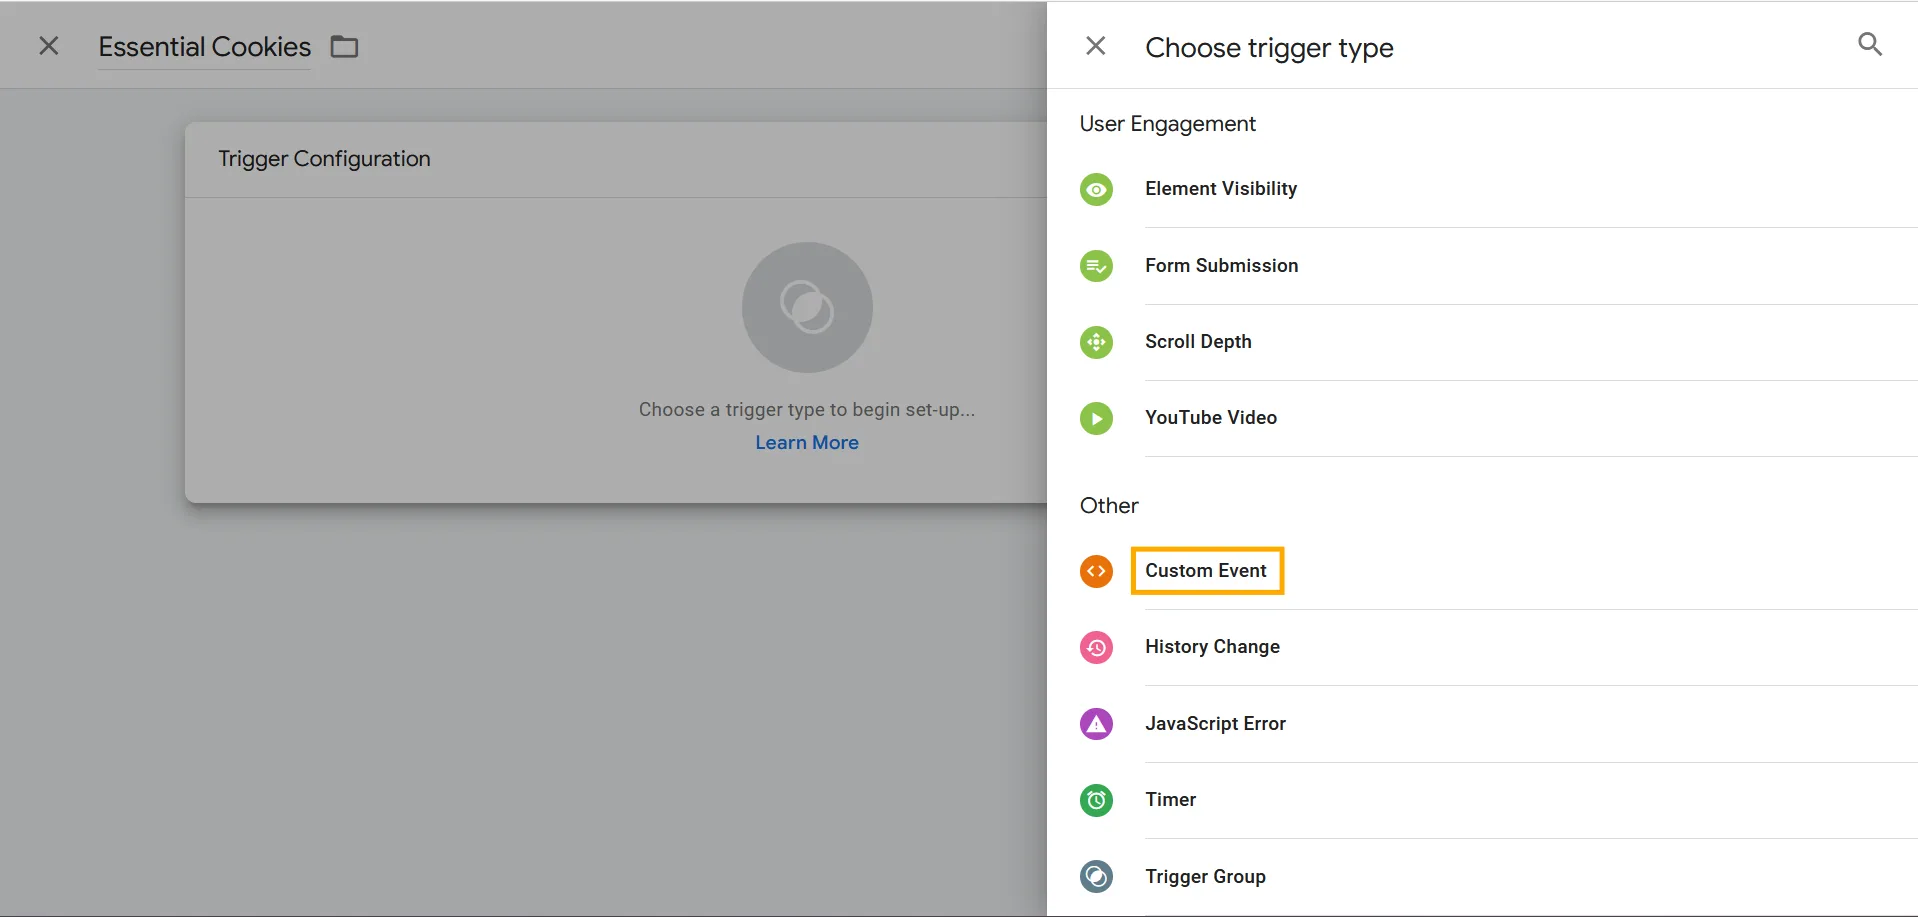
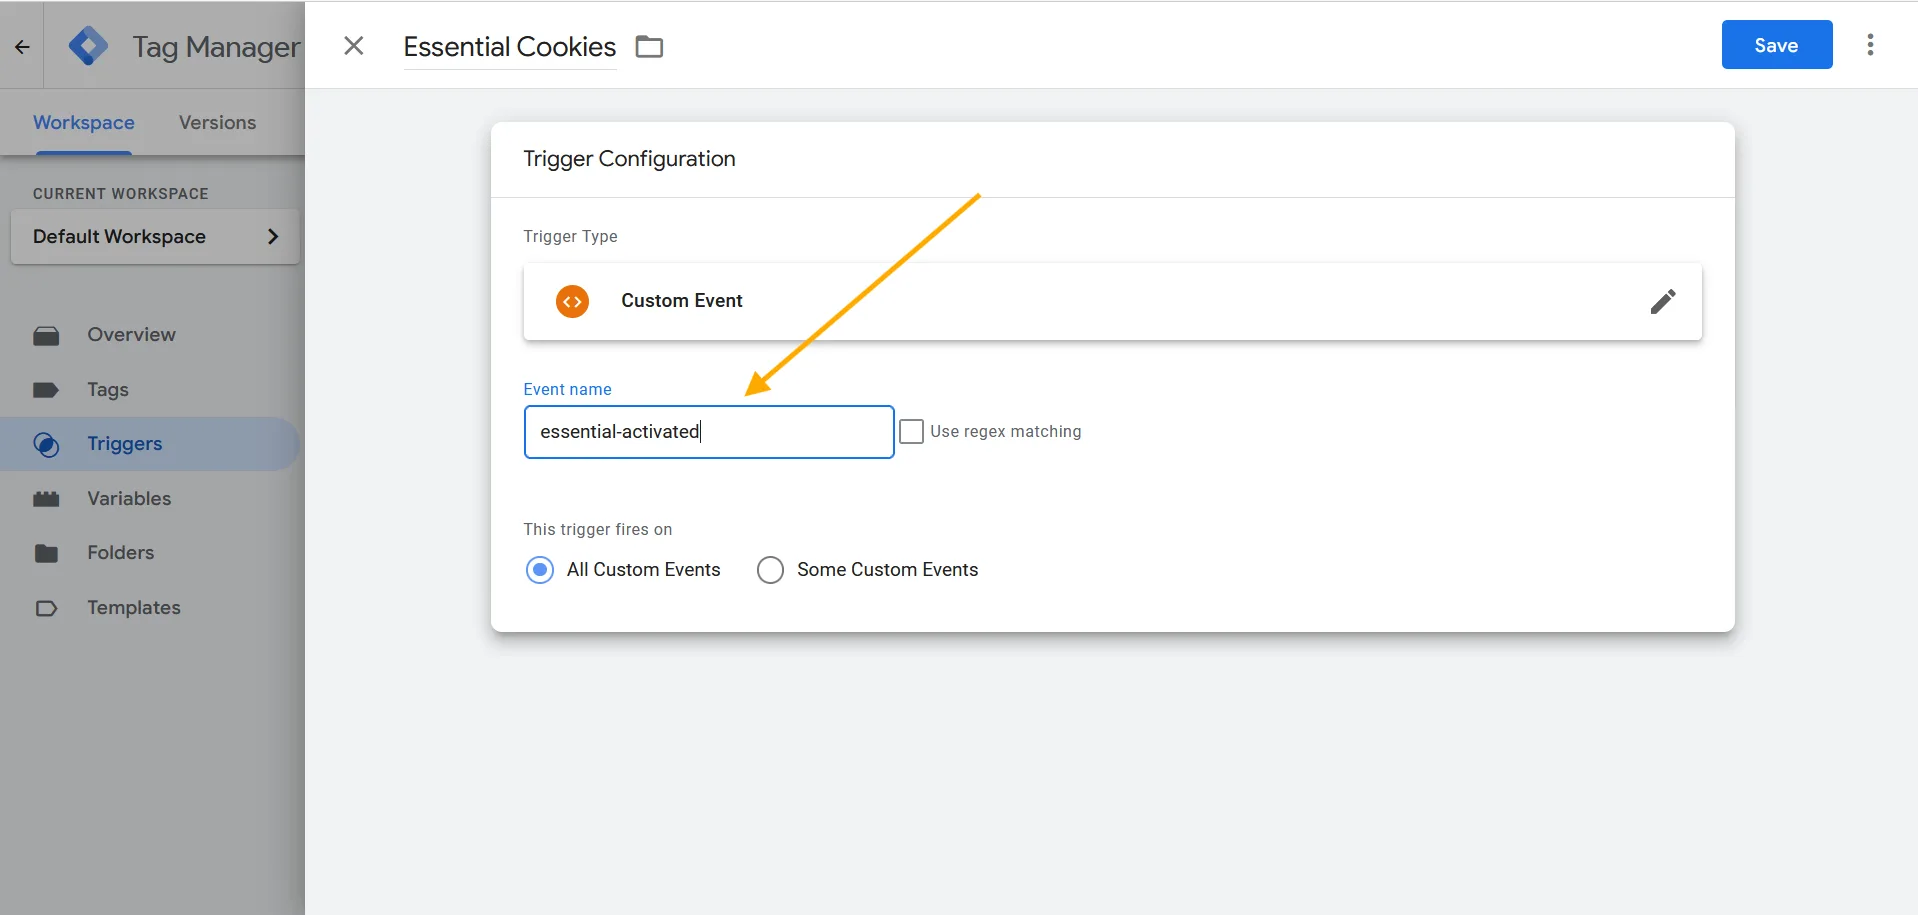
- Then, set the Event Name to essential-activated.
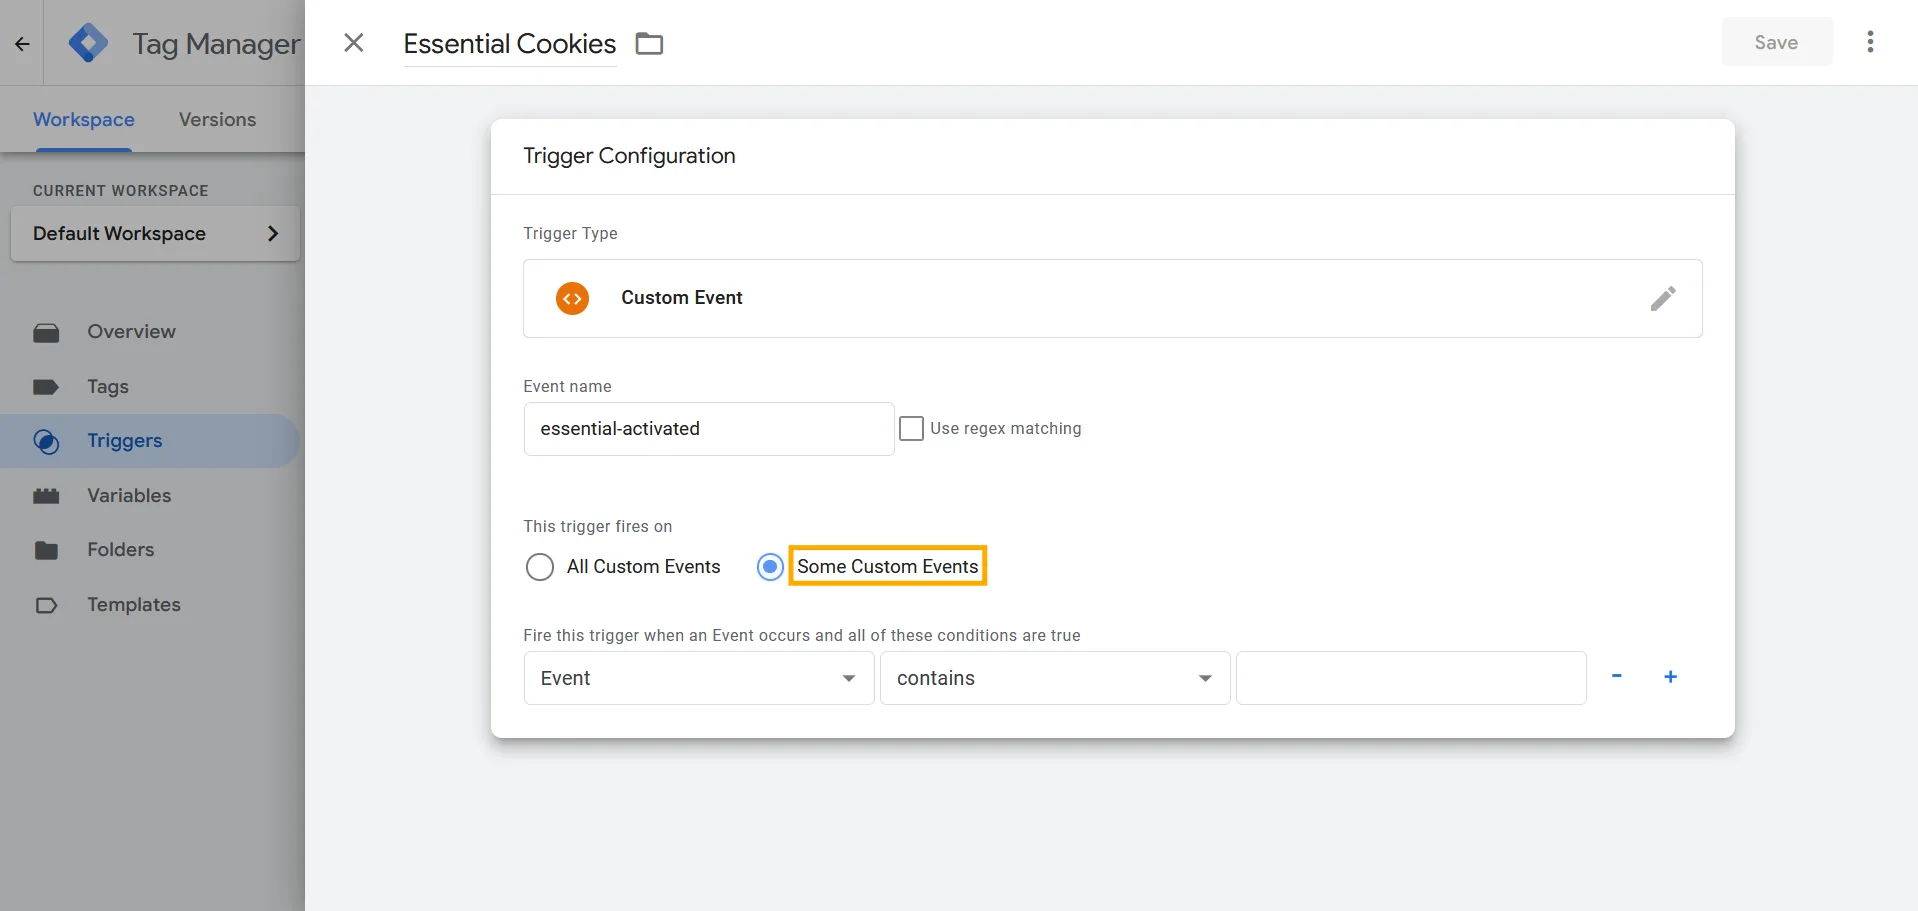
- Then, select Some Custom Events.
- Then, select Event, set the condition to equals, and enter essential-activated, as shown in the image.
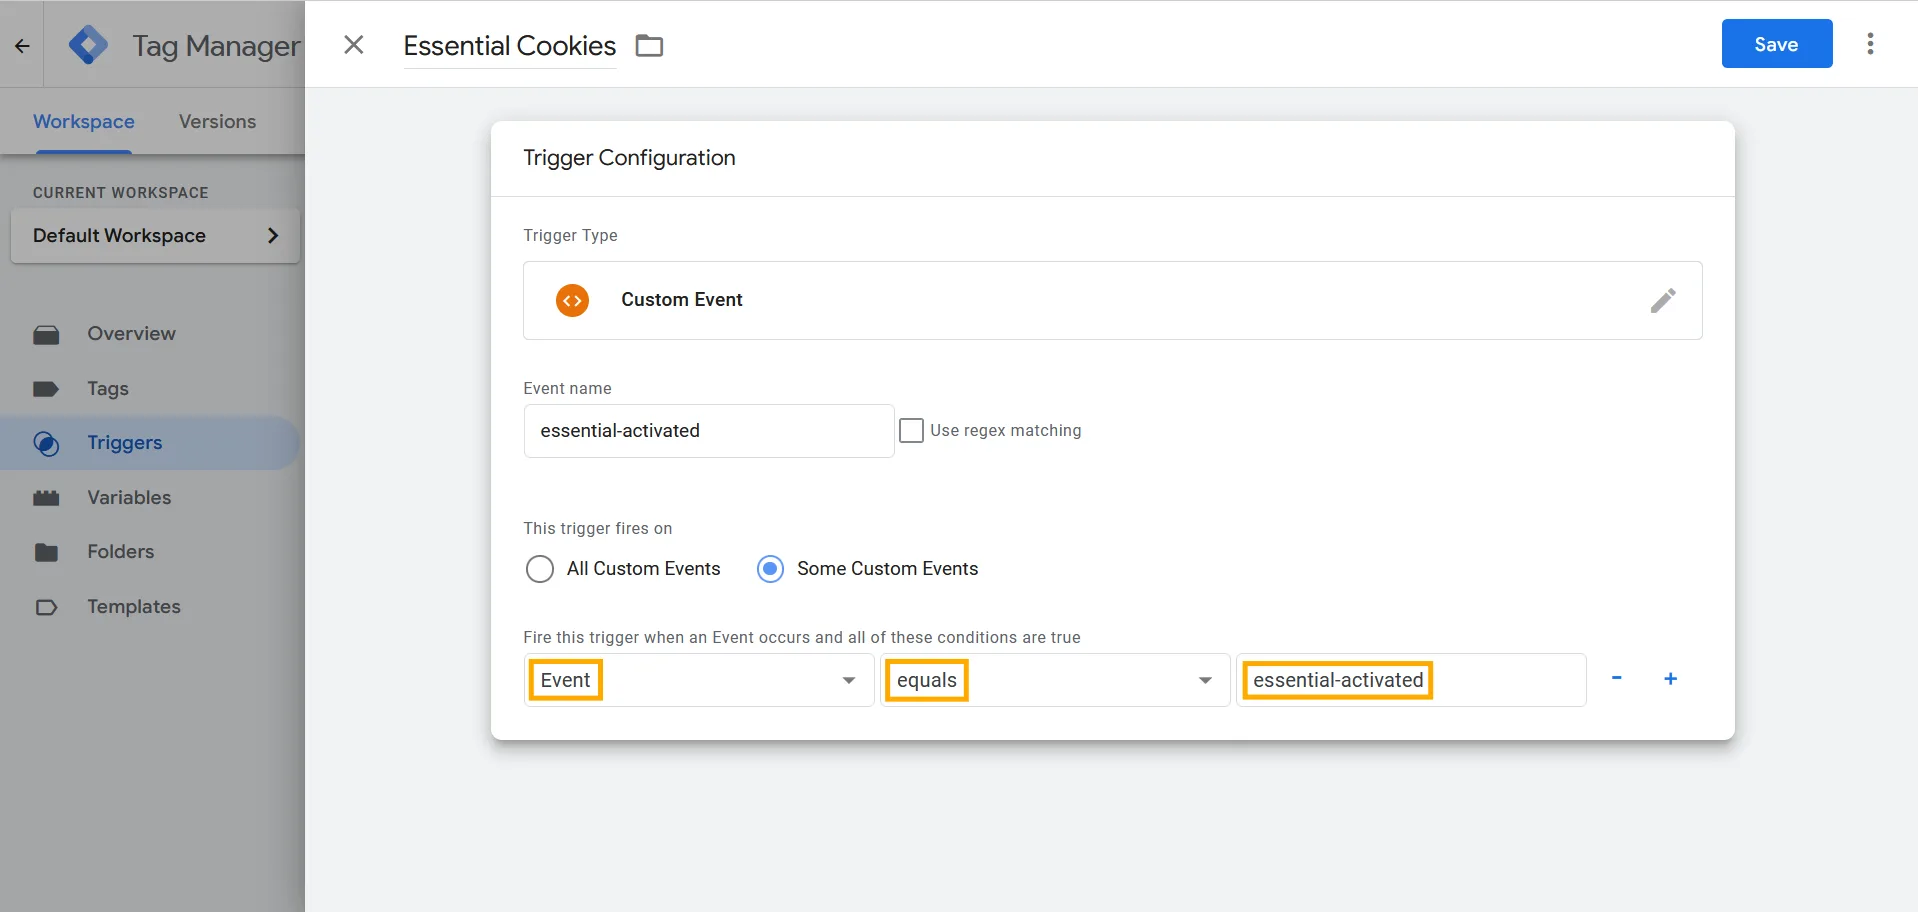
- Then, click Save to save the trigger configuration.
- Then, you will see Essential Cookies added to the triggers list.
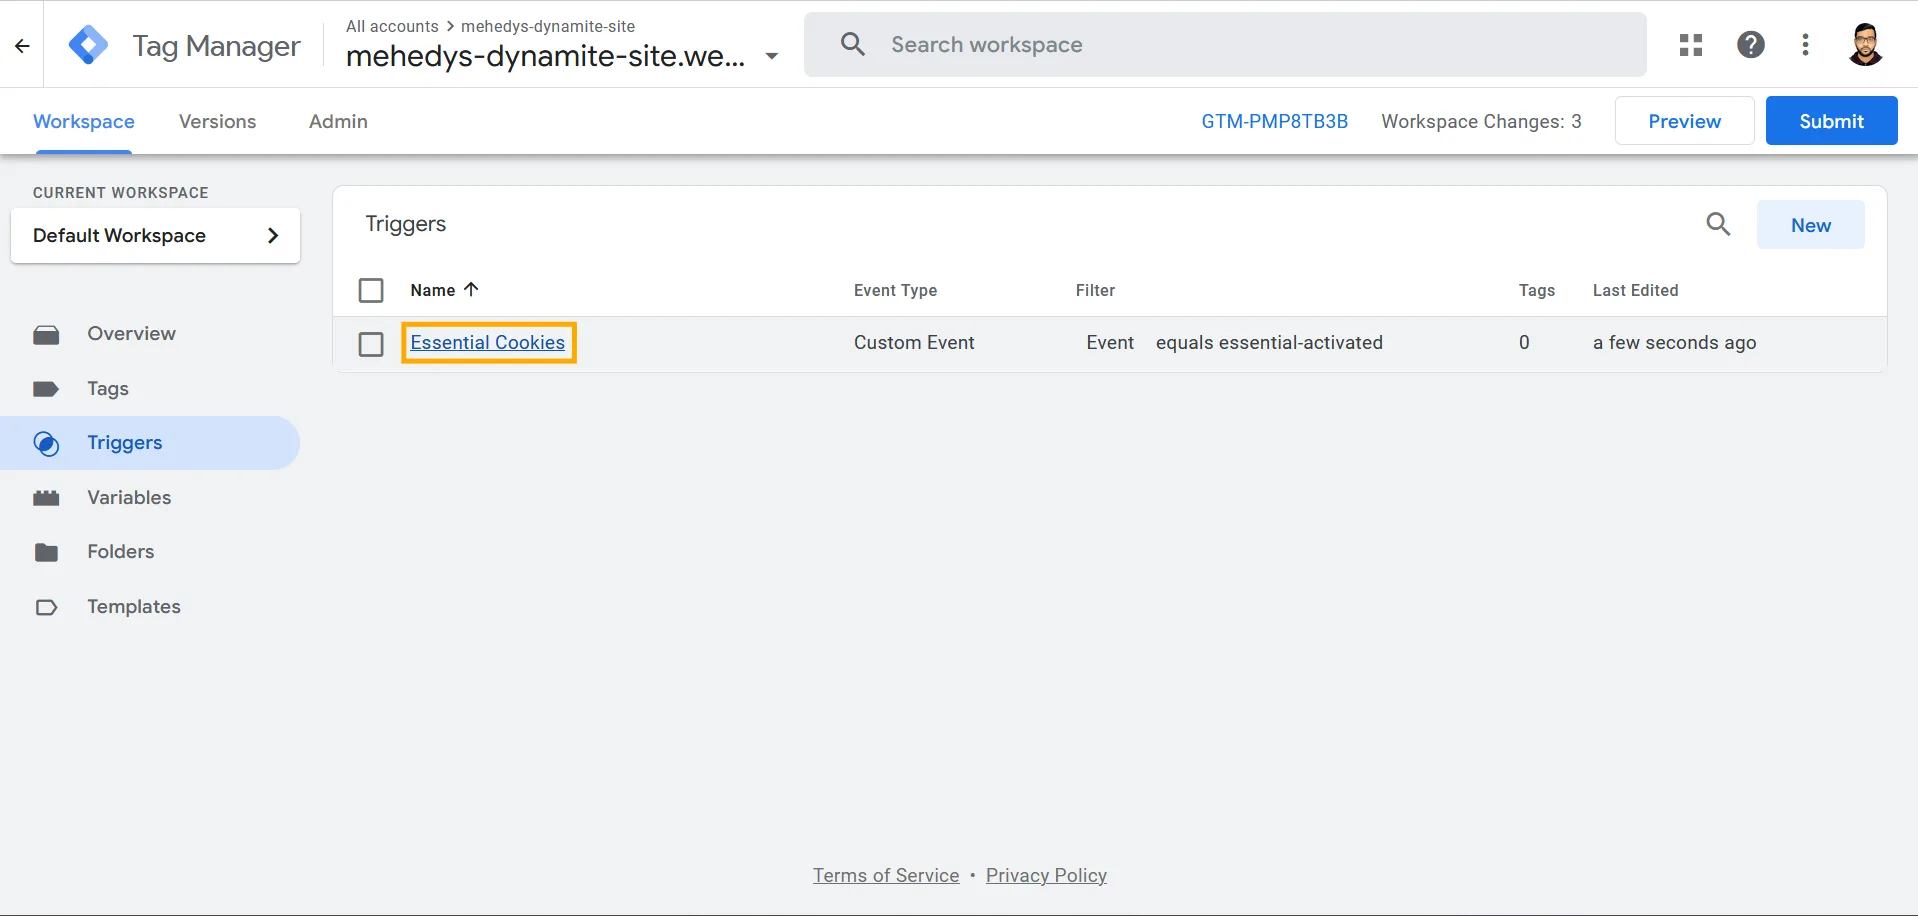
- Similarly, create a trigger for Marketing Cookies by clicking New.
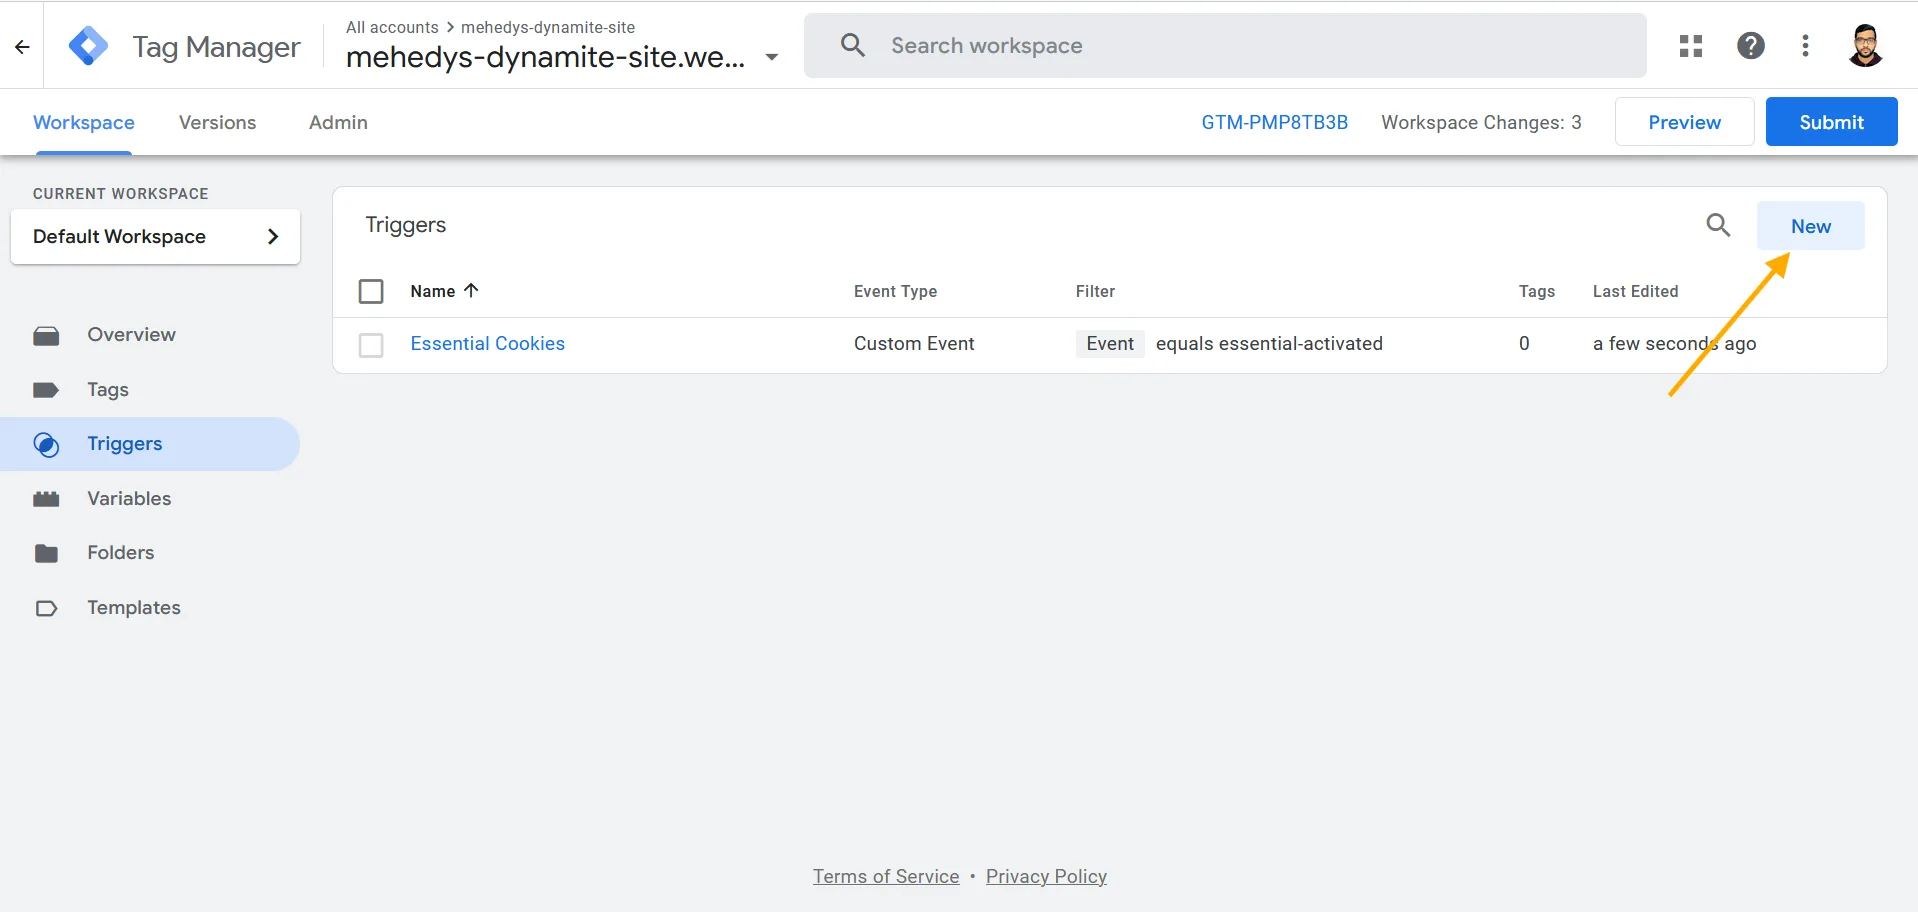
- Then, name the trigger Marketing Cookies and click on Trigger Configuration.
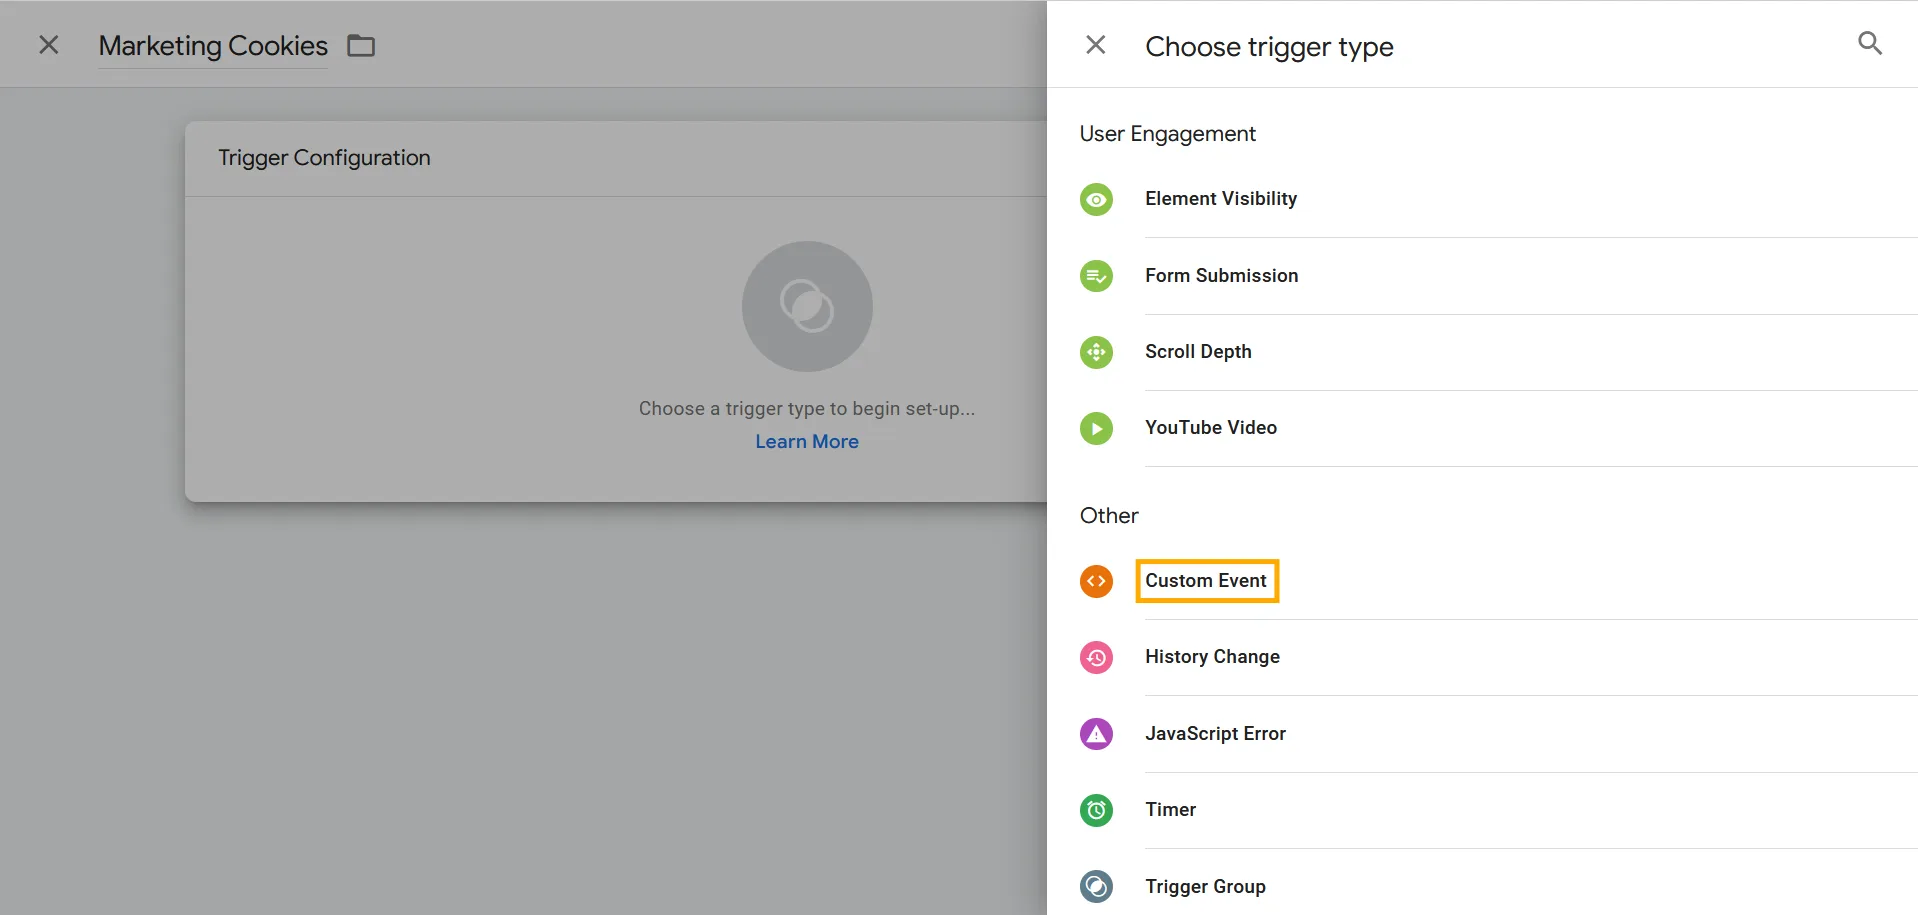
- Then, select Custom Event.
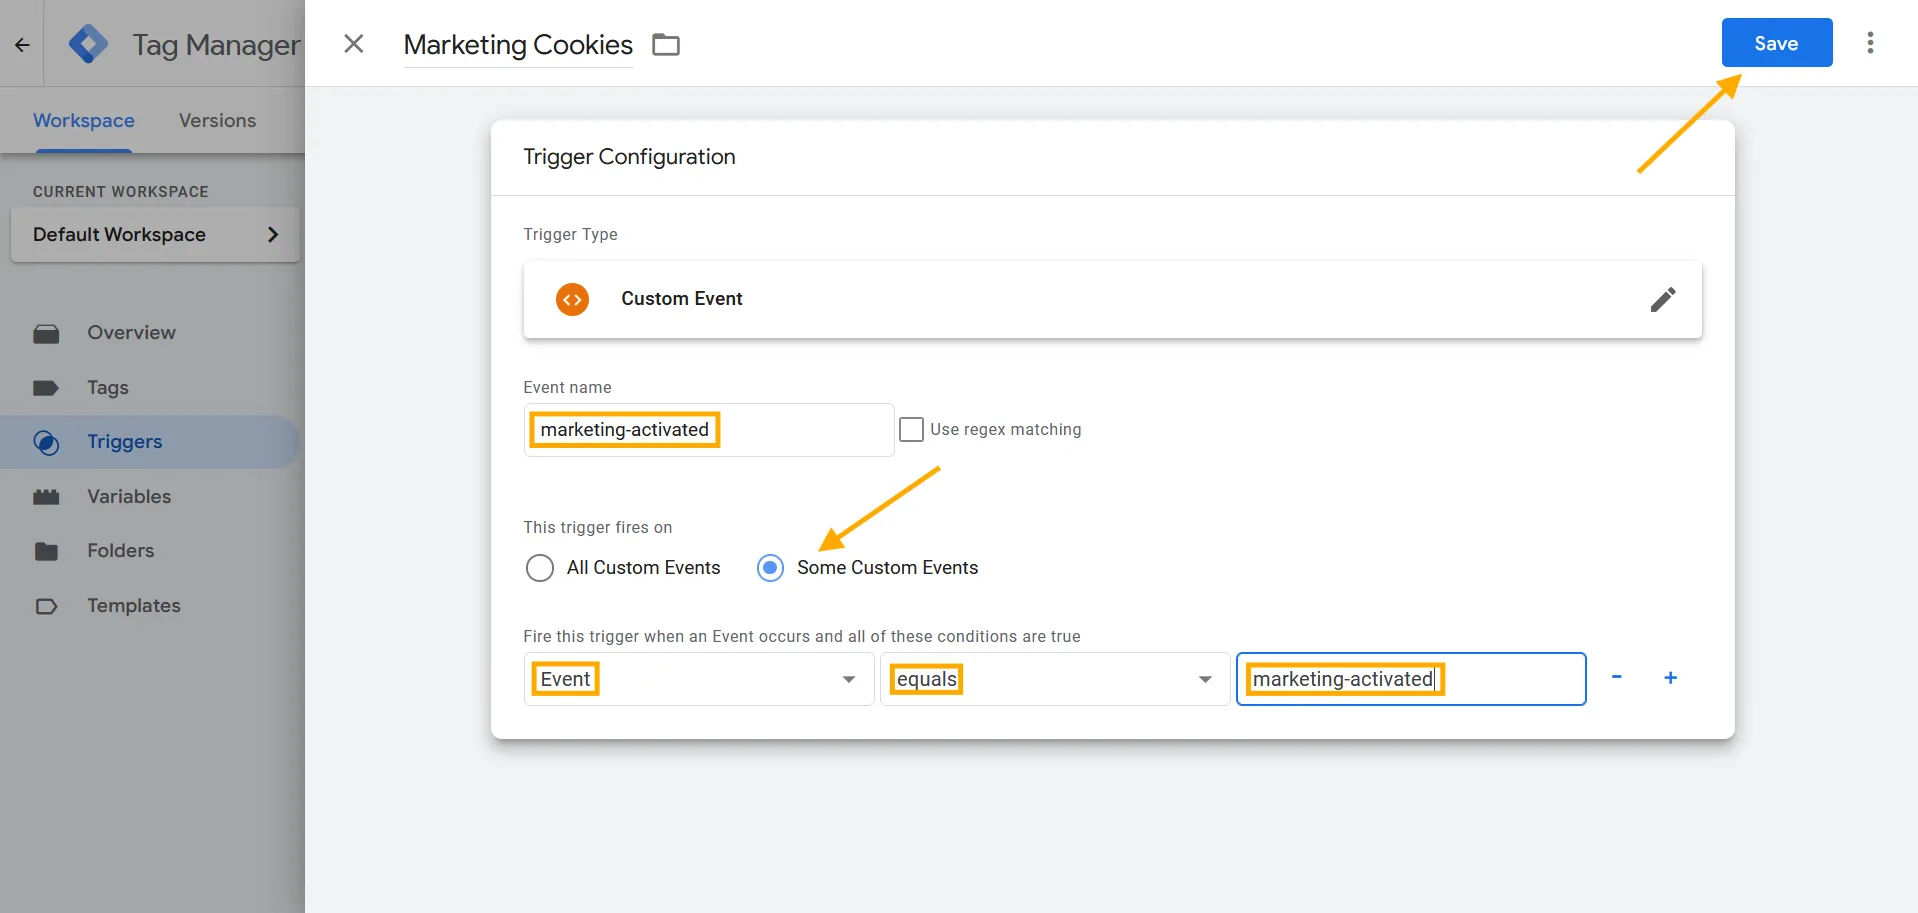
- Then, set the Event Name to marketing-activated, select Some Custom Events, configure the condition as Event equals marketing-activated, and click Save to save the configuration.
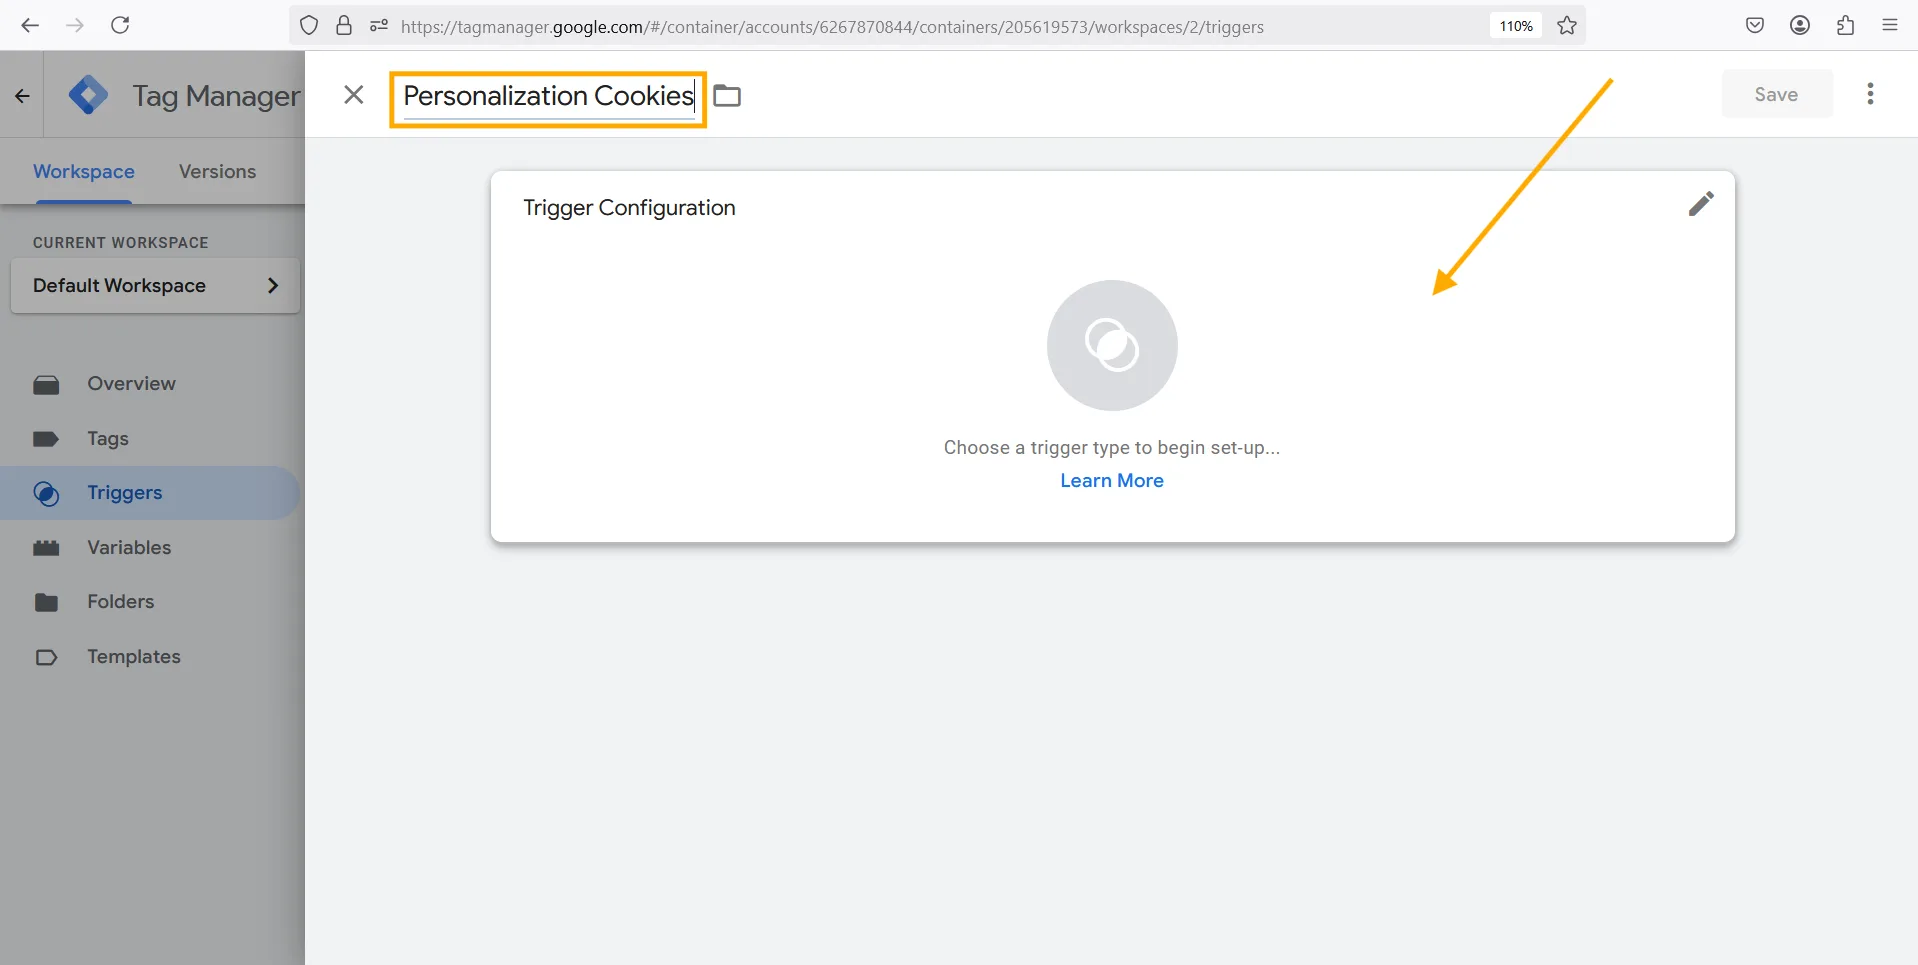
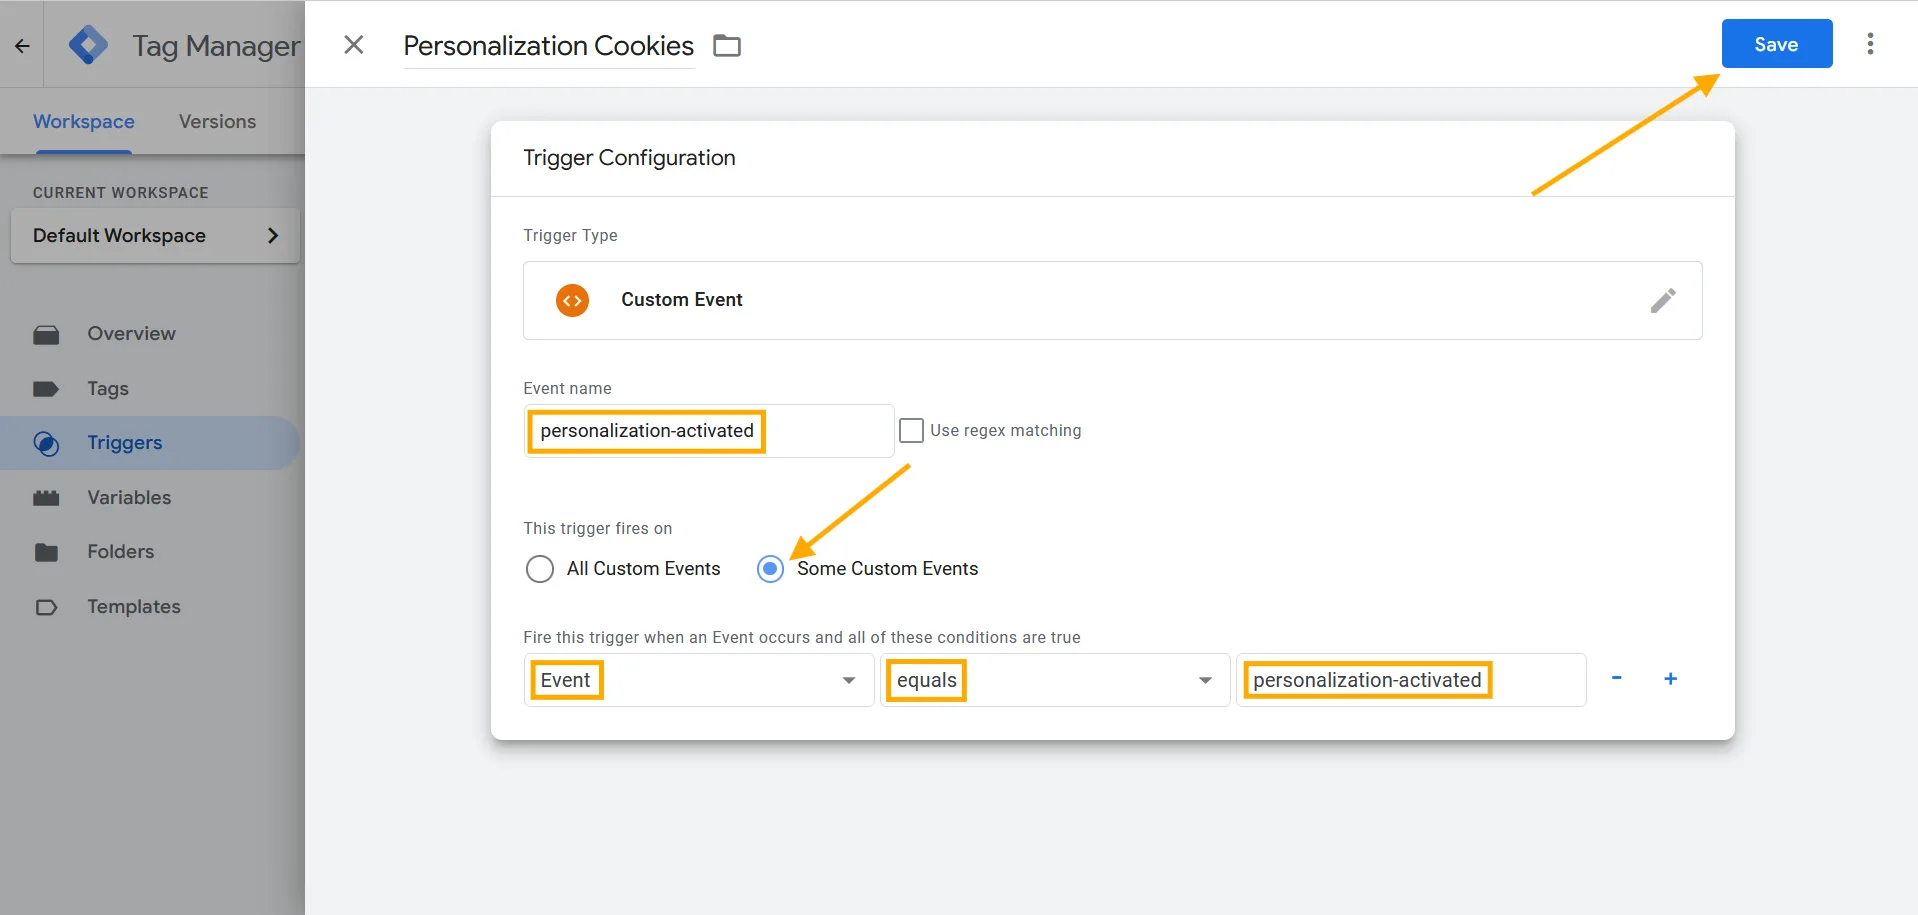
- Then, name the new trigger Personalization Cookies and click on Trigger Configuration.
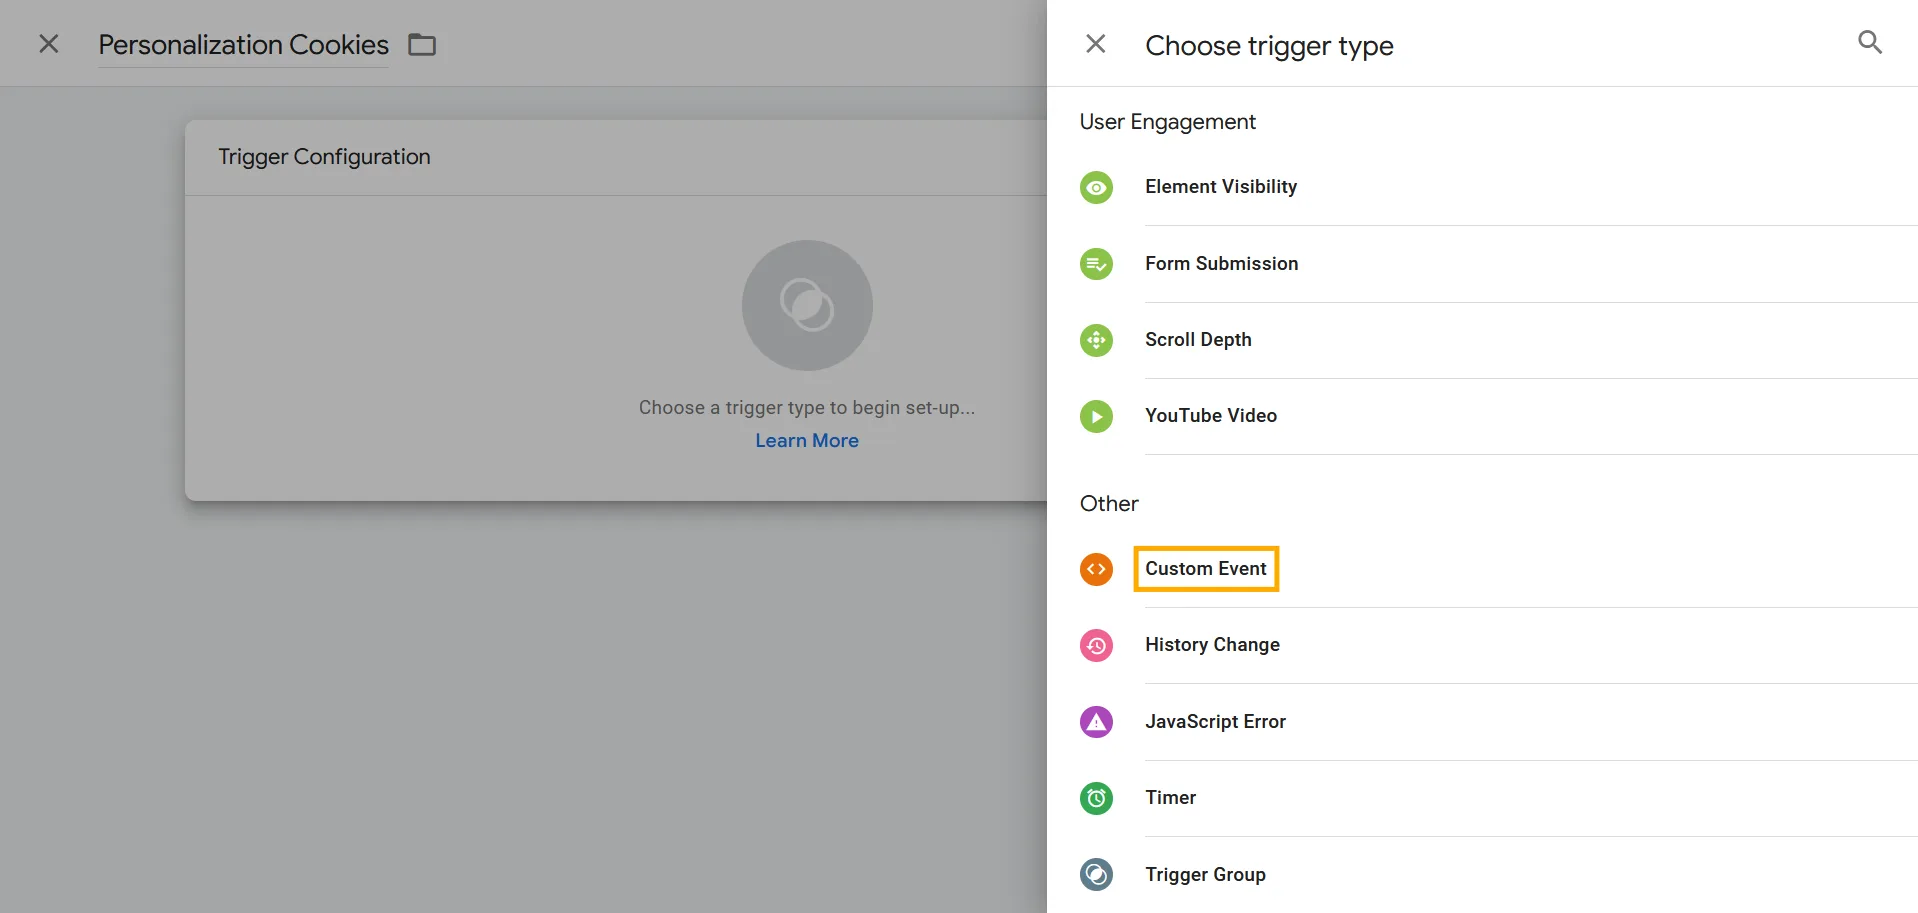
- Then, select Custom Event.
- Then, set the Event Name to personalization-activated, select Some Custom Events, configure the condition as Event equals personalization-activated, and click Save to save the configuration.
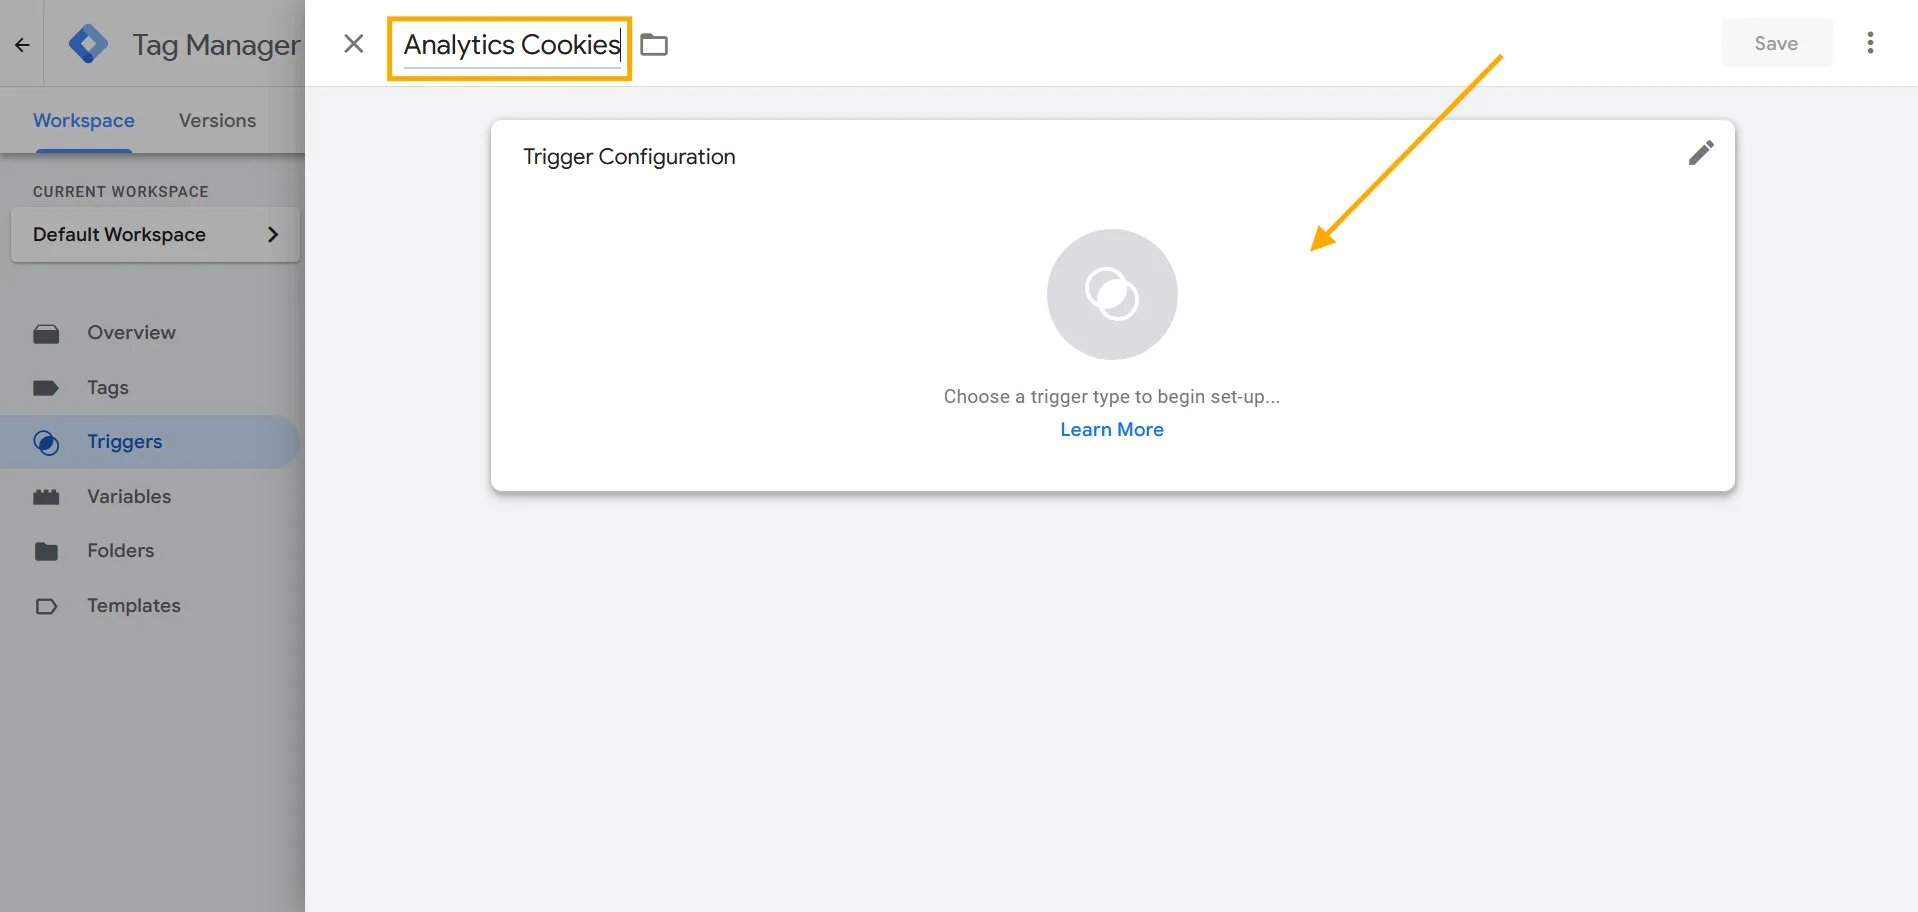
- Then, create a new trigger named Analytics Cookies and click on Trigger Configuration.
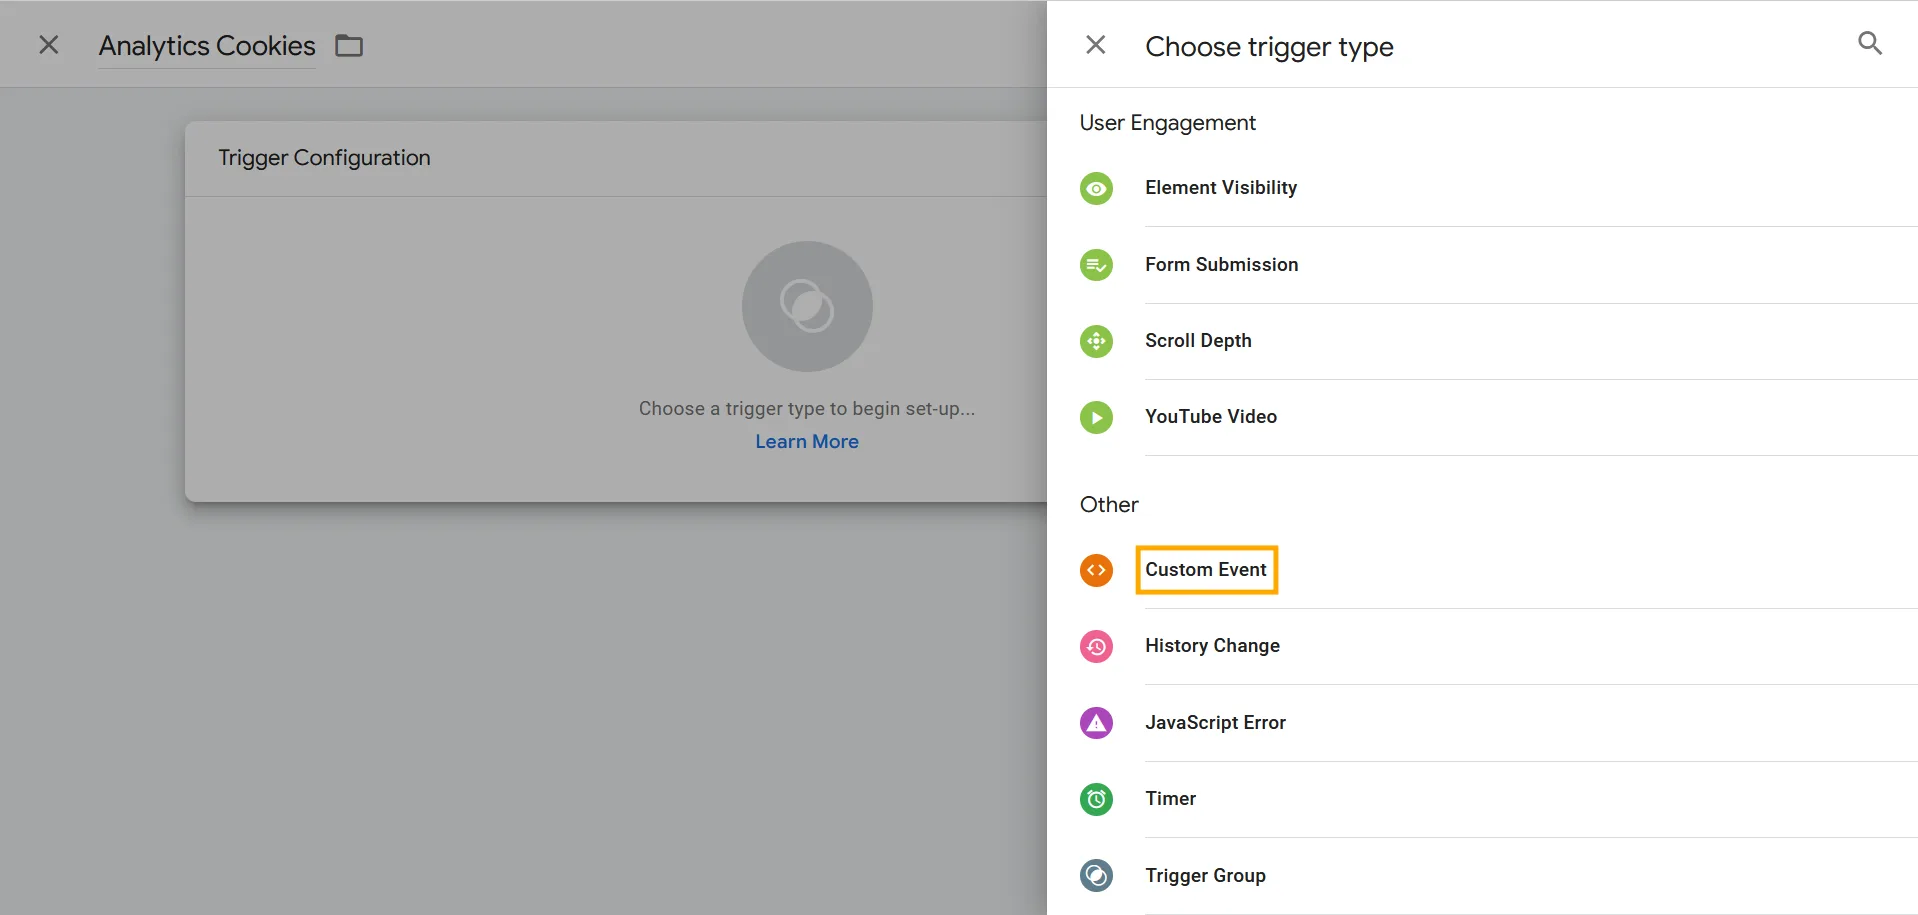
- Then, select Custom Event.
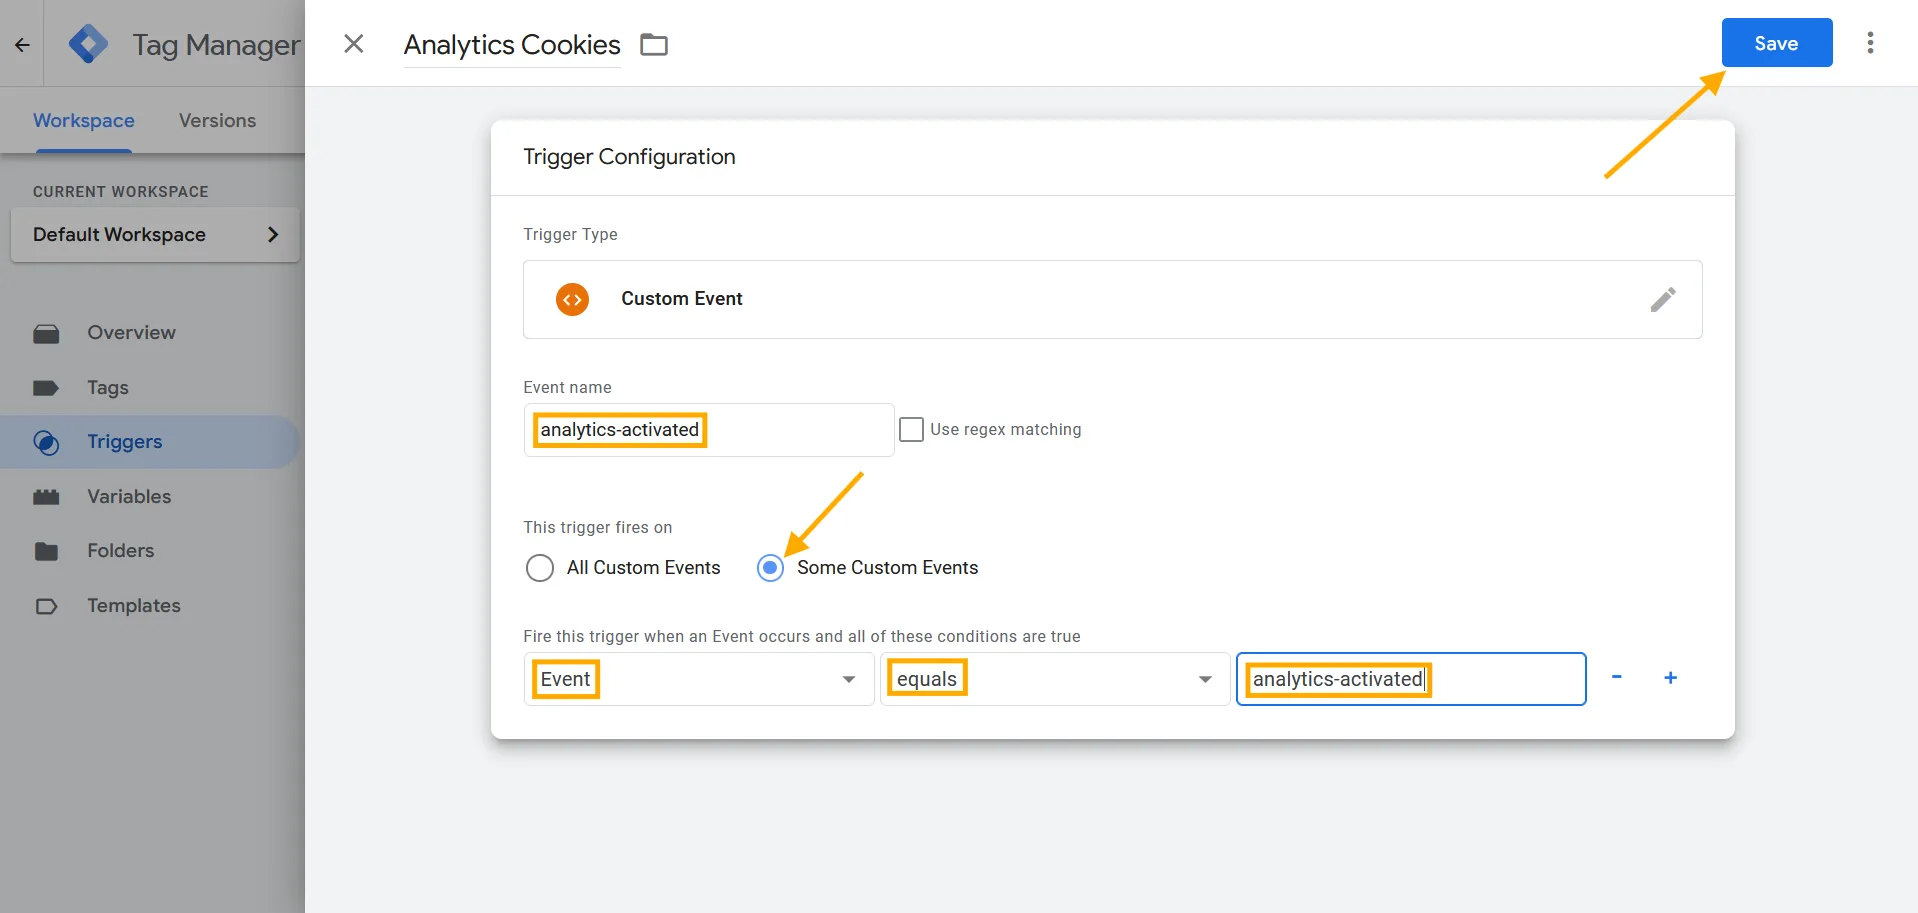
- Then, set the Event Name to analytics-activated, select Some Custom Events, configure the condition as Event equals analytics-activated, and click Save to save the configuration.
- Then, you will see four triggers—Analytics Cookies, Essential Cookies, Marketing Cookies, and Personalization Cookies—added to the triggers list.
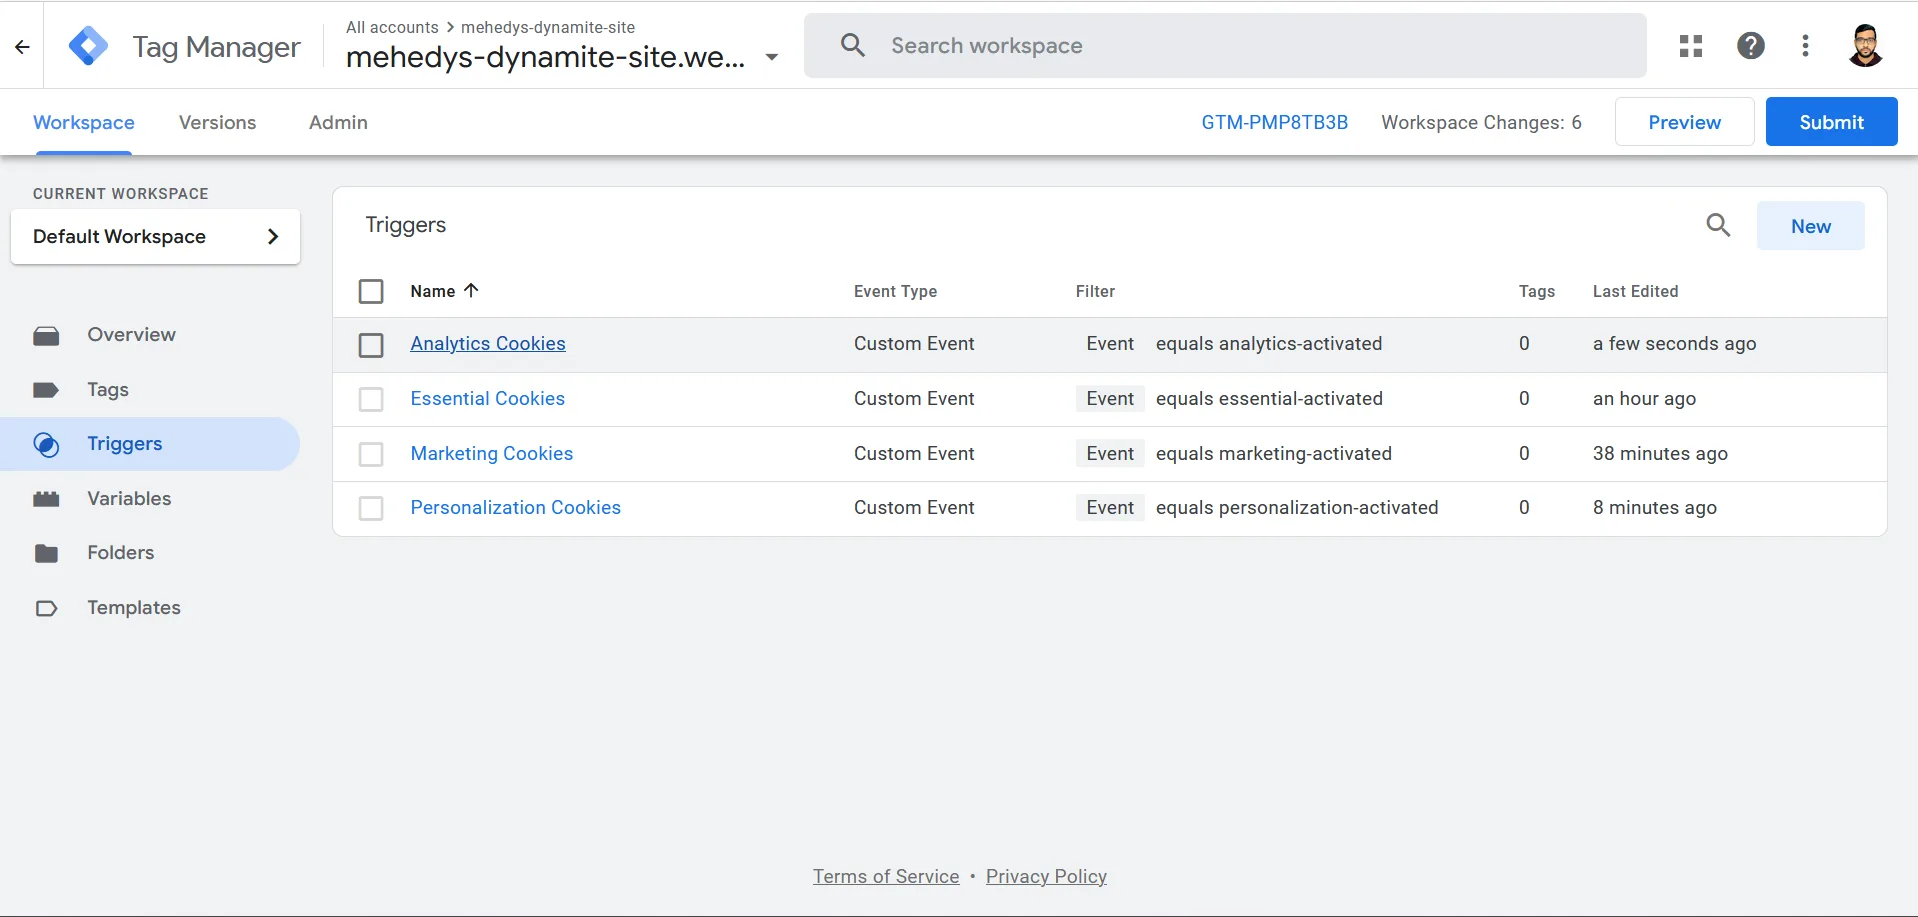
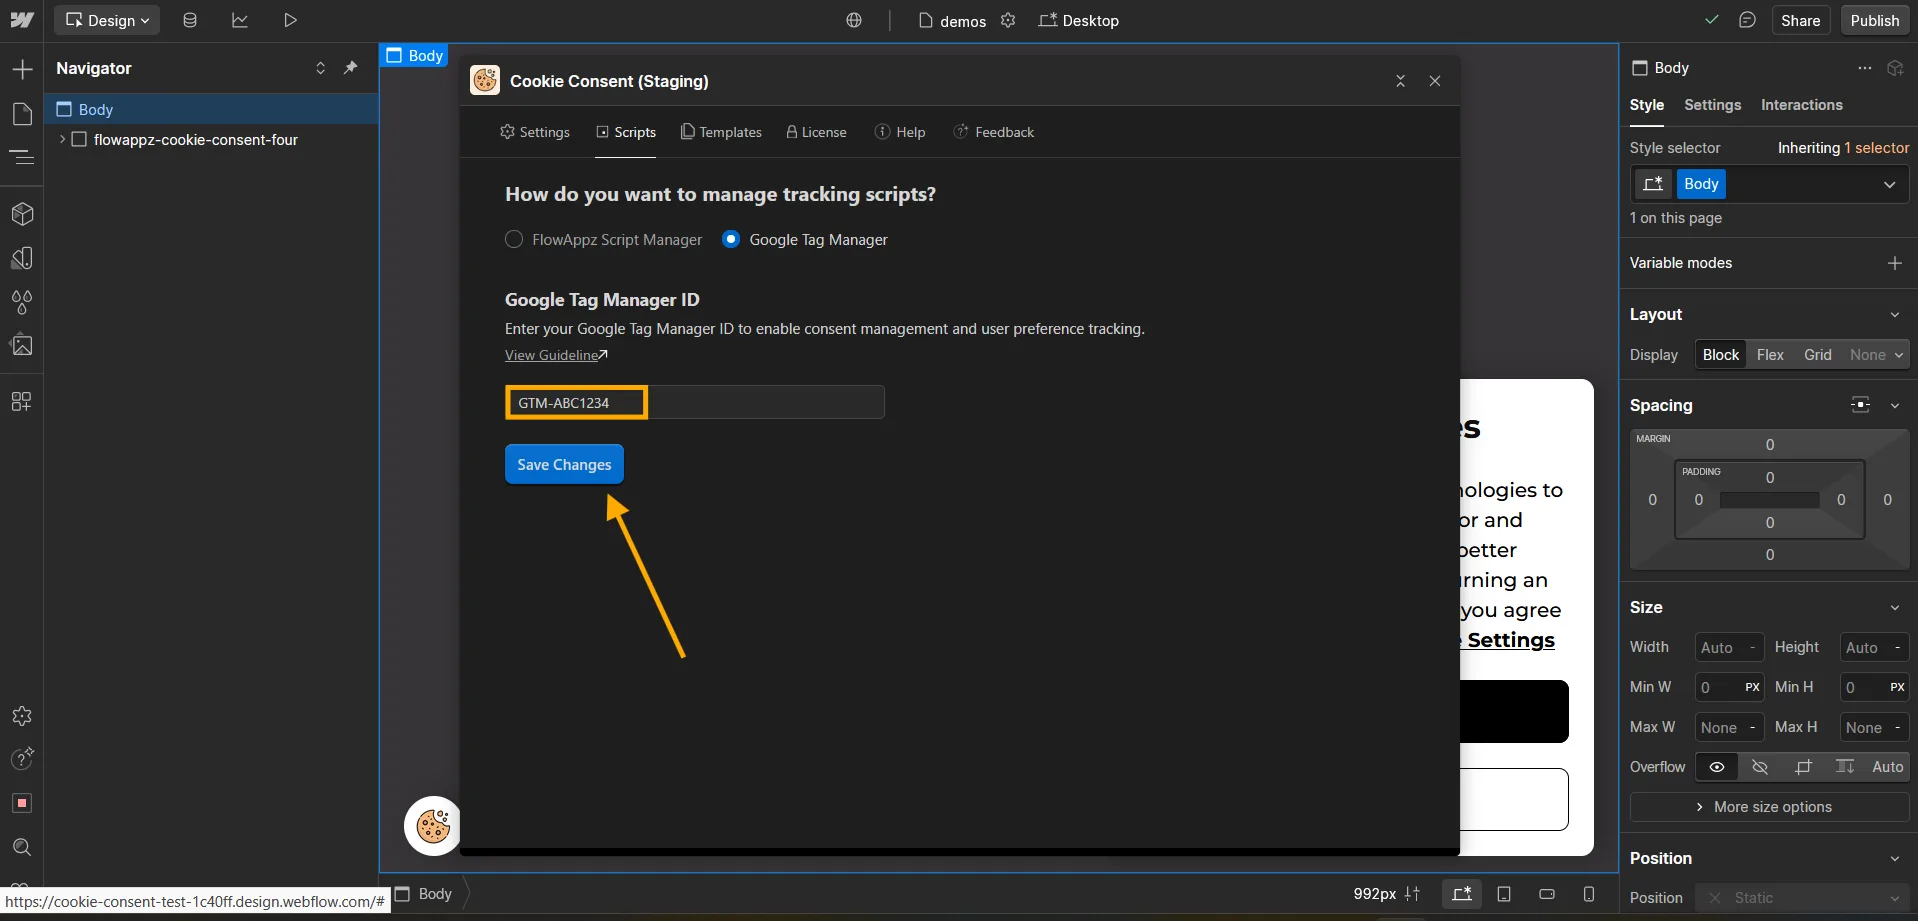
- Now, for example, we will add Analytics trigger to Google Analytics for triggering the script. First, navigate to the Tags tab and click on your Google Analytics tag.
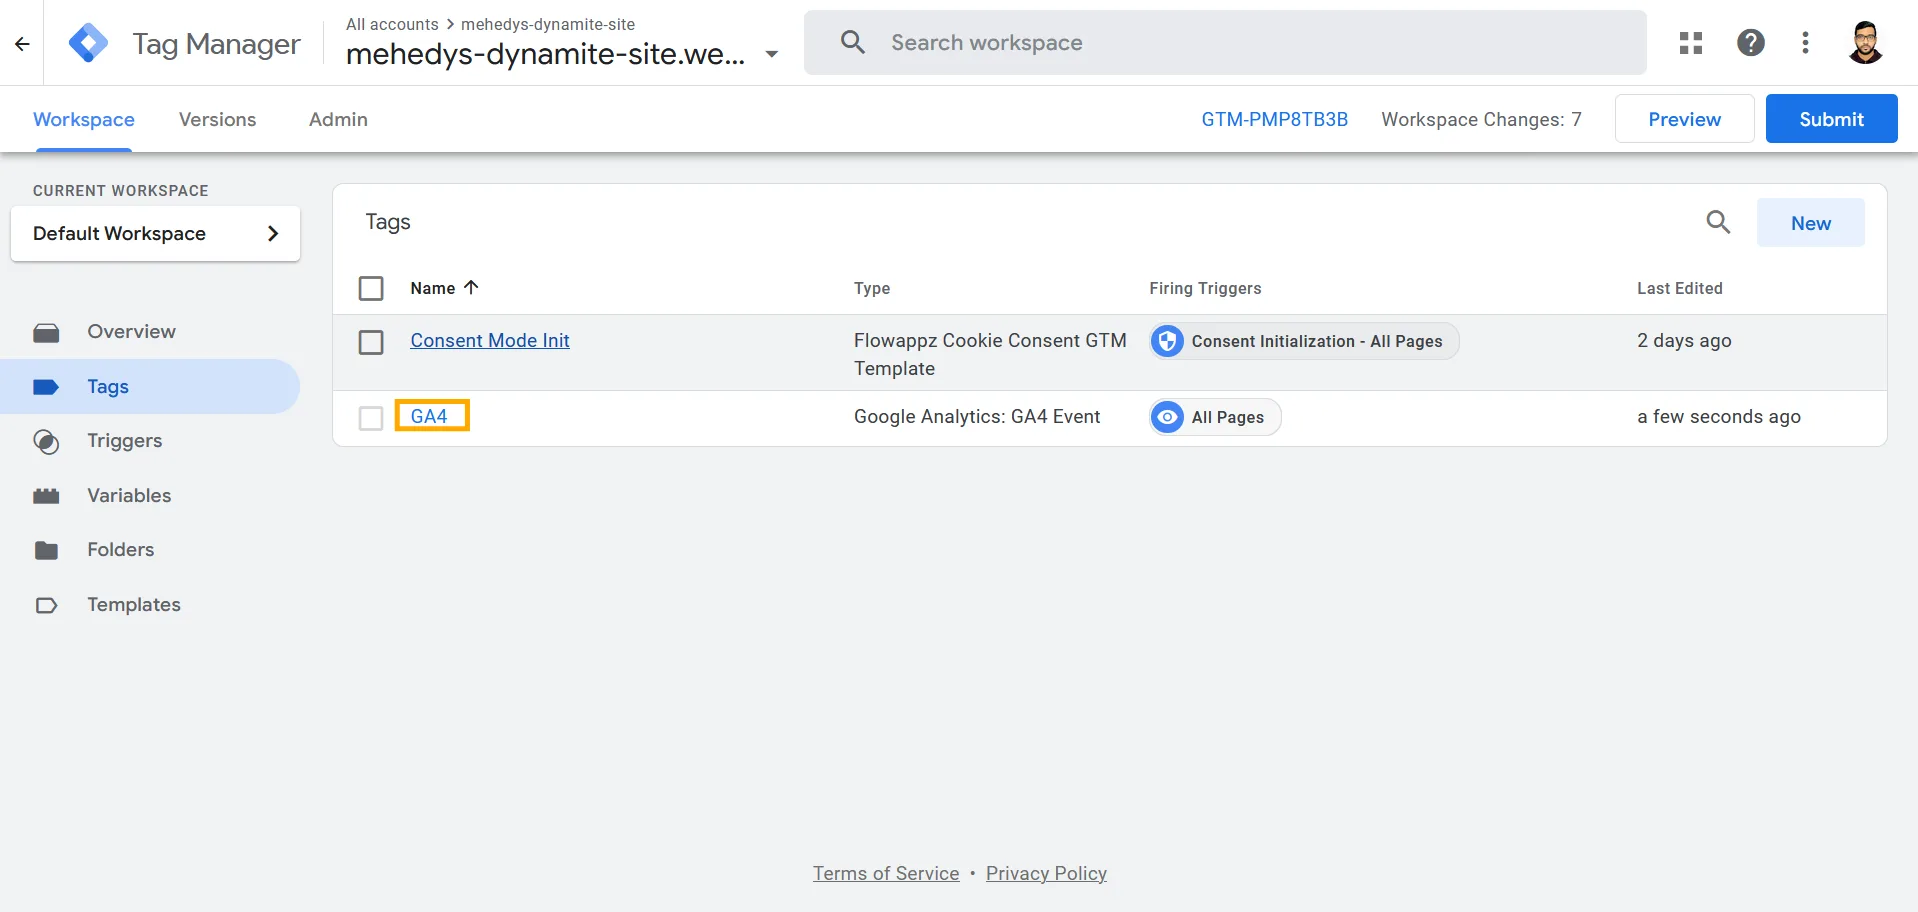
- Then, remove All Pages from the triggering.
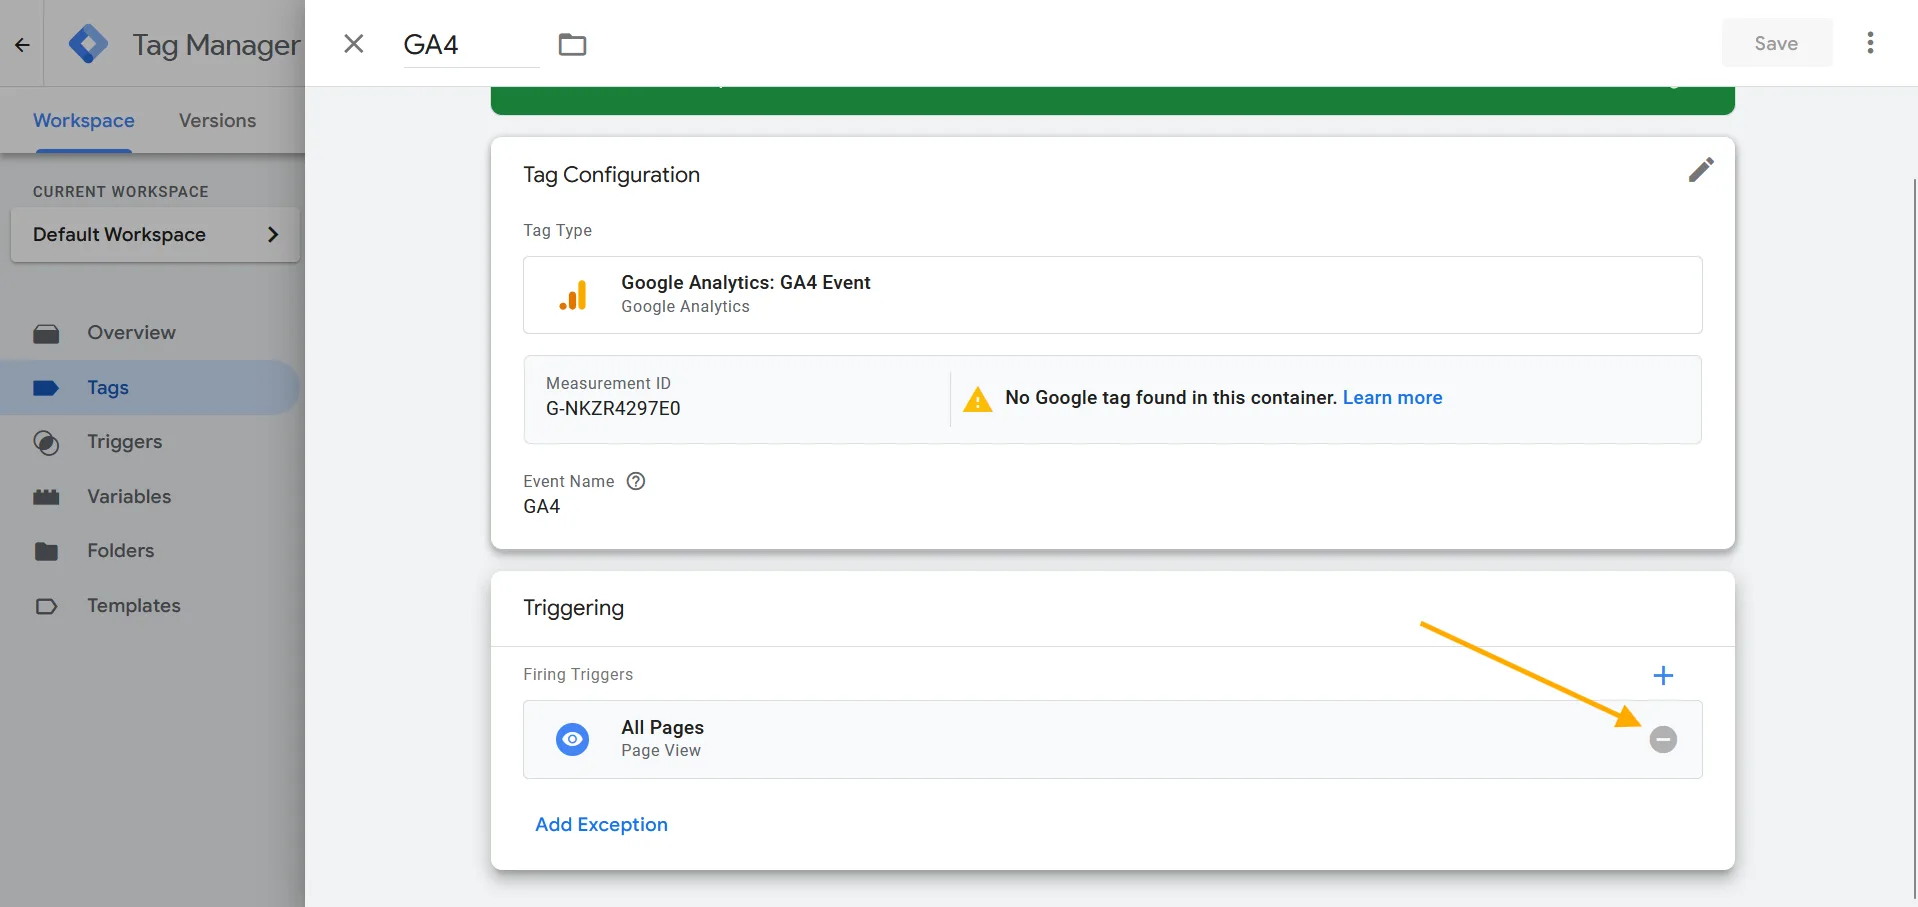
- Then, click on Triggering again.
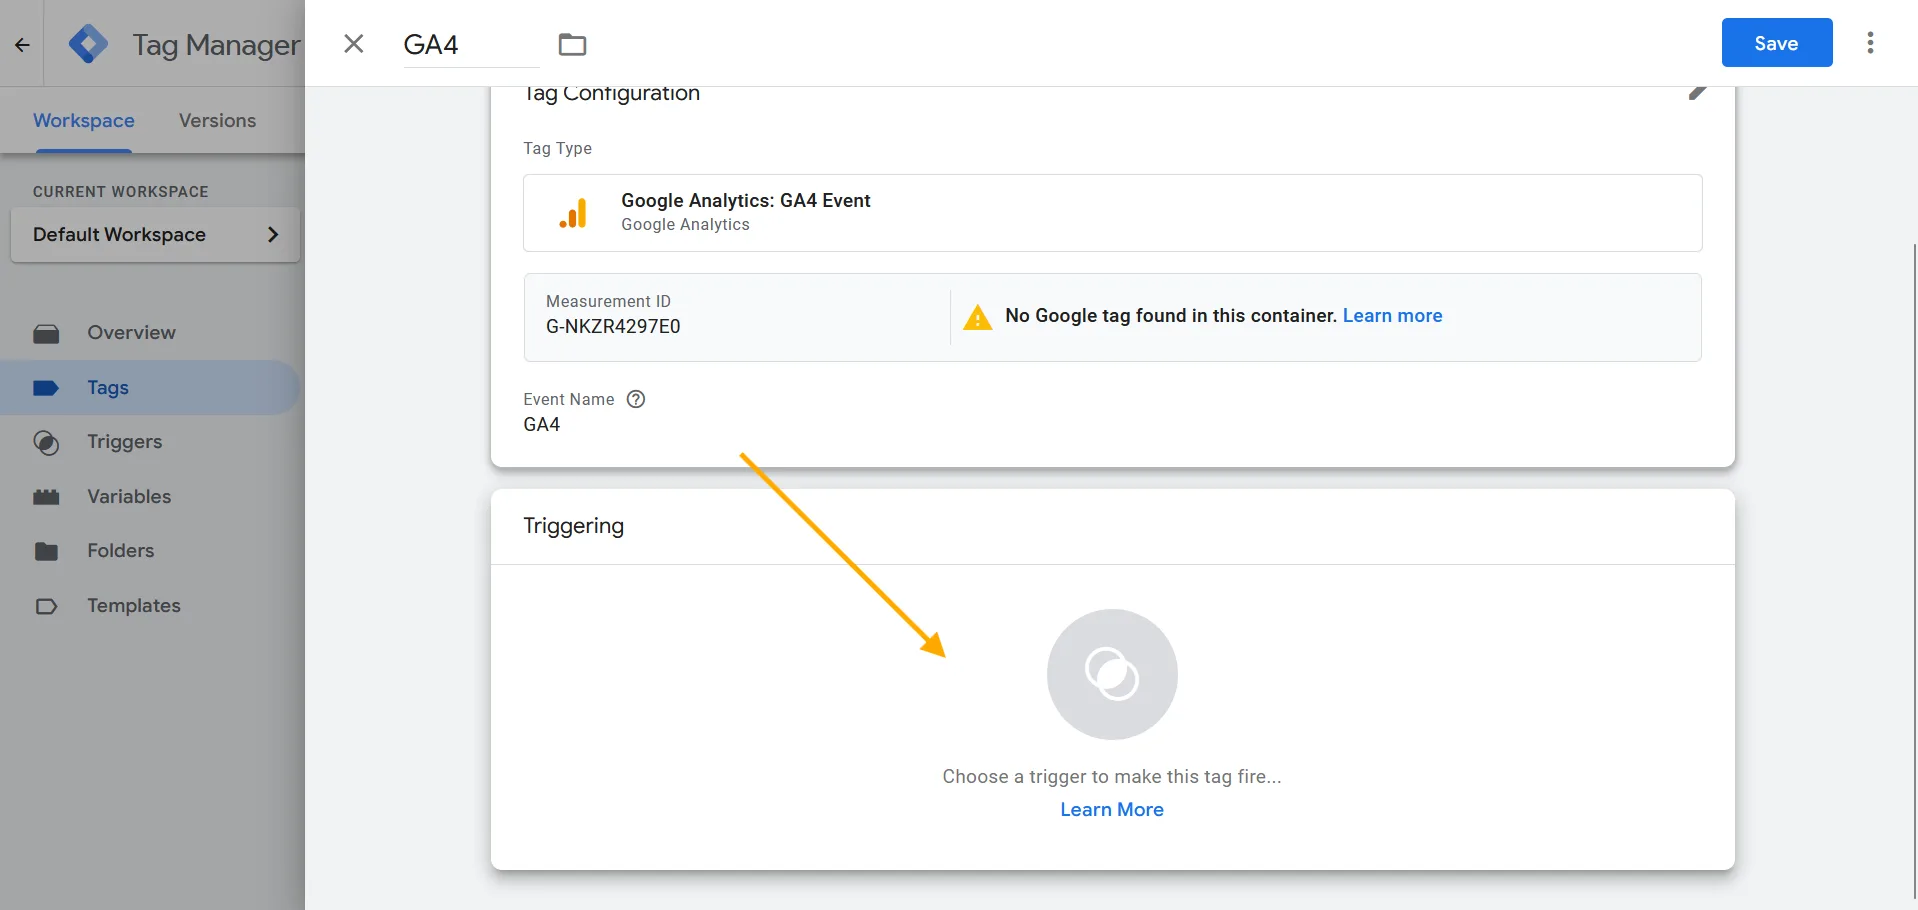
- Then, select Analytics Cookies.
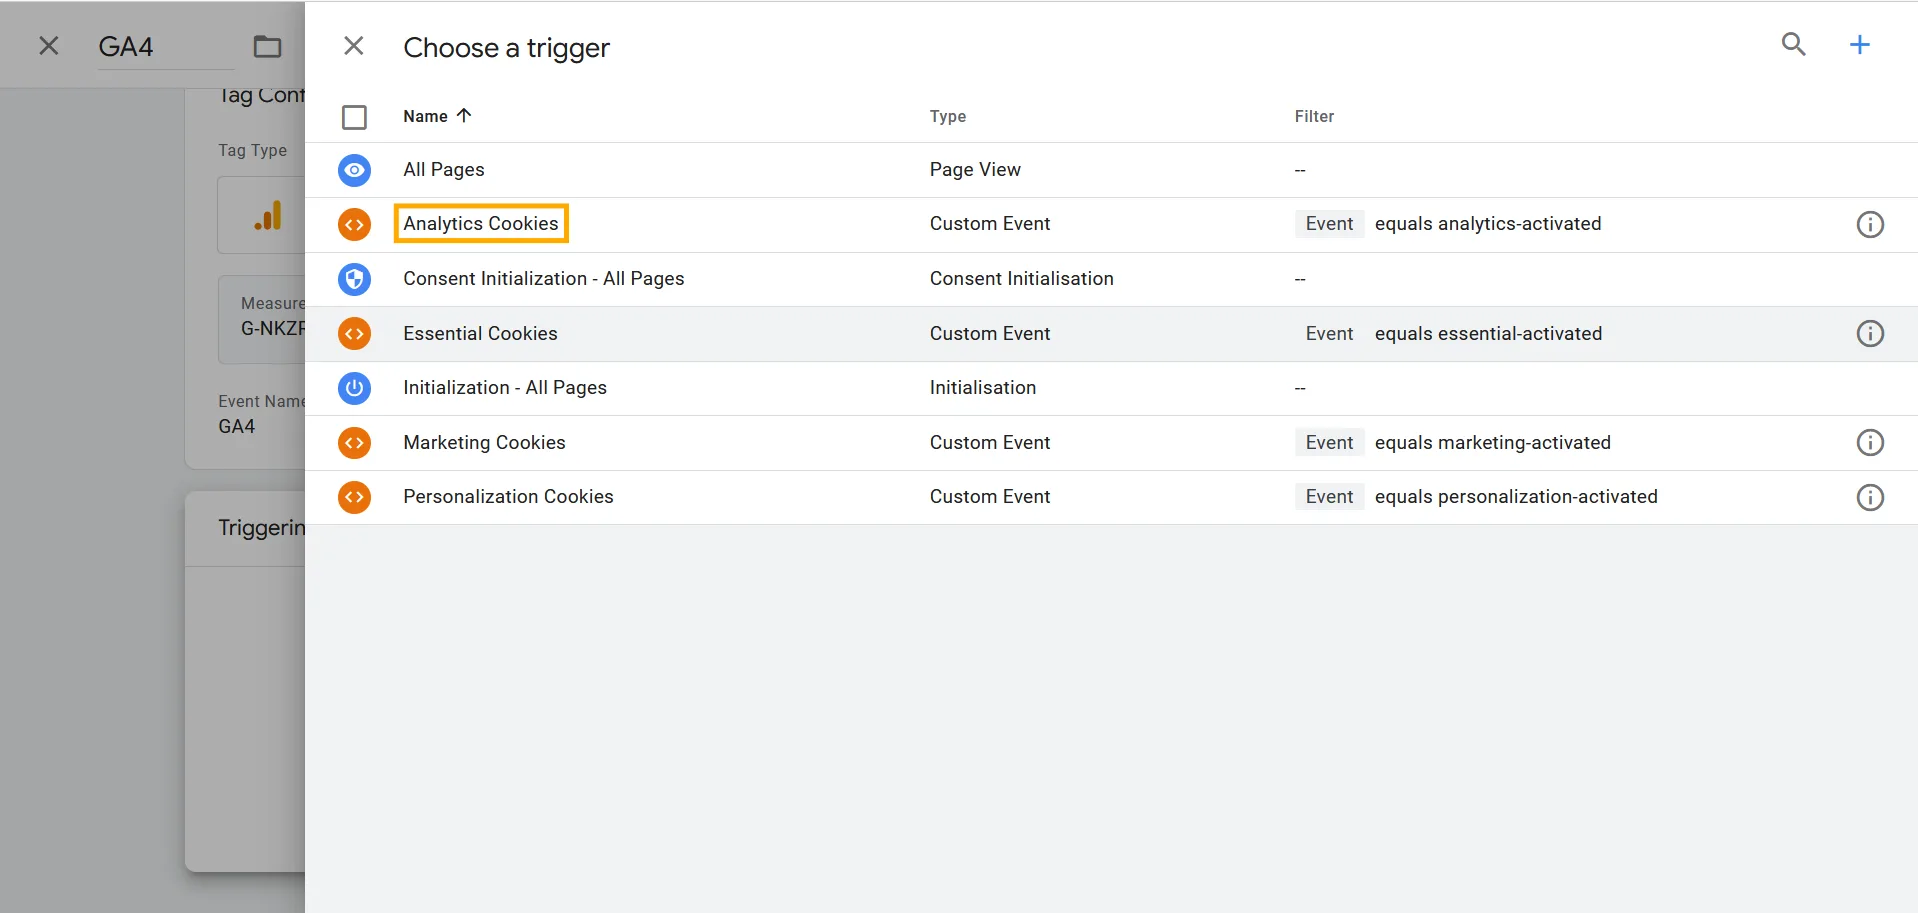
- Then, click Save to save the configuration. Now, the Google Analytics script will be triggered only if users give permission for Analytics consent.